No Beans Chili
Nov 20, 2020, Updated Jan 19, 2024
This post may contain affiliate links. Please read our disclosure policy.
This thick and hearty No Bean Chili recipe is deeply flavored thanks to an authentic blend of spices, plenty of tomatoes, and a generous portion of ground beef. You’ll love the sizzling Southwest flavor of this meaty Texas chili recipe!
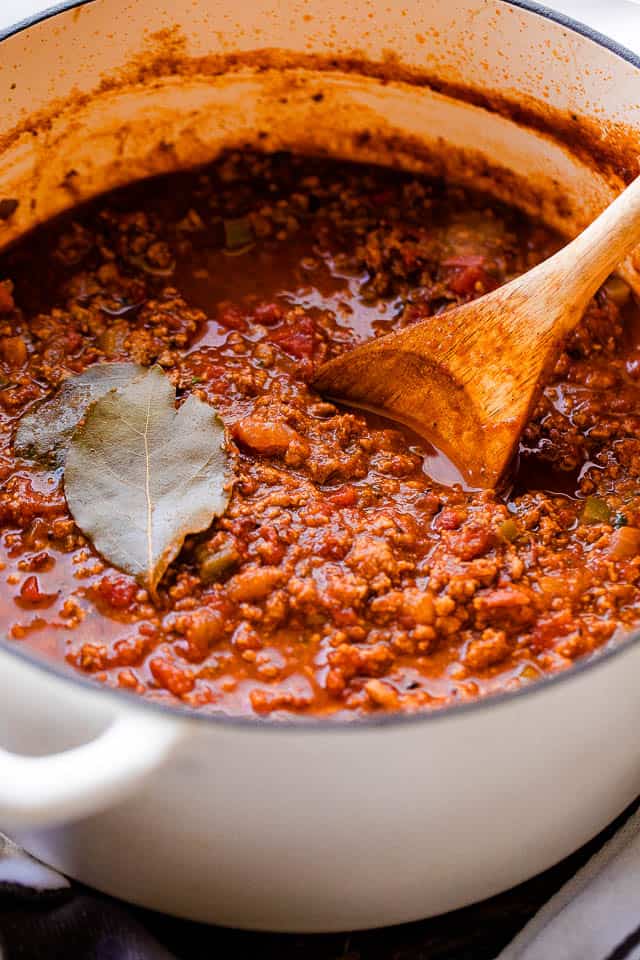
So, I love beans as much as the next gal – baked beans are on the menu about once a month – and I’m definitely a fan of beans in chili, but not everyone loves the humble legume so much, and some chili-makers, especially in Texas, refuse to pair beans with chili. For them, true chili is saucy and meaty, not bean-y! Thus, enter this no bean chili recipe, also referred to as Texas chili, for the reasons mentioned above. It’s quick and easy, and it’s loaded with tons of flavor – just no beans. You could even use a couple of cups of your favorite beer to create this seriously comforting bowl jam-packed with tender meat, veggies, and tomatoes. No beans in sight! Then, go a step further and turn it into chili stuffed poblano peppers!
If you’re looking for a crock pot version, get this recipe for slow cooker beef chili or my white chicken chili recipe.
Why You’ll Love This Beanless Chili Recipe
- Low-carb. This recipe is a low-carb option! Chili with beans contains more carbs, so this one is a good choice for those limiting carbs for lifestyle reasons.
- Ready in an hour. If you’re short on time, you can have this beef chili on the table in just about an hour, leaving just enough time to bake some buttermilk biscuits to dunk right in. But, of course, you can also opt to let it simmer on the stovetop for a few hours.
- Freezes well. Chili is great for meal prep because it stores well in the fridge and freezer. Don’t be afraid to make a double batch to have some extra for later!

What You’ll Need
- Olive Oil: For sautéing. I recommend using a lighter olive oil, since extra virgin does not handle heat as well.
- Ground Beef: You’ll need two pounds of ground beef. Lean ground beef is good, but chuck is a bit more traditional and handles a lengthy cook time better. You can also use ground turkey.
- Salt and Black Pepper: To season the chili and enhance all the flavors of the dish.
- Onion: You’ll need one yellow onion, finely diced, or you can substitute a white or sweet onion.
- Bell Pepper: I used a green bell pepper but red, yellow, and orange bell peppers are also fine. They vary slightly in sweetness, but any color will work.
- Fresh Garlic: Minced or pressed.
- Spices: This homemade chili recipe uses classic chili spices including chili powder, cumin, oregano, and paprika. They give the dish the authentic taste and flavor!
- Tomato Paste: Do not substitute with tomato sauce, which is less concentrated.
- Fire Roasted Tomatoes: These are available canned. Use one large 28 ounce can, or substitute 28 ounces regular canned tomatoes. Do not drain.
- Beef Broth: You’ll need 2 cups of beef broth. If you aren’t concerned about the carbs, feel free to use a cup of beer.
- Bay Leaf: For added flavor.
How to Make This No Beans Chili Recipe
This Texas chili recipe is super easy to make and it can be ready in less than an hour if you’re short on time.
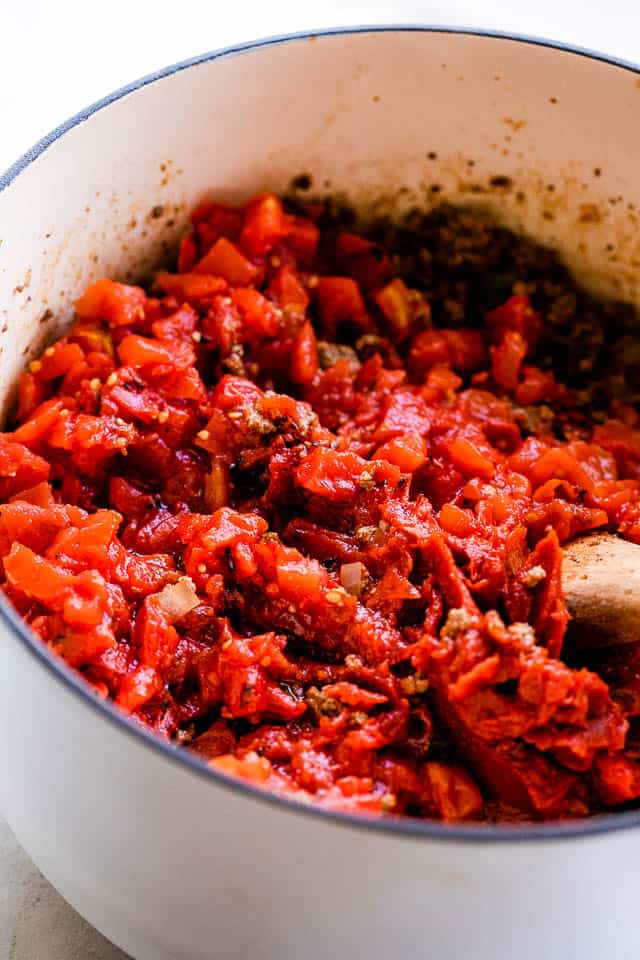
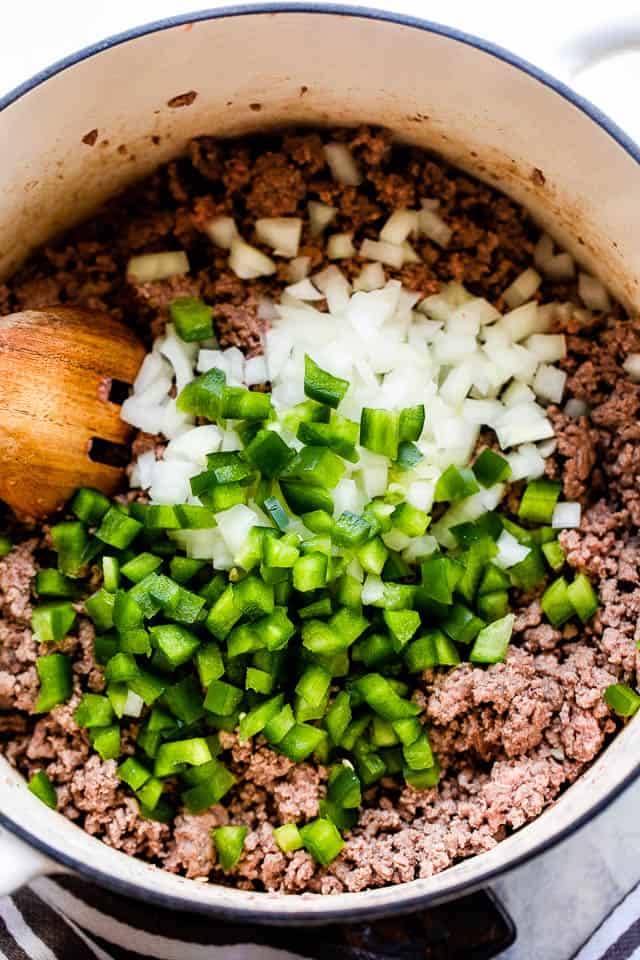
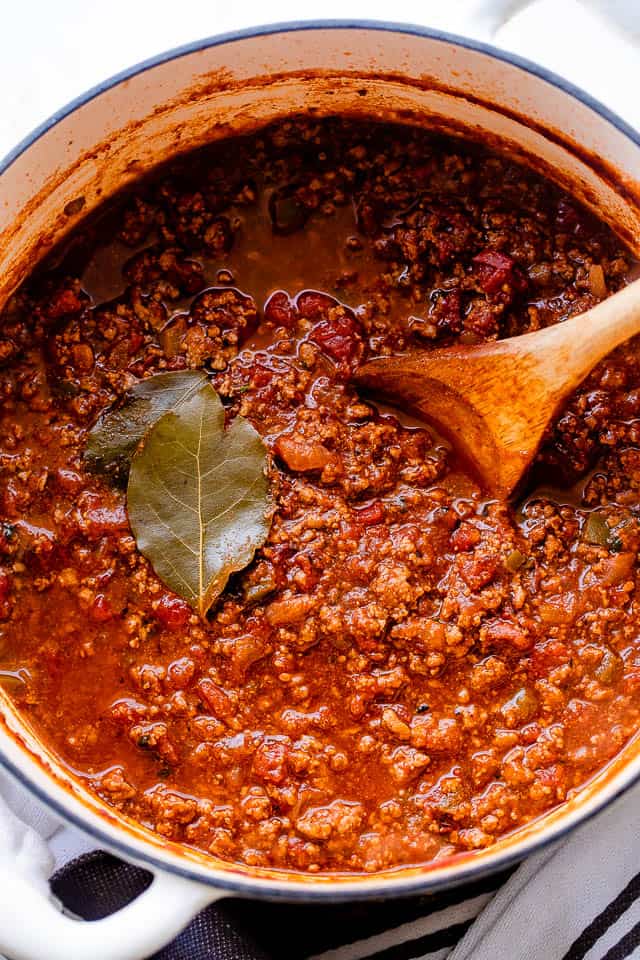
- Brown the beef. Heat oil in a large pot or Dutch oven set over medium-high heat on the stove top. Add the ground beef to the hot oil, season with salt and pepper, and cook until browned, breaking it up with a spoon while it cooks.
- Stir in aromatics and seasonings. Once the beef is browned, stir in the onions, bell pepper, and garlic. Cook for 4 minutes, or until veggies are soft. Then stir in the chili powder, cumin, dried oregano, and paprika.
- Add the remaining ingredients. Add the tomato paste; stir to combine, and cook for 3 minutes. Then stir in the tomatoes and broth, scraping up any browned bits from the bottom of the pot. Add the bay leaf and bring chili to a steady simmer.
- Simmer. Simmer the chili for 30-ish minutes, but at this point, you can let the chili cook for 3 to 4 hours, as long as there is enough liquid. If you would like to cook it for longer, make sure to add more liquid to the pot. Water is fine to use for the extra liquid.
- Serve. Remove the no bean chili from the heat. Taste it for salt and pepper, and adjust. Remove the bay leaf. Ladle the chili into bowls, and garnish with cheese, jalapenos, sour cream, and/or other desired toppings.
How Long Should You Simmer This Texas Chili Recipe?
Different cooks have different opinions, of course, but in general, there’s a pretty wide window! I think it takes about 20 minutes of simmering at a minimum to cook the chili enough to be tender and tasty, but from there it can simmer quietly for several hours.
Overnight is a little risky in terms of overcooking. 3 to 4 hours total is probably as long as you should let it go. I almost always cook my chili for about 2 hours. In that time, I will probably add one to two more cups of broth, or just water.
Favorite Toppings Ideas
Feel free to savor this no bean chili recipe just the way it is, or jazz it up with some of the tasty toppings listed below. However you choose to have it, you’re in for a tasty, hearty dinner.
- Shredded cheddar cheese
- Sliced jalapenos
- Chopped cilantro
- Sour cream, yogurt, or creme fraiche
- Cheese
- Corn chips (Fritos are especially popular)
- Saltines, oyster crackers, or homemade cheese crackers
- Sliced green onions
- Minced white onions
- Guacamole
- Sliced avocado
- Hot sauce
Katerina’s Recipe Tips
- Adjust the flavor to your preferences. If you prefer a more mild chili, be sure to use regular tomatoes instead of fire-roasted. You can also use sweet paprika instead of smoked paprika for a flight different flavor and for more heat, add some jalapenos right into the chili.
- Add more broth as necessary. The longer you simmer the chili, the more broth you’ll need to add. If you’re simmering it for a few hours, be sure to check it periodically to add more broth.
- Avoid simmering overnight. As mentioned above, simmering your chili for a few hours is great but I would avoid simmering it overnight as you’ll likely end up with overcooked, dried up chili.
- Try other ground meat. Feel free to use ground turkey in place of the beef or even some ground sausage along with the beef to mix it up.

What To Serve with Homemade Chili
A big bowl of this no bean chili recipe makes a hearty dish on its own, especially if you add a handful of toppings. But if you want to add a side or two, consider a starter of shrimp Caesar salad and add a slice of skillet cornbread, biscuits, or garlic breadsticks. I’ve even served it with cooked spaghetti. I also love to use leftovers to make beef enchiladas.
For a game day twist, consider ladling the beef over hot dogs, creating tasty chili dogs. And, of course, don’t forget dessert. Cinnamon rolls are one of my favorites.
Pin this now to find it later
Pin It
Texas No Beans Chili
Ingredients
For the Chili:
- 2 tablespoons olive oil
- 2 pounds ground beef, (you can also use ground turkey)
- salt and freshly ground black pepper, to taste
- 1 yellow onion, finely diced
- 1 green bell pepper, diced
- 4 cloves garlic, minced
- 2 tablespoons chili powder
- 2 teaspoons ground cumin
- 2 teaspoons dried oregano
- 1 teaspoon smoked paprika
- 1 can (6 ounces) tomato paste
- 1 can (28 ounces) diced fire roasted tomatoes, undrained
- 2 cups low sodium beef broth, (you can also use 1 cup beer + 1 cup beef broth)
- 1 bay leaf
For Garnish:
- Shredded cheddar cheese
- Seeded and thinly sliced jalapenos
- Sour cream
- Chopped cilantro
Instructions
- Brown the meat. Heat oil in a Dutch oven set over medium-high heat. Add the ground beef to the hot oil; season with salt and pepper, and cook until browned, breaking it up with a wooden spoon while it cooks.
- Add the aromatics and vegetables. Once browned, stir in the onions, bell pepper, and garlic. Continue to cook for 4 minutes, or until veggies are softened.
- Mix in the seasonings and tomato paste. Stir in chili powder, cumin, dried oregano, and paprika. Add the tomato paste, stir to combine, and cook for 3 minutes.
- Add the tomatoes and broth. Stir in the tomatoes and beef broth, scraping up any browned bits from the bottom of the pot.
- Cook. Add the bay leaf and bring the chili to a steady simmer; reduce the heat and continue to simmer for 25 to 30 minutes, stirring occasionally. Please note that, at this point, you can let the chili continue to cook for 3 to 4 hours, as long as there is enough liquid. So, if you want to cook it for longer, add more liquid to the pot, 1 cup at a time, stirring occasionally. Water is OK to use for the extra liquid.
- Finish. Remove the pot from the heat. Remove the bay leaf and taste the chili for salt and pepper; adjust accordingly.
- Serve. Ladle your no-bean chili into bowls and garnish with cheese, jalapenos, sour cream, and cilantro.
Video
Nutrition
Nutritional info is an estimate and provided as courtesy. Values may vary according to the ingredients and tools used. Please use your preferred nutritional calculator for more detailed info.
How to Store and Reheat Leftovers
Chili often tastes even better the next day because the spices and flavors blend together as it cools down, creating a thicker texture and richer taste. Store leftover chili in an airtight container in the refrigerator for 3 to 4 days. To reheat, place the desired amount in a covered saucepan over low heat and cook until just heated through. You can also microwave it in a pinch.
Can You Freeze No Bean Chili?
Yes, you can! Allow the chili to cool completely, then place it in freezer-safe food storage bags or containers, leaving as little air as possible in the bag or container before sealing it closed. Store in the freezer for up to 3 months. Thaw in the fridge, then reheat on the stovetop as directed above.


I make this all the time! Easy and flavorful. Sometimes I’ll use Serrano peppers instead of Jalapeños; depending on who I’m cooking for. I like to serve it with a baked potato topped with the chili, a little sour cream and cheese!
Very good start. I make chili with venison so I start out with 1pk bacon. I also smoke it so it’s super flavorful. Good start to make it your own.
I’m a Texan and have tried MANY chili recipes. This is hands down one of the best! You can always add a little more of the seasonings to taste if you like it a little spicier but I’m cooking for different taste buds so the recipe is perfect as is. I also add a bit of white sugar (not brown) for a bit of sweetness. Definitely drain it too. Great recipe, Thanks!
I am very glad to hear that from a Texan, that means a lot! Love the sugar tip and totally agree on adjusting the spice to taste. Thanks for the kind words! 😊
Can it be substituted with turkey instead of ground beef?
Hi!
Yes, definitely.
Can this be made in a Slow Cooker?
Hi! Yes, absolutely. I actually have a slow cooker chili recipe right here: https://diethood.com/slow-cooker-beef-chili/ You can just skip the beans to make it almost identical to this one. 😊
How much of the galic and spices do i put in
Hi!
All the ingredient amounts are listed in the recipe card! 😊 You can scroll down to the bottom of the post or click ‘Jump to Recipe’ at the top of the post and that will automatically scroll your page to the recipe card.
What do you suggest as the serving size? I know it serves 8 but I don’t really want to pull out 8 bowls to figure it out haha! My fiancé loves it!
Hi!
One serving is approximately 1 cup of chili.
This is a fabulous recipe and my kids love it!
So happy to hear that your kids love it! Thank you for trying the recipe—I’m glad it was a hit! 😊
Not much flavor sadly. I even added jalapeños. Will have to Dr this up some more
Do you not drain the meat?
Hi!
I don’t drain the beef because the extra liquid and fat add flavor to the chili. That said, if you prefer, you can absolutely drain the beef after browning.
I don’t want the suggested pairing how do I delete it
Hi! Thanks for your comment. I just want to clarify—are you referring to the suggested side dish pairings?
You just don’t read it! Others like it!