This post may contain affiliate links. Please read our disclosure policy.
This fail-proof homemade pizza dough is easy to make with no yeast or rising time involved! It’s guaranteed to bake up into a deliciously tender, chewy, crispy crust no matter what kind of pizza you prepare.
No yeast pizza dough is great for more than just pizza. You can even make my garlic breadsticks with it! 🙌 And homemade pizza rolls! And if you need a keto pizza crust for your next pizza night, I have you covered.
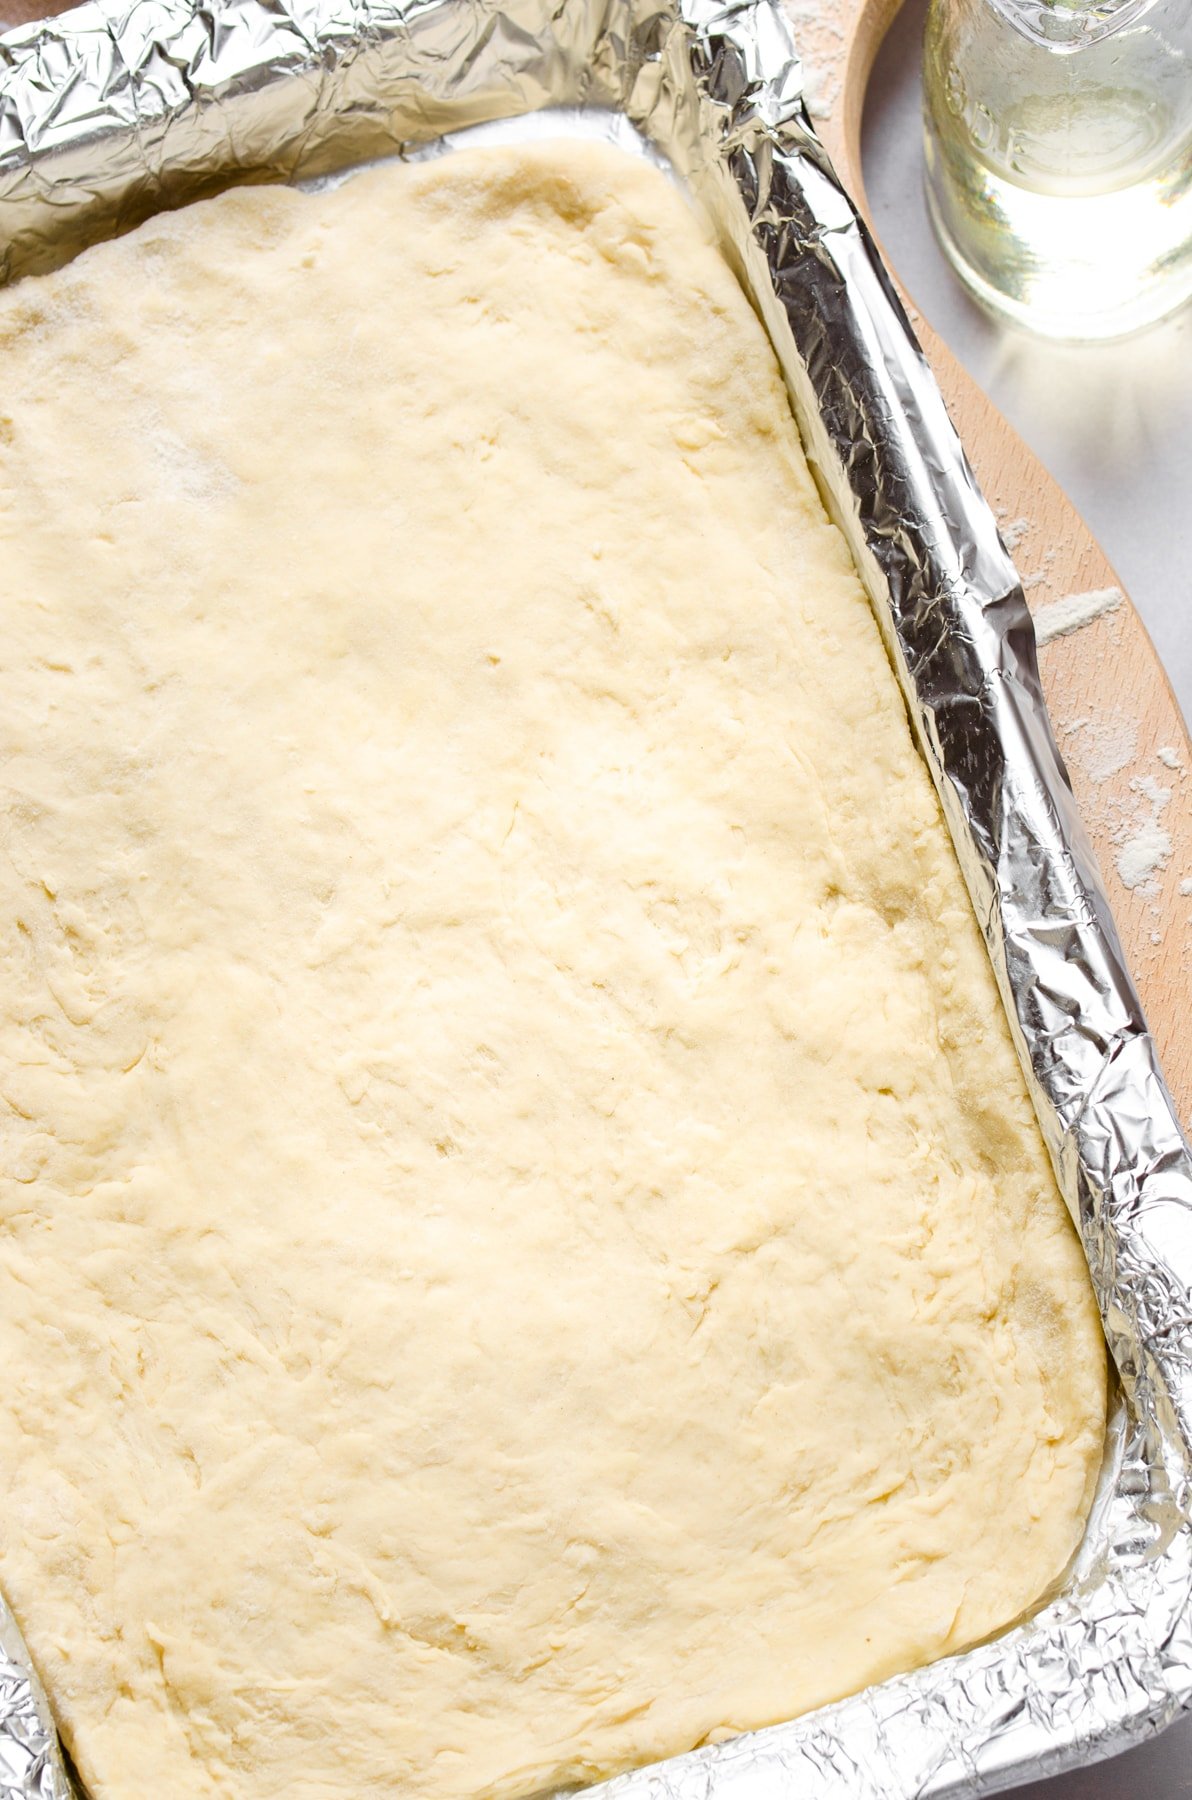
Everybody loves homemade pizza dough, but no one likes waiting around for it to rise. That’s exactly the dilemma that led me to create this amazing yeast free pizza dough. After making this soda bread in a skillet and my one-bowl banana bread, I started working on this no yeast dough, and I love it! Once you grill or bake the dough into a pizza with your favorite sauces and toppings, you’ll never waste your money on a store-bought crust again. Pizza is always good, but there’s something extra special about a pizza made completely from scratch.
Why This Yeast Free Pizza Dough Works
- Easy to make. You need 4 ingredients and 30 minutes to make the easiest homemade pizza dough. This no yeast recipe is perfect when we’re craving pizza in a hurry.
- No rising time. Since there’s no yeast in the dough, there’s no rising time necessary. You can mix, knead, and roll out your dough in one go.
- Baking powder. Not to be confused with baking soda! Baking powder acts as leavening in place of yeast in this dough recipe. It’s an easy shortcut that works perfectly for a light, chewy crust.
Recipe Ingredients
This yeast free pizza dough calls for four basic ingredients, plus water, which will be added slowly until the dough develops the proper consistency. Remember to scroll down to the recipe card for the printable ingredients list and detailed recipe instructions.
- All-Purpose Flour – If needed, you can make your crust gluten-free by using 1:1 gluten-free flour instead.
- Baking Powder – The fresher, the better! Check the dates on the package to make sure your baking powder isn’t expired.
- Salt – To enhance the natural flavor of the dough so your pizza crust doesn’t taste bland.
- Canola Oil – Or another cooking oil, like olive oil or avocado oil.
Will Dough Still Rise Without Yeast?
It absolutely will! The key is to substitute the yeast for another kind of leavening agent – in this case, it’s baking powder. So, although this dough doesn’t require any set aside rising time, it’s still going to bake (or grill!) into a perfectly light and chewy pizza crust.
How to Make No Yeast Pizza Dough
Making pizza dough without yeast is refreshingly easy. You just have to combine the ingredients, knead the dough, spread it out, add your favorite toppings, then bake it or grill it!
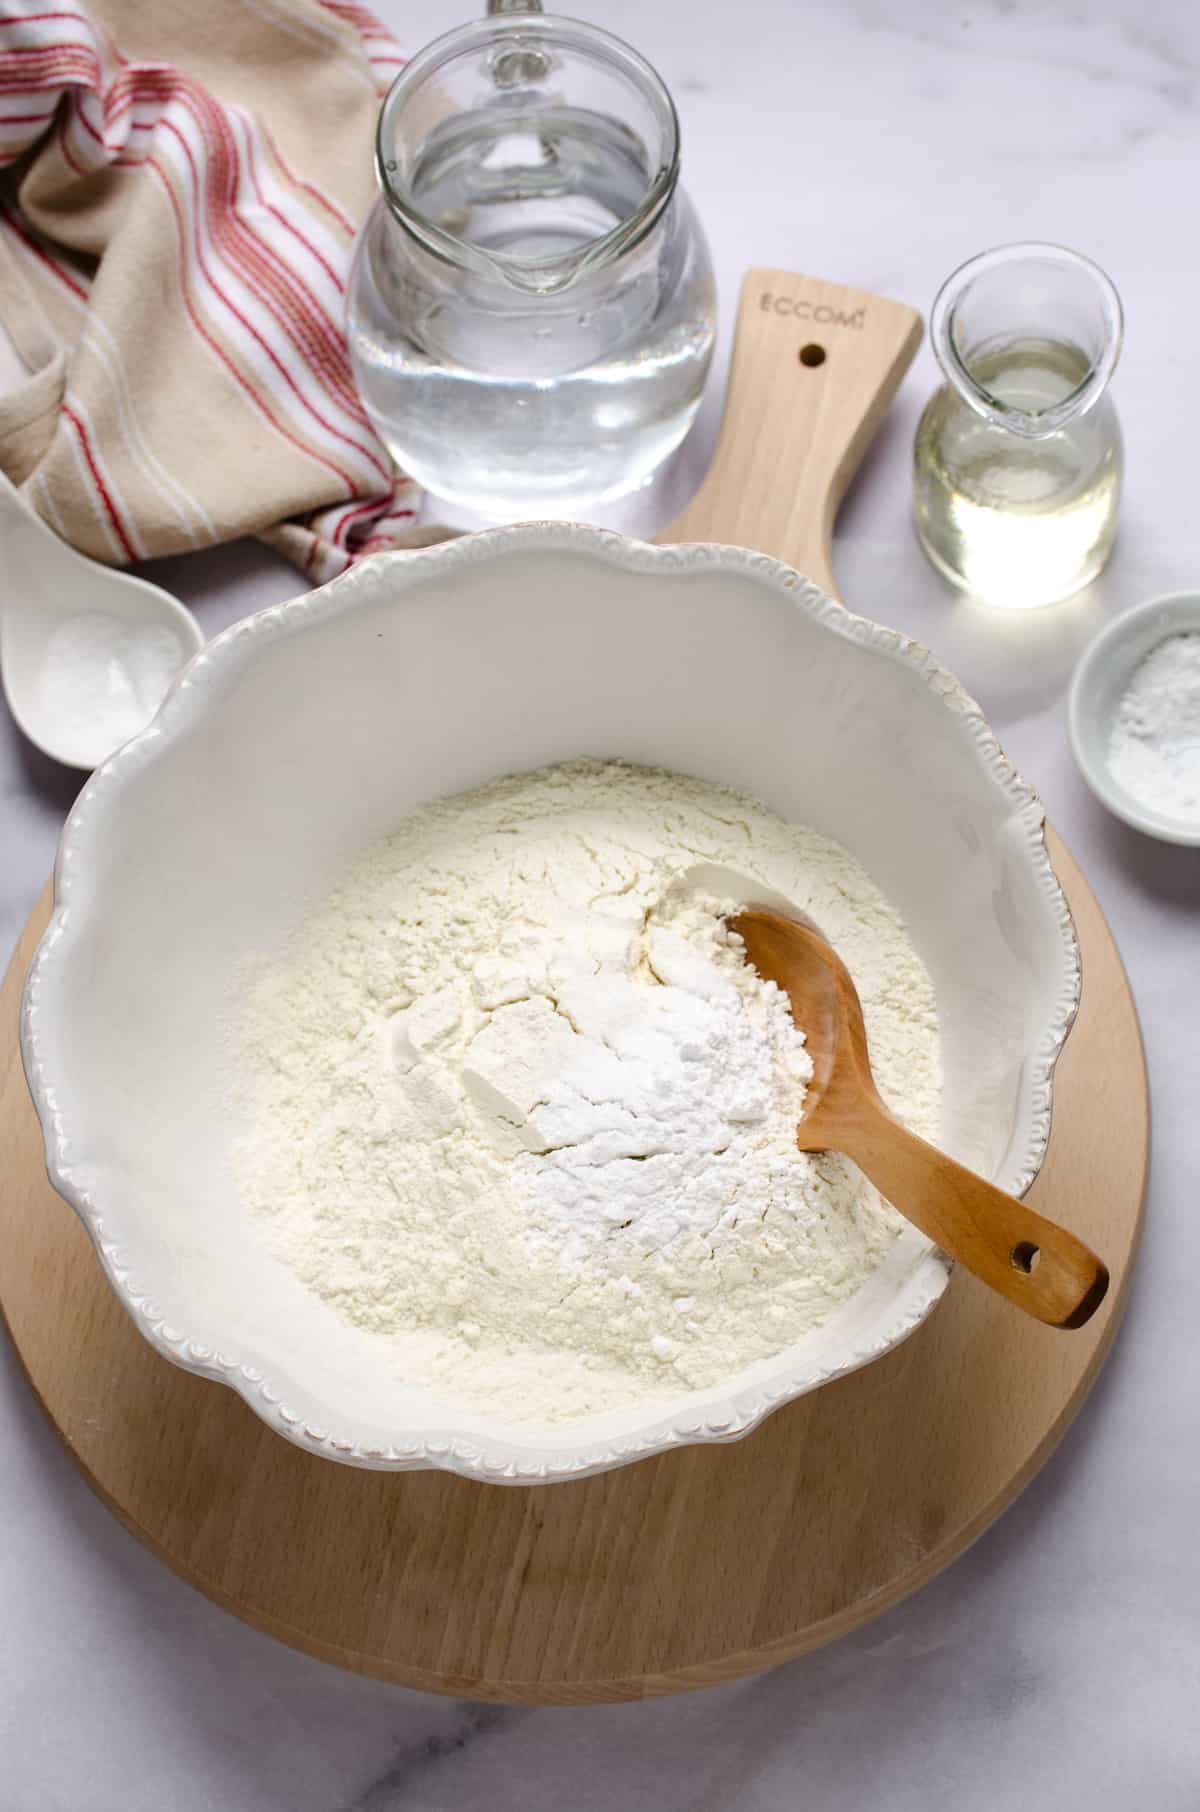
- Combine Dry Ingredients: Whisk together the flour, baking powder and salt in a mixing bowl until everything is thoroughly combined. Set the mixture aside.
- Combine Wet Ingredients: Combine the water and oil in a separate bowl or cup and stir to combine.
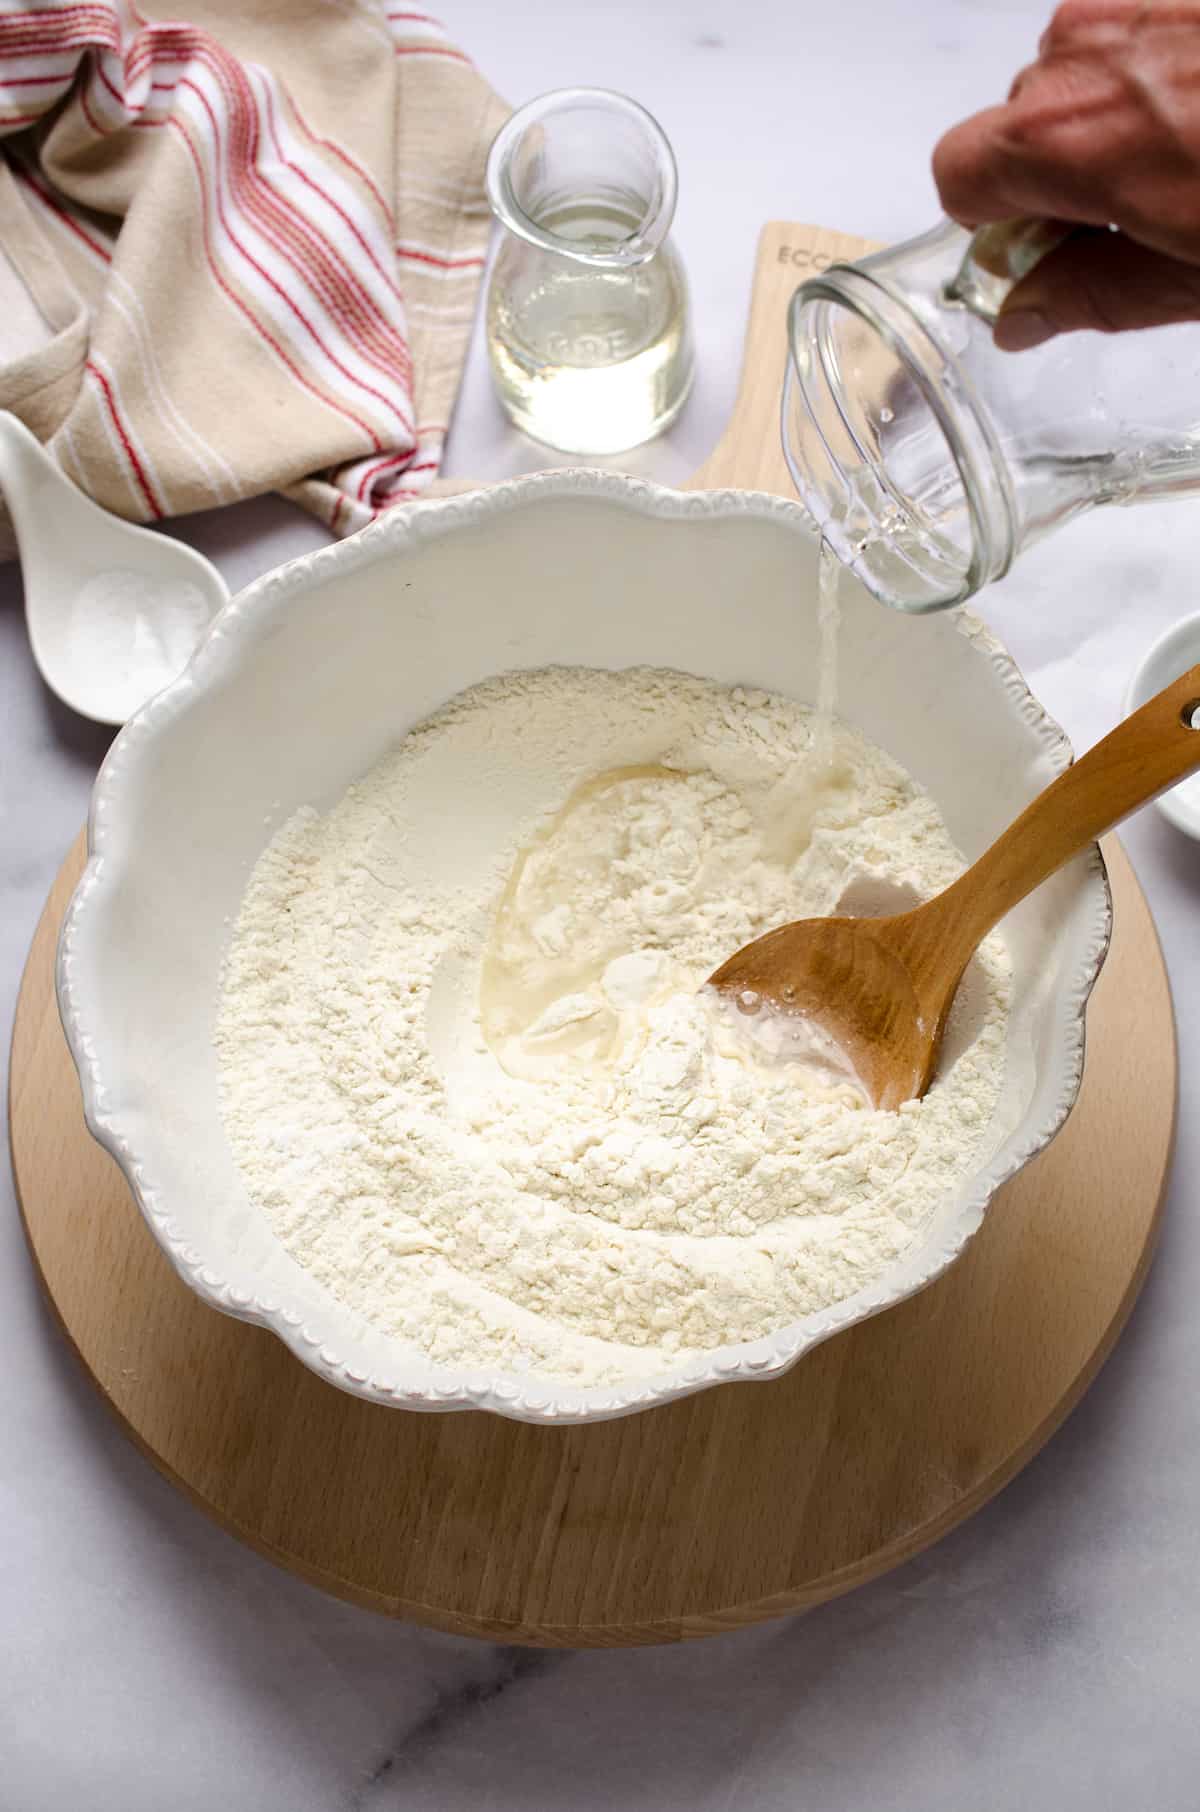
- Add Wet Ingredients to Dry Ingredients: Slowly add the water mixture to the flour mixture.
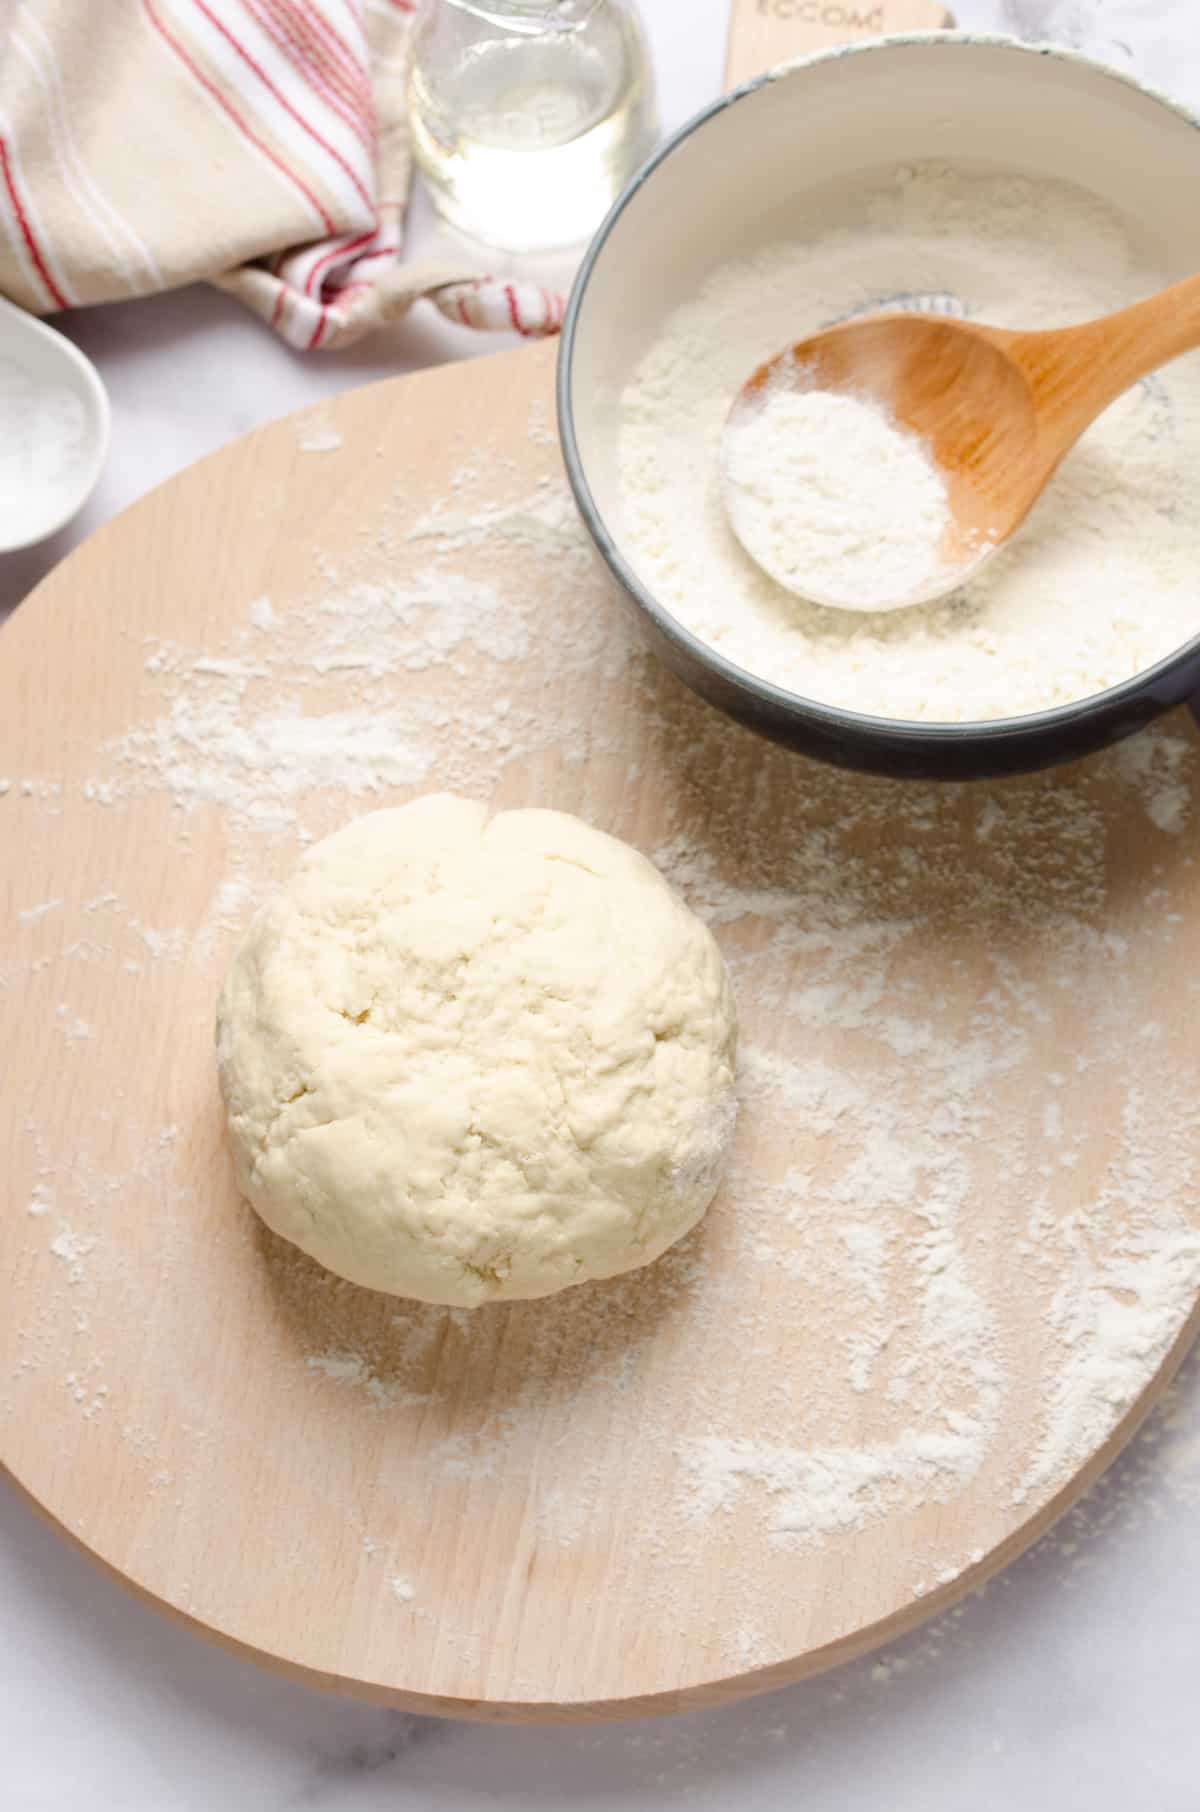
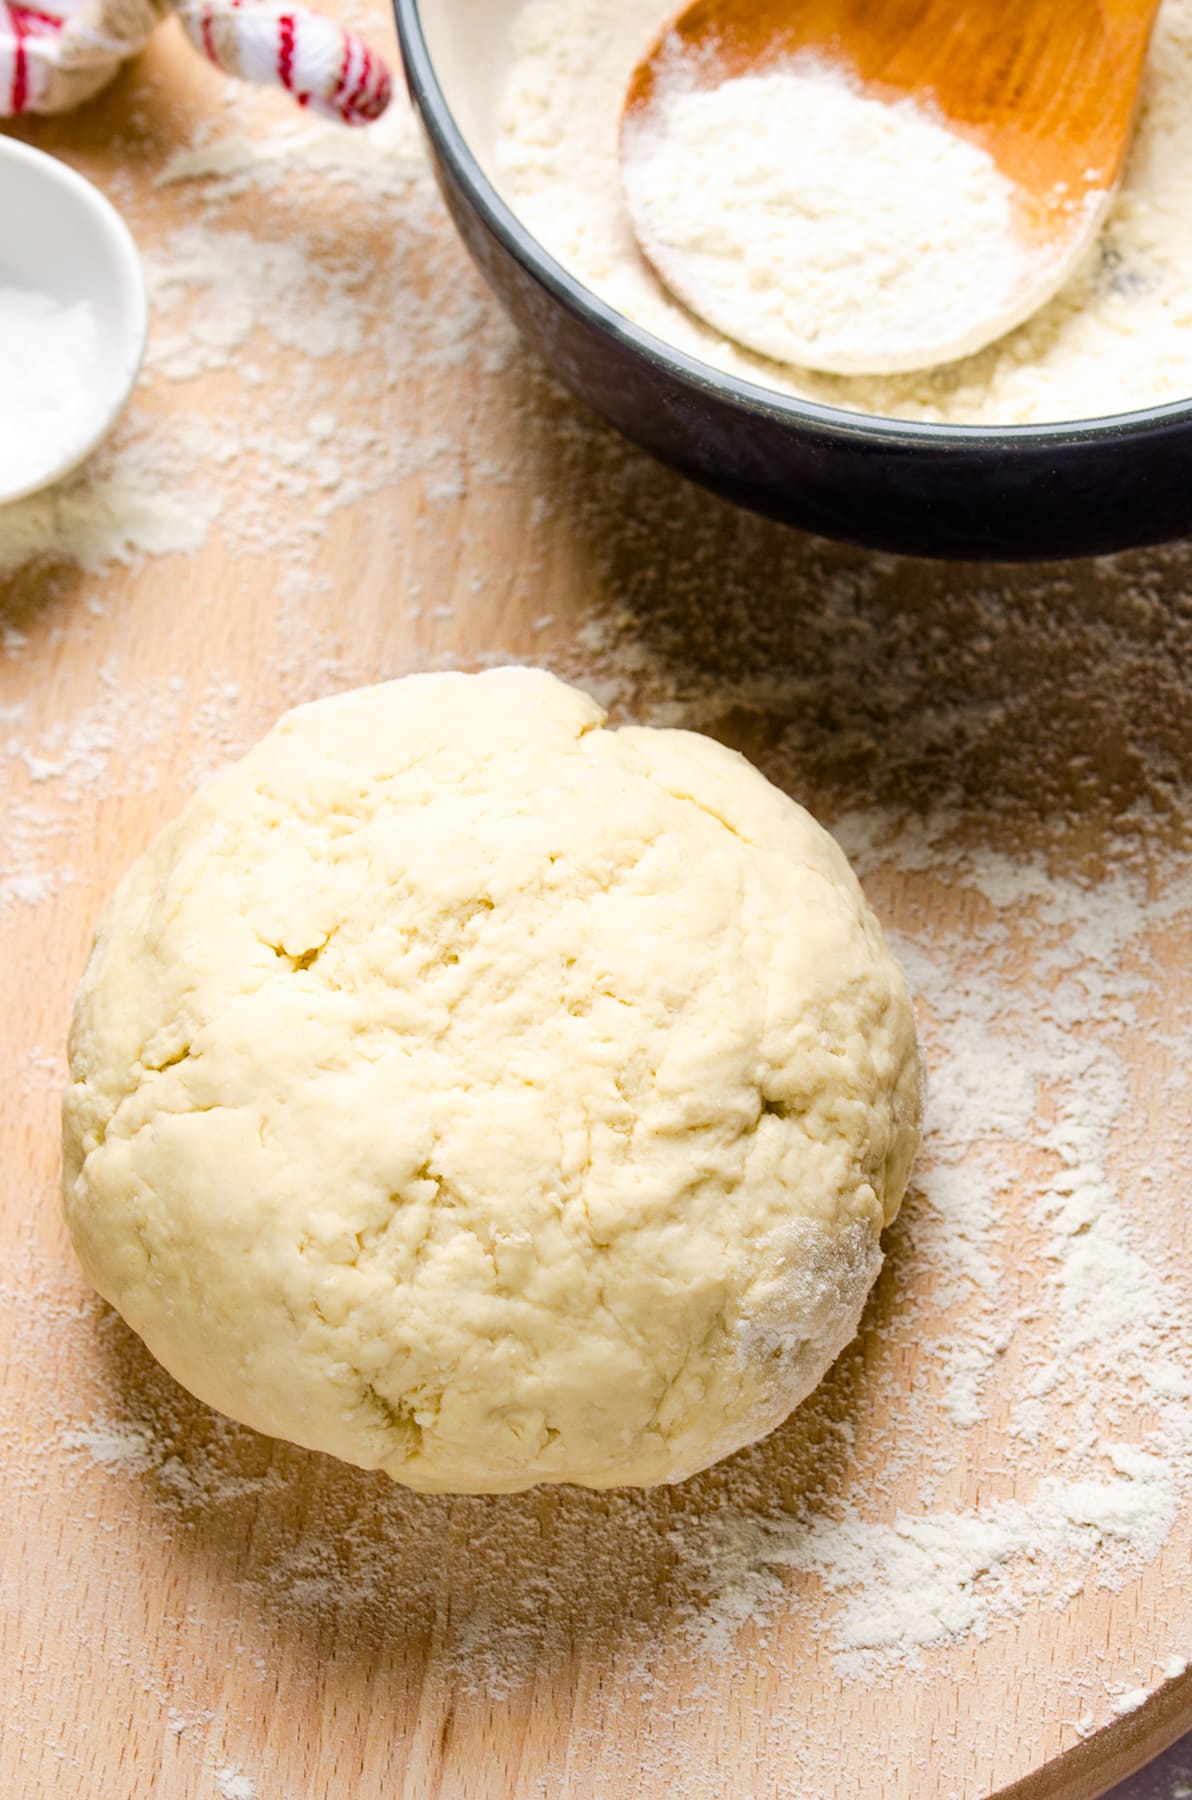
- Mix: Use a wooden spoon or your hands to gently stir and mix until the dough forms a ball. The dough should be soft but not sticky. Add more water if it’s too dry, 1 tablespoon at a time. If it’s too sticky, add more flour.
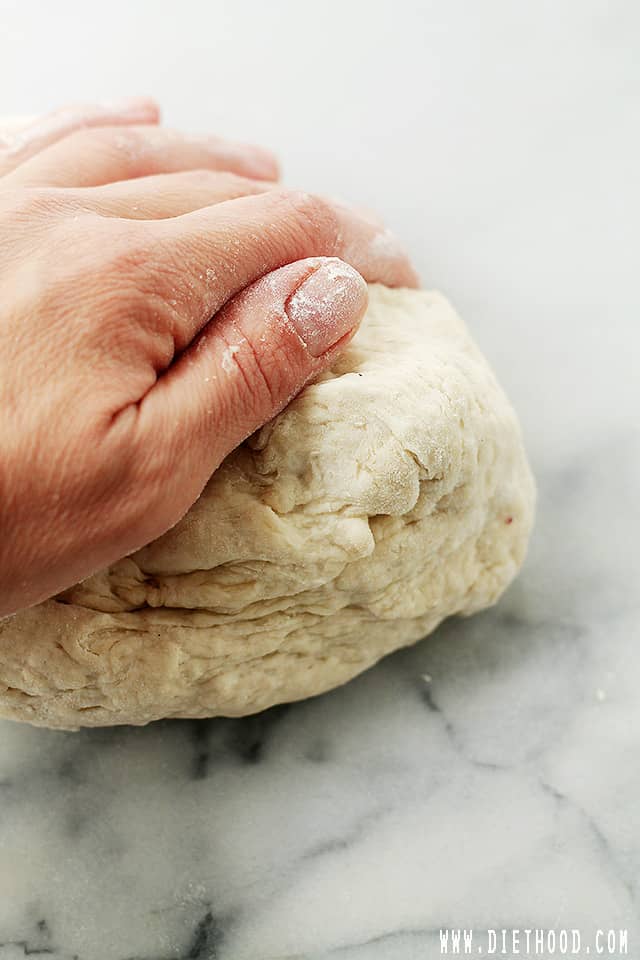
- Knead Dough: Lightly flour your work area and knead the dough for 5 minutes. Your no yeast pizza dough is ready to use!
How to Make a Homemade Pizza
With your no yeast pizza dough ready to roll, it’s time to turn it into a tasty, hot-from-the-oven homemade pizza:
- Prepare a baking pan. Line a baking sheet or a pizza pan with foil and lightly spray it with cooking spray.
- Shape the pizza dough. Next, spread the yeast-free pizza dough onto the prepared pan, using the palms of your hands and your fingers to stretch it out to about a 1-inch thickness. You can make it a little bit thinner if you want the crust to be more crispy.
- Add toppings. Start by spreading your desired sauce onto the prepared pizza crust. Then, sprinkle on your favorite cheese and toppings (see below for ideas).
- Cook. Grill or bake the pizza in a 400°F oven for 15 to 20 minutes, or until the edges of the crust are lightly browned. For a crispier result, pre-bake the crust by itself for 8 minutes, then assemble the pizza and return it to the oven for 10-12 more minutes.
Pizza Topping Ideas
There really isn’t a wrong way to prepare a pizza! I have delicious recipes for goat cheese pizza and grilled BBQ chicken pizza. You can also use this dough to make a breakfast pizza, or give one of my traditional recipes a try, like this Macedonian fried pork pizza.
Tips and Variations
- Measure the flour accurately. If you scoop your measuring cup directly into the flour, you’re not going to get an accurate measurement. Instead, fluff the flour and fill your measuring cup by the spoonful, then level it off at the top with a butter knife. If you have a food scale, use that to ensure precision.
- Consistency is key. If this no yeast pizza dough is too dry or too sticky, you’ll have a hard time working with it. Add more flour or water (little by little) as needed to reach the proper consistency.
- Flour your kneading surface. It’s important to lightly dust your working area with flour so the dough doesn’t stick to it. Just don’t use too much, or you’ll risk drying it out.
- Pump up the flavor. Craving some extra flavor in your yeast free pizza crust? Feel free to spice up the dough by incorporating a bit of garlic powder or herbs.
Make It Ahead
- To refrigerate, wrap the kneaded dough tightly in plastic wrap to prevent any air from coming into contact with it. Keep the yeast free pizza dough in the fridge for up to 24 hours. When you’re ready to make your pizza, you’ll have to knead the dough again until it’s soft enough to shape.
- To freeze pizza dough, wrap it in a heavy-duty storage bag and keep it in the freezer for up to 3 months. Bake it directly from frozen for 10 minutes, then add your sauce and toppings and bake it for an additional 10-12 minutes, until the crust is golden and the cheese is bubbling.
How to Store and Reheat Leftovers
If you have leftover pizza, let it cool completely and place it into an airtight container. Refrigerate it for up to 3 days. Reheat large portions of pizza in a 350°F oven until the cheese is bubbling. Individual slices can be warmed up in the toaster oven.
More Easy Pizza Recipes
Pin this now to find it later
Pin It
Yeast Free Pizza Dough
Ingredients
- 2½ cups all-purpose flour
- 3 teaspoons baking powder
- 1 teaspoon salt
- ¾ cup + 2 tablespoons water
- 1 tablespoon canola oil
Instructions
- In a mixing bowl, combine flour, baking powder and salt; whisk until thoroughly combined and set aside.
- Combine water and oil in a separate bowl or cup; stir to combine.
- Slowly add water mixture to the flour mixture.
- Using a wooden spoon, or your hands, gently stir and mix until dough forms a ball; dough should be soft, but not sticky. Add more water if it’s too dry, 1 tablespoon at a time. If it’s too sticky, add more flour.
- Lightly flour your work area and knead dough for 5 minutes.
- Line a baking sheet or a pizza pan with foil and lightly spray it with cooking spray.
- Spread pizza dough on the prepared pan, using the palm of your hands and fingers to stretch it out to about a 1-inch thickness.
- Grill or bake in a 400°F oven for 15 to 20 minutes, or until lightly browned.
Notes
- To Make Ahead: Wrap kneaded dough tightly in plastic wrap and keep in the fridge for up to 24 hours. When ready to make pizza, knead the dough again until it’s soft enough to shape.
- To Freeze: First, shape the dough and wrap it tightly in plastic wrap. Freeze in a heavy-duty storage bag for up to 3 months. Bake directly from frozen for 10 minutes, then add sauce & toppings and bake for an additional 10-12 minutes, until the crust is golden and the cheese is bubbling.
- To Store Leftover Pizza: Let the pizza cool completely and transfer to an airtight container. Refrigerate for up to 3 days. Reheat large portions in a 350°F oven until cheese is bubbling. Individual slices can be warmed up in the toaster oven.
Nutrition
Nutritional info is an estimate and provided as courtesy. Values may vary according to the ingredients and tools used. Please use your preferred nutritional calculator for more detailed info.


Awww I wish I could post a picture!!! Impressed with the results!!! Loved the texture of the dough one kneaded , wasn’t tough or too soft . Perfect for when you have no yeast on hand . Absolutely loved it ! Txtd my friend a picture cus I was so happy and she texts back “can I have a slice ” lol thank you for the recipe!!!!
In place of the canola oil, could I use a blend of canola and extra vigin olive oil?
Hi Lori! Yes, you absolutely can.
All I have to say is WOW!! This turned out to be one of the best pizzas I have ever had. First time making this and any pizza dough for that matter. I impressed myself lol and talk about aromatherapy. So I didnt end up using all of the water oil mixture and the dough once cooked seemed a little dense but I seasoned it so well that it got completely ignored. I wasnt sure if it was supposed to be that dense or what the texture was supposed to be like exactly but I also did it all by hand. Tried not to over work the dough but maybe next time it will turn out better. But I was still amazed at how good it all turned out. You dont even need meat.
Do I bake the dough without toppings first, or does eveything go on the raw dough?
Thanks!
Hi Jessica! Yes, you want to prebake the dough because if you don’t, you’ll end up with a doughy, not thoroughly baked crust. So, what you want to do is bake the dough for about 8 minutes, remove from oven, add your toppings, and then pop it back in for another 15 minutes, or until nicely browned and cheese is melted.
Hi, not sure if this has been asked already but can I use coconut oil instead for an apple dessert pizza? If so how much should I use as its cold-pressed.
Just made this pizza crust and I have to say it is amazing!!!! Thank you so much for the recipe, I have a yeast allergy so you can imagine how excited I am to find this recipe. If you have a yeast free bread recipe I love to hear about it! Thanks again!!!!!
Hi Kristen!! I am SO happy to know that you loved the recipe! I can’t imagine having a food allergy – thank GOD I don’t – but I can only imagine how difficult it is to work around it.
This recipe also works great if you wanna make it into cheesy breadsticks.
I haven’t made a yeast-free bread, but now that you mention it, it’s on the bucket list!
I was just thinking about what else I have on here that’s yeast-free and something that you could try – how about these 30-Minute Caramel Sweet Rolls! https://diethood.com/30-minute-caramel-sweet-rolls/ They are delish!!
How do I store leftover pizza dough? Do I roll it first and then store in a zip lock bag or can I just store the dough balls? Also how long do these last in the fridge? Thanks a lot!
The pizza turned out perfect. Loved it but I only used two balls
Hi Nilo!
Happy to know you enjoyed the pizza! That dough is quite perfect.
To freeze the dough, shape into individual dough balls, oil your hands with olive oil and wipe lightly around each dough ball. Place each one into a separate freezer bag, squeeze out the air and seal. You can freeze it for up to 3 months. When ready to use, thaw it out completely.
Hope this helps!
I used King Arthur gluten free multi purpose flour and this turned out great. It was the perfect combination of chewy on the inside, light crunch on the outside. My notoriously picky 12 year old liked it. That makes this recipe a keeper!
Can I use self rising flour?
Hi Tammy! Yes, you can use self-rising flour, but omit the baking powder and use only a pinch of salt.
Hi Katerina 🙂
Could you use gluten free flour with this recipe?
Hi Angella!!
I honestly have no idea. I have never tried it with GF flour. I know I’ve seen recipes for GF pizza dough with a blend of GF flours, but I am definitely not an expert so I can’t offer any helpful advice. I’m sorry. 🙁 If you do try it with GF Flour, will you please come back and let me know if it worked out??