This post may contain affiliate links. Please read our disclosure policy.
Instant Pot Honey Garlic Chicken are sweet, savory, tender, and juicy chicken thighs prepared with the most amazing honey garlic sauce and cooked in an Instant Pot. Dinner, from start to finish, will be ready in 30 minutes!
If you love making Instant Pot chicken dishes, check out my Instant Pot Chicken Mole for a flavorful twist with a hint of chocolate and spices. Craving something comforting? This Instant Pot Chicken and Dumplings recipe is perfect for a cozy dinner.
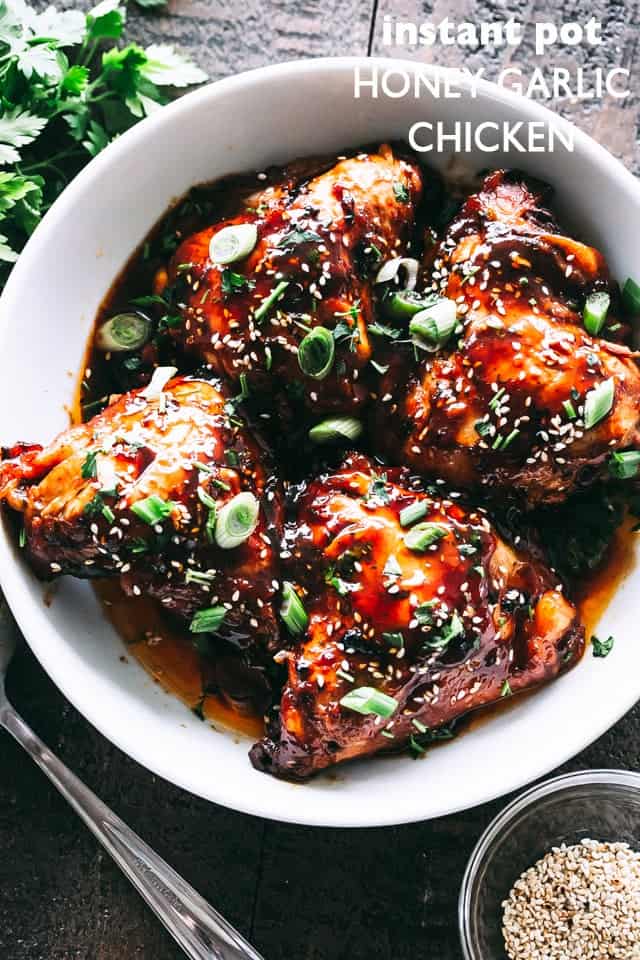
My #1 recipe for honey garlic chicken has been revisited and updated with a new twist because an Instant Pot is all the rage these days.
I know it’s so hard to choose between crock pot honey garlic chicken and instant pot honey garlic chicken. One takes hours to cook, and the other is ready in minutes. Honestly, though, the Instant Pot might be my new favorite way to cook. I do love my Crock Pot, but this pressure cooker thingamajig is a game-changer. Or maybe you’re more into good ol’ boneless skinless chicken thigh recipes on the stovetop? I love that, too.
Instant Pot Honey Garlic Chicken
This easy recipe for honey garlic chicken thighs is packed with so much flavor and requires very little effort. With just a handful of ingredients, this dish continues to be one of my go-to’s because it’s low maintenance and it’s fall-off-the-bone amazing.
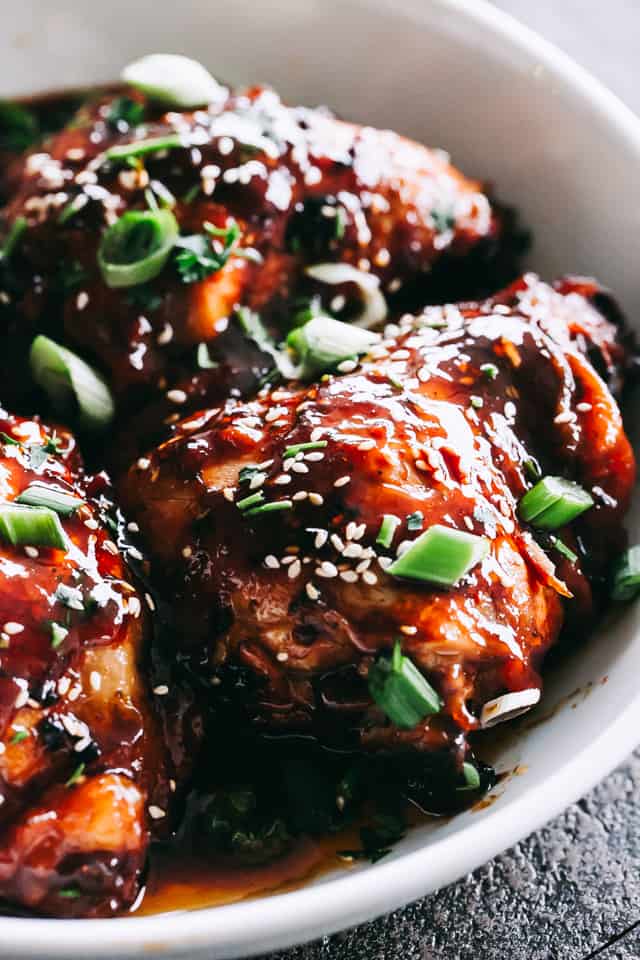
Clearly, I’m not talking about just any old chicken here. I’m referring to that special kind of garlic chicken that finds the perfect balance between sweet and savory, tender and juicy, similar to how the best bourbon chicken recipe masters that blend. Also, it can be made in about 20 minutes and that just makes my heart sing for joy! What’s more is that I always make extra so that I have at least some leftovers for tomorrow’s lunch. Adding it over a green goddess salad is pure bliss!
Gosh… There is not one single thing I don’t love about this type of food. The flavors in this dish are so simple, yet when combined, they are SO GOOD and out-of-this-world fantastic. It’s one of those recipes that you make once, and then you make twice, and then suddenly you can’t wait to make it again.
Recipe Ingredients
No big deal – the following are just a handful of ingredients you probably have sitting around. But once you put them all together? GIRL! The magic happens. This blend of sweet, savory, and aromatic ingredients creates a sauce that will take your taste buds on a joyride. Trust me, there’s nah.thing better. Let’s dive into what you’ll need to make these honey garlic chicken thighs.
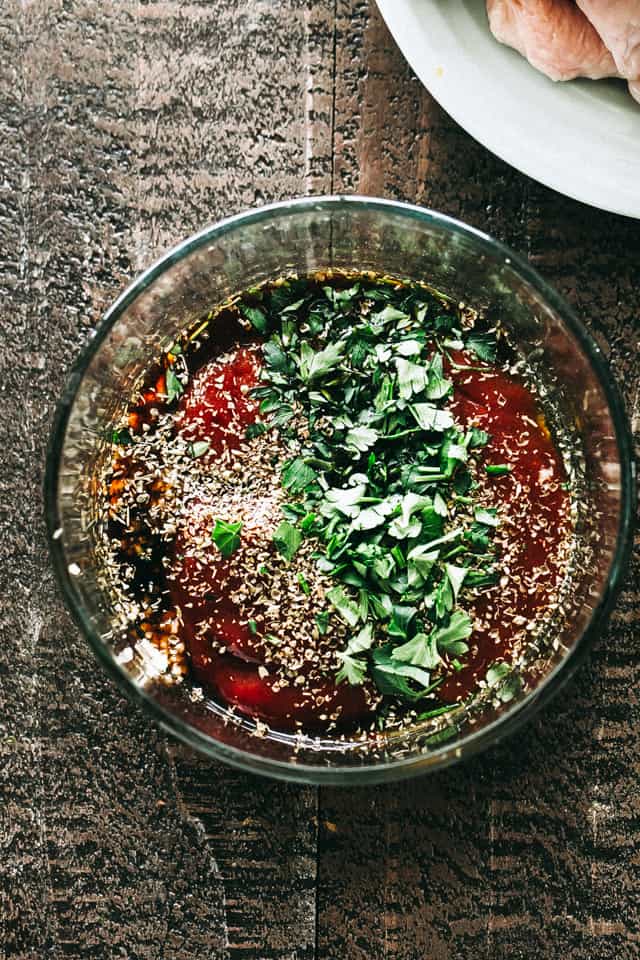
For the honey garlic sauce
- Honey – Adds sweetness and helps create a caramelized glaze. Maple syrup or agave nectar are good alternatives.
- Garlic—I love this sauce with tons of fresh garlic, but you can also use garlic powder. You’ll need about a teaspoon.
- Soy sauce – Contributes an umami flavor and balances the sweetness of the sauce. Tamari or coconut aminos will also work.
- Ketchup – Adds some tanginess and body to the sauce.
- Dried oregano – For a hint of herbal flavor. Italian seasoning or dried thyme are okay to use.
- Parsley – Fresh parsley provides freshness and a pop of color, but fresh cilantro or basil is a great substitute.
For the chicken
- Sesame seed oil – Adds a nutty flavor and aroma, perfect for sautéing. Olive oil or canola oil can also be used.
- Bone-in, skinless chicken thighs – Boneless chicken thighs or chicken breasts can be used, but you’ll have to adjust the cooking time accordingly.
- Salt and black pepper – Basic seasonings to enhance overall flavor.
- Toasted sesame seeds – These add a bit of crunch and pretty visual appeal. I have also used chopped cashews and it was delicious.
- Sliced green onions – I use these for a garnish and to add a mild onion flavor and freshness. Chives are a good alternative.
How To Make Honey Garlic Chicken in the Instant Pot
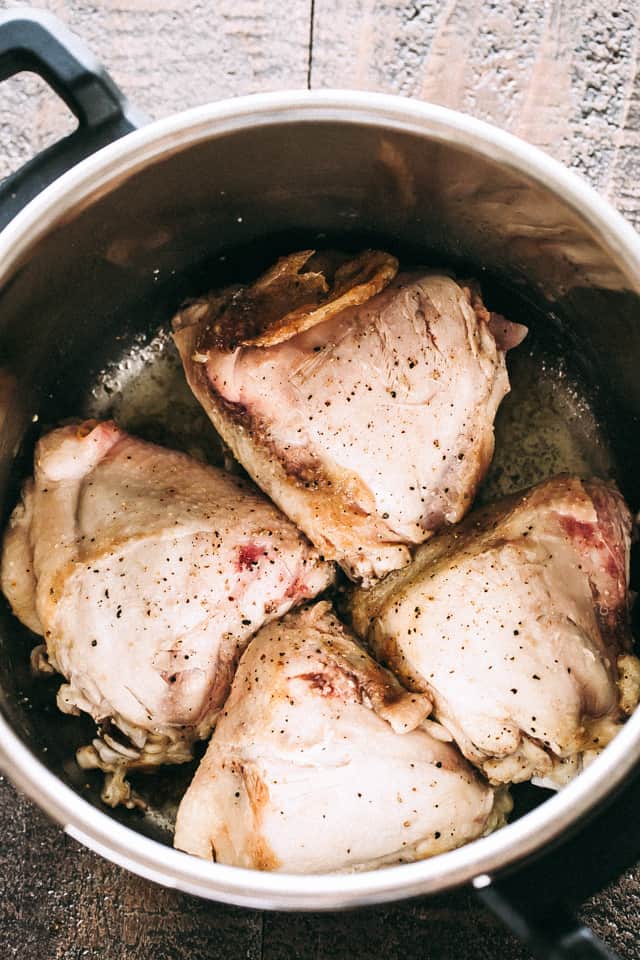
Whether you want to make this in the crock pot, as we have done up until now, or in the Instant Pot, trust me when I say that no matter what route you take, in the end you’ll just be super glad that you made it. Once you’ve prepared the sauce, you can move on to browning the chicken thighs right inside your Instant Pot – one pot means one meal and fewer dishes to wash. I used bone-in chicken thighs and could fit only 4 at a time, but if you choose boneless thighs, you can fit 6 to 8 at once.
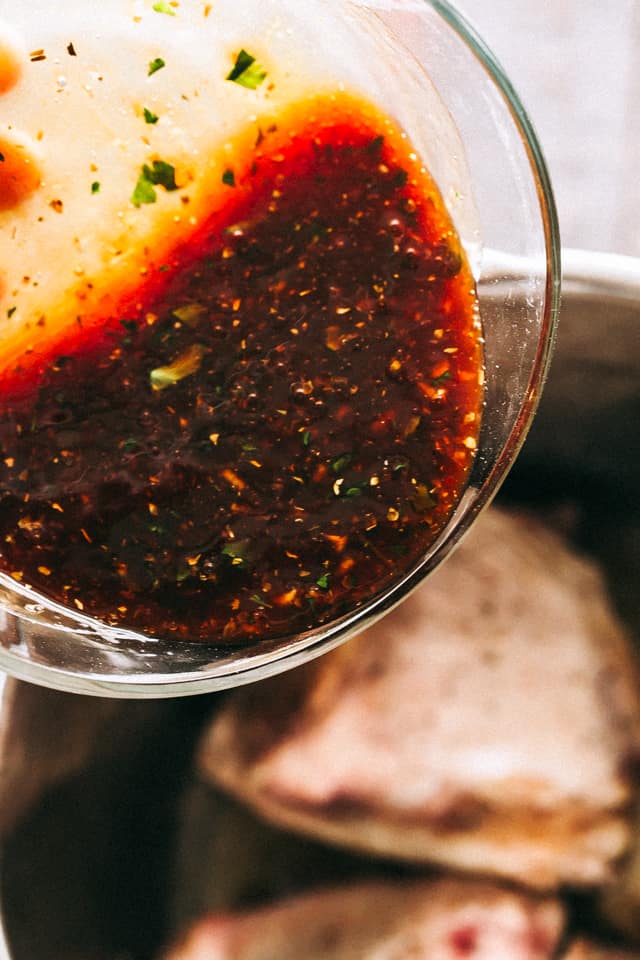
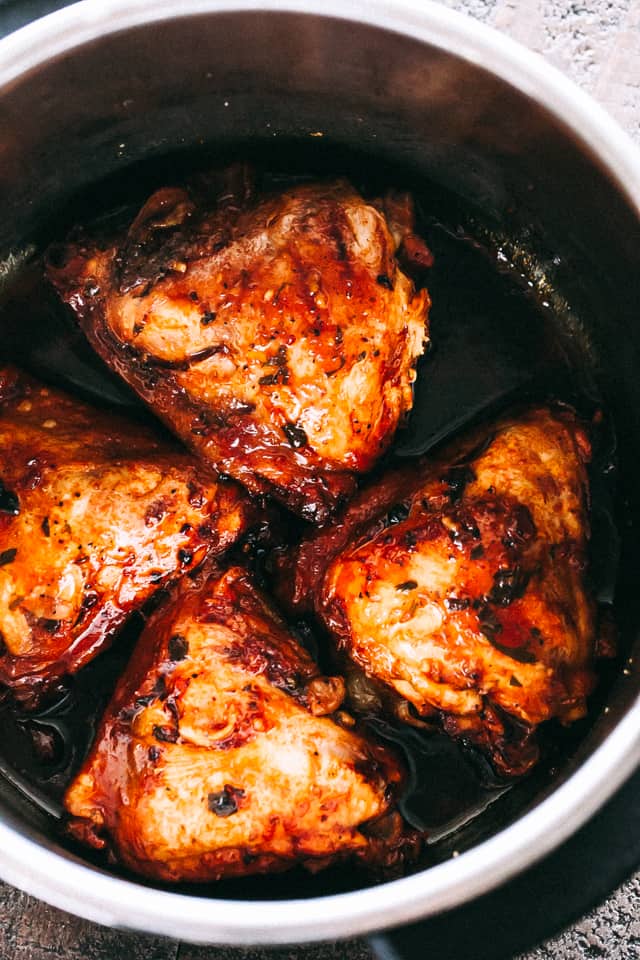
- Prepare the sauce: In a small mixing bowl, combine honey, minced garlic, soy sauce, ketchup, oregano, and parsley. Mix until well combined and set aside.
- Heat the Instant Pot: Set the Instant Pot to sauté mode and add sesame oil to the pot.
- Brown the chicken: Season the chicken thighs with salt and pepper. Arrange the seasoned chicken thighs in the Instant Pot and cook for about 2 to 3 minutes per side. Browning the chicken adds depth of flavor and helps to lock in juices.
- Add the sauce: Pour the prepared honey garlic sauce over the chicken thighs.
- Cook in poultry mode: Cover and lock the lid of the Instant Pot, then cook in poultry mode for 20 minutes.
- Release the pressure: Turn off the Instant Pot and allow it to release the pressure naturally for about 5 minutes. This step is important for safely opening the pot and ensuring the chicken remains tender.
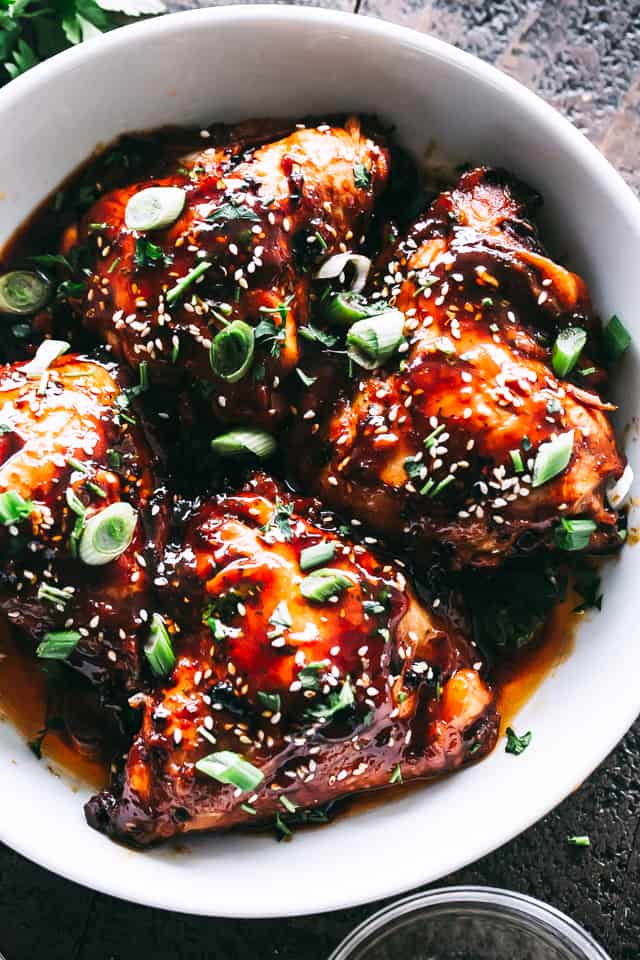
- Serve and garnish: Transfer the cooked chicken to a serving plate and spoon the sauce over the top. Garnish with toasted sesame seeds and sliced green onions and enjoy.
Recipe Tips
- Chicken options. If you only have chicken breasts, don’t worry! Just use the same method, but cook on the poultry setting for 10 minutes.
- Soy sauce substitute. If you are allergic to soy sauce or can’t have soy for other reasons, feel free to use coconut aminos which is soy-free, gluten-free, and vegan.
- Thicken it. Want a thicker sauce? After cooking, remove the chicken and set the Instant Pot to sauté mode. Simmer the sauce until it reduces to your desired consistency.
- Make it spicy. For an extra kick, add a pinch of red pepper flakes to the sauce.
- Make it with fish. I also have a seafood option with the same wonderful flavors Grab this recipe for honey garlic sauce salmon.
Serving Suggestions
To soak up all the delicious honey garlic sauce, I often serve honey garlic chicken over rice or with beef ramen (minus the beef). I like to add a side of my air fryer roasted broccoli and mashed potato pancakes for a complete meal. For dessert, a slice of German marble cake is the perfect finish!
Storing and Reheating
To store leftover chicken, let it cool completely before placing it in an airtight container. Keep it in the refrigerator for 3-4 days. For longer storage, you can freeze the chicken for up to 3 months. Thaw in the refrigerator overnight before reheating.
More Delicious Chicken Recipes
- Spicy Sweet Sticky Chicken Thighs
- Crock Pot Chicken Drumsticks
- Instant Pot Chicken Tinga
- Black Pepper Chicken
- Crock Pot Honey Lemon Chicken
Pin this now to find it later
Pin It
Instant Pot Honey Garlic Chicken
Ingredients
- ⅓ cup honey
- 4 cloves garlic, minced
- ½ cup low sodium soy sauce
- ½ cup ketchup, I use no-salt ketchup
- ½ teaspoon dried oregano, or any other dried herbs that you prefer
- 2 tablespoons chopped fresh parsley
- 1 tablespoon sesame seed oil, vegetable oil or olive oil can be used
- 4 to 6 bone-in skinless chicken thighs
- salt and freshly ground black pepper, to taste
- ½ tablespoon toasted sesame seeds, for garnish
- sliced green onions, for garnish
Instructions
- Make the sauce. In a small mixing bowl combine honey, minced garlic, soy sauce, ketchup, oregano and parsley; mix until well combined and set aside.
- Prep and cook the chicken. Heat the Instant Pot in sauté mode. Add sesame oil to the pot to heat up. Season the chicken thighs with salt and pepper and cook them for about 2 to 3 minutes per side or until browned.
- Add the sauce. Add the prepared honey garlic sauce to the pot; cover and lock the lid.
- Cook. Set the IP on poultry mode (or pressure cook mode) and cook the chicken for 20 minutes. Turn off the pot and allow it to release the pressure, about 5 minutes.
- Serve. Transfer the chicken to a serving plate and spoon the remaining sauce from the pot over the top. Garnish with toasted sesame seeds and sliced green onions, then serve.
Video
Notes
- Soy sauce alternatives. If you are allergic to soy sauce or can’t have soy for other reasons, feel free to use coconut aminos, which is soy-free, gluten-free, and vegan.
- Chicken. You can make this with boneless chicken thighs or chicken breasts, but you will have to adjust the cooking time because boneless meat cooks faster than bone-in.
- Burn notice. If you get a “burn notice” on your Instant Pot, it usually means there’s not enough liquid in the pot or that something is stuck to the bottom. To avoid this, you can deglaze the pot after browning the chicken by adding a bit of broth or water and scraping up any browned bits before adding the honey garlic sauce.
Nutrition
Nutritional info is an estimate and provided as courtesy. Values may vary according to the ingredients and tools used. Please use your preferred nutritional calculator for more detailed info.


Please help me out here. I have the IP ultra and has no poultry button so I used the meat/stew button and set time for 20 min 8 thighs in a 6 qt. Nothing browned and ended up canceling the cycle at 10 min. Was fearful it would overlook. It was cooked perfect but it looked nothing like the pick. Sauce was not thick and dark. Very light colored and watery. Any suggestions?
All the answers to your questions are in the other comments here. Hope this helps.
Did you Brown the chicken on sauté setting first?
So this was a good recipe. But my instant pot did not have a “poultry” setting. So I picked the next closest thing which was “Meat/Stew” and set it on that for 20 mins. Results were that chicken thighs were a bit over cooked (like shredded chicken ). Lots of sauce, it would have made a great recipe to put over rice due to its saucy/shredded consistency, but not the same as the recipe description. Wondering if I should have set the cook time for 10-15 minutes instead on the Meat/stew setting. My husband liked it since he likes overcooked chicken.
can i cook rice with this at the same time? if so how?! I just got my instant pot and want to make this with rice. thank you.
I asked the same thing 1/31 and am still awaiting an answer. It seems like we should be able to do it all in 1 pot. I’ve seen another recipe where they state to add the rice after the chicken, in other words sprinkle it on over the chicken and then pour the sauce over that, it doesn’t scorch the rice that way. However, this is a different recipe and I’m not sure how much liquid needs to be added.
You should be able to cook rice at the same time in a separate container. I am going to make this tonight with jasmine rice. I have a rack that goes over the chicken and a covered stainless steel pan that I’ve successfully used for rice in numerous other dishes.
I’m reading all comments hoping to learn the same thing! I have been cooking with my Instant pot for over a year and love it, just got a new accessory I have not tried yet, it’s two stainless bowls that stack with a lid for “pot in pot” cooking, I am hoping this recipe works for cooking together with rice. How did. You come out with the stainless bowl and rack?
Do I need to place the thighs on the trivet while pressure cooking (after they are browned)? This sounds delicious and I don’t want the thighs to burn on the bottom of the pot. Thank you!
Hi!
I didn’t use the trivet and they didn’t stick nor burn.
I used the metal trivet that came with mine upside down so the thighs would still be in the sauce but lifted up a little. And I had 8 thighs instead of 4 so I put them on their sides and they fit very nicely. No burn at all and came out perfect!
Out Instant Pot has been sitting on the counter for months and I finally got up the nerve to use it. This recipe was SO GOOD.
I used boneless chicken thighs and added a tablespoon of chopped candied ginger. Delicious!!!
Hi! Did you still cook the thighs for 20 mins even though they were boneless? TIA!
I made this last night with 8 boneless skinless chicken thighs (removed white fat pieces), cooked on poultry setting for 20 minutes : tasted great, but they were maybe a tad overcooked. The pieces were falling apart (which I kind of like) but tasted a little dry, needed lots of sauce per bite. I would try 15-17 minutes, maybe, next time? I’ll report back if I get around to testing. Still and all, I did like this recipe.
I did ten minutes on high pressure, quick released after 5 minutes. Digital thermometer read between 180-195 and the chicken was falling apart. Just about perfect for me.
Thank you for chiming in with your tips!!! I truly appreciate it.
Just made these tonight. Kinda bummed. Mine didn’t turn out like the picture. I have the Duo Mini and did 3 thawed chicken breasts instead. I ended up with really delicious, perfectly cooked chicken in 10 minutes, but unfortunately, it was floating in a bath of watered down sauce. Any tips for next time?
you could add a tbsp pf cornstarch to your sauce before you put it in the instant pot
Never add cornstarch before cooking, always mix it in after.
Why after?
Thickening sauces before pressure cooking can be dangerous, so only thicken afterwards. See https://www.hippressurecooking.com/consumer-alert-food-explosion-after-pressure-release/
I find that it takes forever to reduce the liquid so what I do now is cook the chicken in stock or even “jacked up water”. Dump the liquid after the chicken is cooked (best to let it rest covered a few minutes anyway) and reserve it for another use. Then put your soya sauce mixture in the IP on “Saute”, thicken it a bit and put the chicken back in the IP to coat. No more watery tasting sauce.
Can this recipee be doubled?
Hi!
My advice is to cook it in batches because you don’t want to crowd the IP – the chicken won’t cook properly nor evenly.
I have an 8 quart IP and quadrupled the recipe and it turned out perfect. I just seared the chicken thighs on the stovetop rather than in the pot all at once.
Hi! Do you have a recommended way to cook this over stovetop if we don’t have an instant pot or slow cooker? Looks delicious!
Hi!
So you will want to heat a pan or skillet over medium high heat; sear chicken thighs or breasts on both sides until cooked through.
FOR BONE IN THIGHS: Reduce heat after searing on both sides, cover skillet with a lid and continue cooking until the chicken is cooked through, while turning every several minutes until chicken is done.Drain most of the excess oil from the pan, and make the sauce.
When chicken is done and cooked through, add the prepared sauce to the pan. Increase heat to medium-high and continue to cook until the sauce reduces down and thickens slightly, which should take about 4 minutes, maybe less.
I hope that helps!
Hello! My thighs were sticking to the bottom of the pot while browning – did I maybe not use enough sesame oil?
Hi!
Could be that, but maybe the heat was too high. Lower the heat and you shouldn’t have that problem. Just a guess. I hope I am right 😀 Thing is, all stoves/ovens are not created equal – yours might need to be at a lower temp when sauteeing/browning/frying.
Do you need to deglaze the pot after browning the chicken. I’m concerned about a burn notice. Lol
Hi!
I didn’t/don’t deglaze and have yet to see that burn notice. 🙂 I understand the concern, though! 😀
If the meat is sticking just turn off the heat and put on a lid. The steam will help it loosen without tearing the skin. Then use a spatula to loosen it from the pot. The liquid in there will help keep it from sticking again. I use this method when I make frozen dumplings too.
Make sure your pan is hot before adding the oil. If you put cold oil on a cold surface then heat the meat will stick.
Can you do this with frozen chicken?
Hi!
Yes. Another reader said that she used frozen chicken and it turned out delicious. You just can’t brown the chicken beforehand. Obviously. hehe 😀
I would think you could brown thighs with skin, even frozen, to crisp the skin and render the fat. Yes? I made this tonight and we loved it. I removed the chicken after natural release and thickened the sauce on Saute with a bit of cornstarch in water. Thanks!