Baked Chicken Breast
Feb 01, 2023, Updated Oct 03, 2024
This post may contain affiliate links. Please read our disclosure policy.
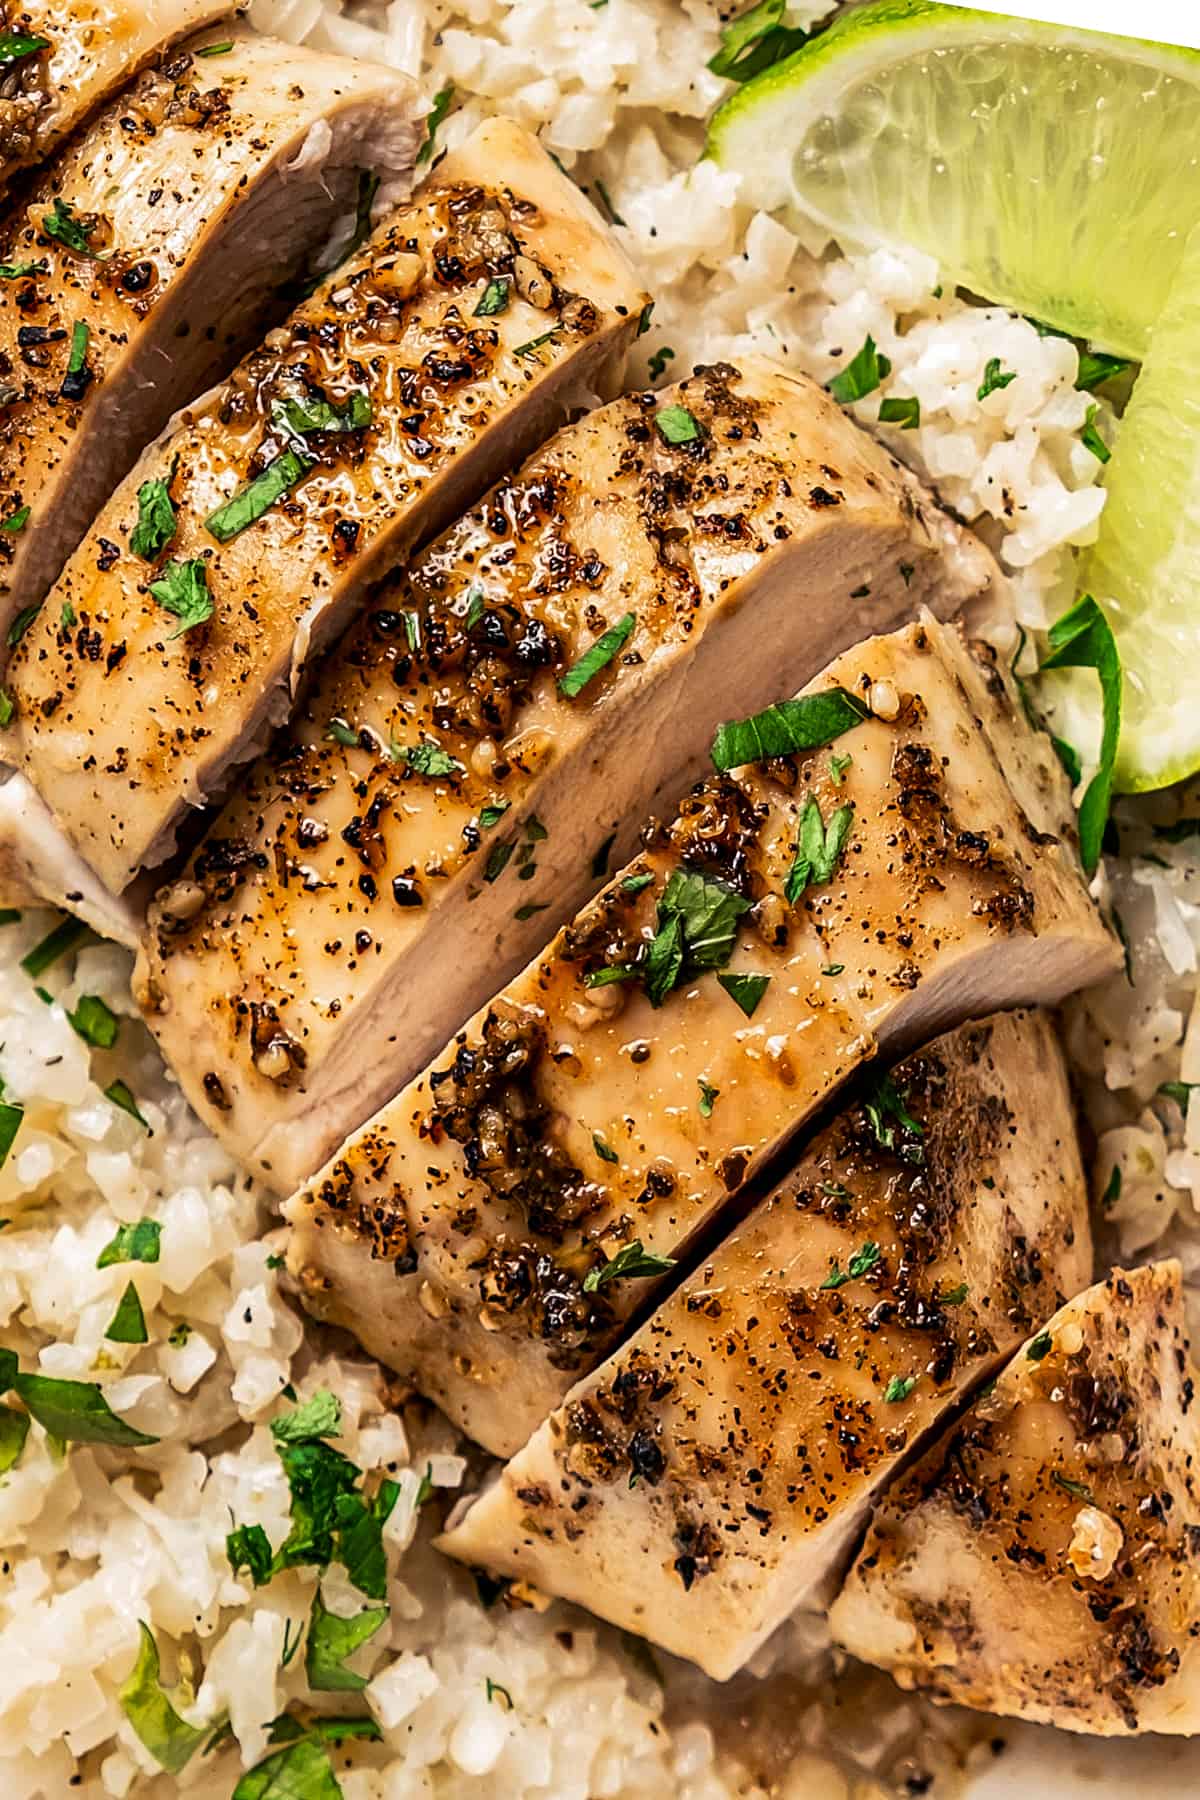
These easy baked chicken breasts are tender, juicy, and all-around perfect. This is the only baked chicken recipe you’ll ever need!
But wait, there’s more! If you’re looking to switch things up a bit, I’ve got two more mouthwatering chicken recipes for you to try: slow cooker chicken breast and yogurt-marinated baked chicken! Both are juicy and so tasty!
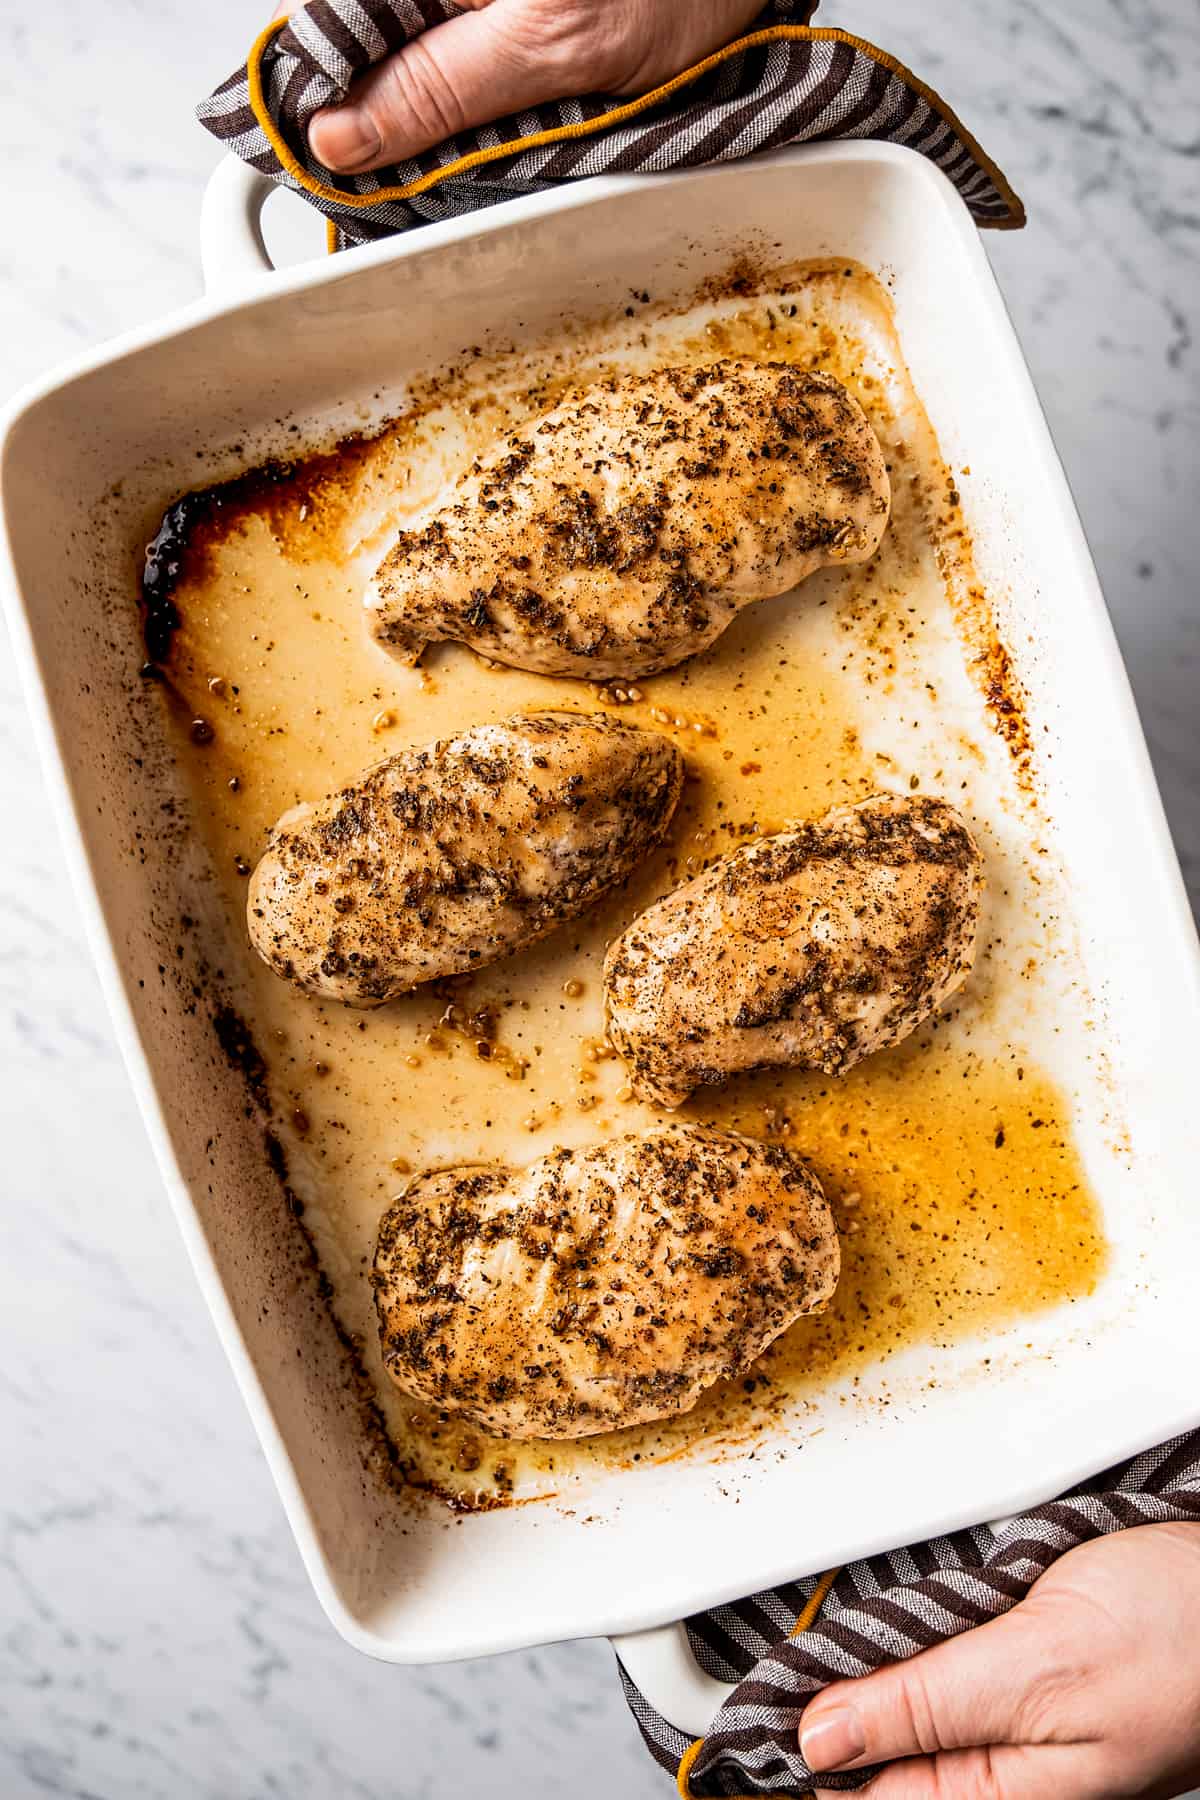
Why You’ll Love My Oven Baked Chicken Breast Recipe
- Always moist and juicy: No more dry, rubbery chicken, friends! My parchment paper method locks in moisture for tender, flavorful baked chicken breasts every time.
- Simple but smart: It’s as easy as seasoning and baking, with one extra step that makes all the difference.
- Fail-proof results: This method works no matter what seasonings or flavors you use, and it even works for stuffed chicken breasts.
- Perfect for weeknights: Easy, reliable, and ready for any variation, this baked chicken breast recipe is a dinner staple.
Ingredients You’ll Need
A couple of seasonings, chicken breasts, and butter are basically all you need to make the juiciest, perfectly baked chicken in the oven.
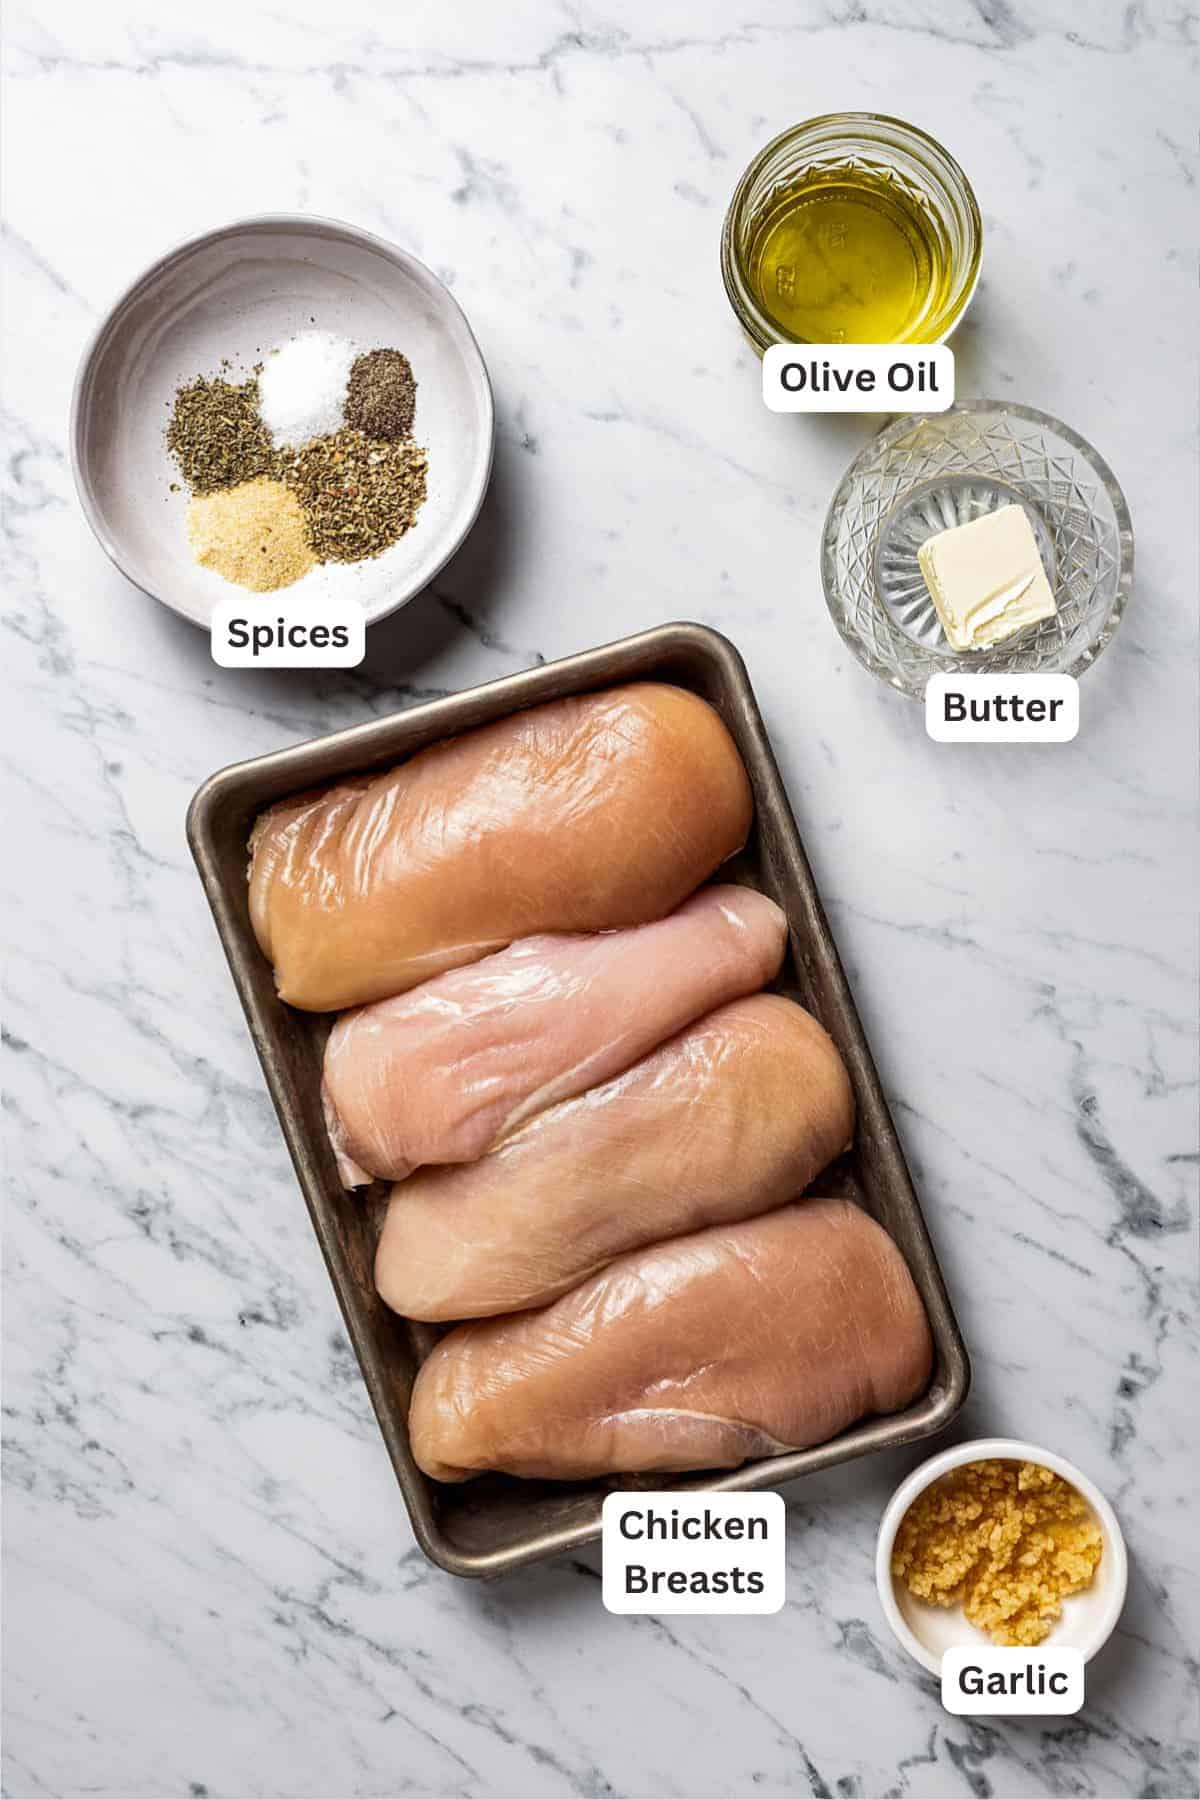
- Olive oil cooking spray – For coating the baking dish.
- Boneless skinless chicken breasts – Wash them, pat them dry with a paper towel, and trim them.
- Salt and freshly ground black pepper – To enhance the flavors of the chicken, salt and pepper are a must.
- Garlic and Garlic powder – The combination of fresh garlic and garlic powder results in super flavorful baked chicken breasts!
- Seasonings – Dried oregano and Italian seasoning, or use my homemade chicken seasoning blend.
- Butter – You can use salted or unsalted butter; if you use salted butter, use less salt when seasoning the chicken.
- Parchment paper – Don’t use wax paper; it needs to be parchment. If you don’t have parchment paper, you can use aluminum foil.
Recipe Tips
- Use an instant-read thermometer. I can’t stress this enough! It’s the only way to know for sure when your chicken is done and safe to eat. You can find inexpensive thermometers online.
- Don’t overcook it! The chicken will continue to cook after you remove it from the oven, so take it out when the thermometer registers between 162˚F-165°F.
- Browning. For a golden, crispy touch, briefly place the chicken breasts under the broiler to achieve that perfect browned finish on top.
- Let it rest. After you take your chicken out of the oven, let it rest for 5 minutes before slicing or serving. This will allow all the juices to settle and keep your chicken juicy.
How To Bake Chicken Breast Without Drying It Out?
Parchment paper is the secret to baked chicken breasts that don’t dry out in the oven. The pat of butter on each breast does help with flavor, but the parchment paper does the heavy lifting here. It seals in the juices instead of letting them steam off, so basically, the parchment paper allows your chicken to baste itself as it bakes. It’s a technique taught in culinary schools, and it works every time.
Serving Suggestions
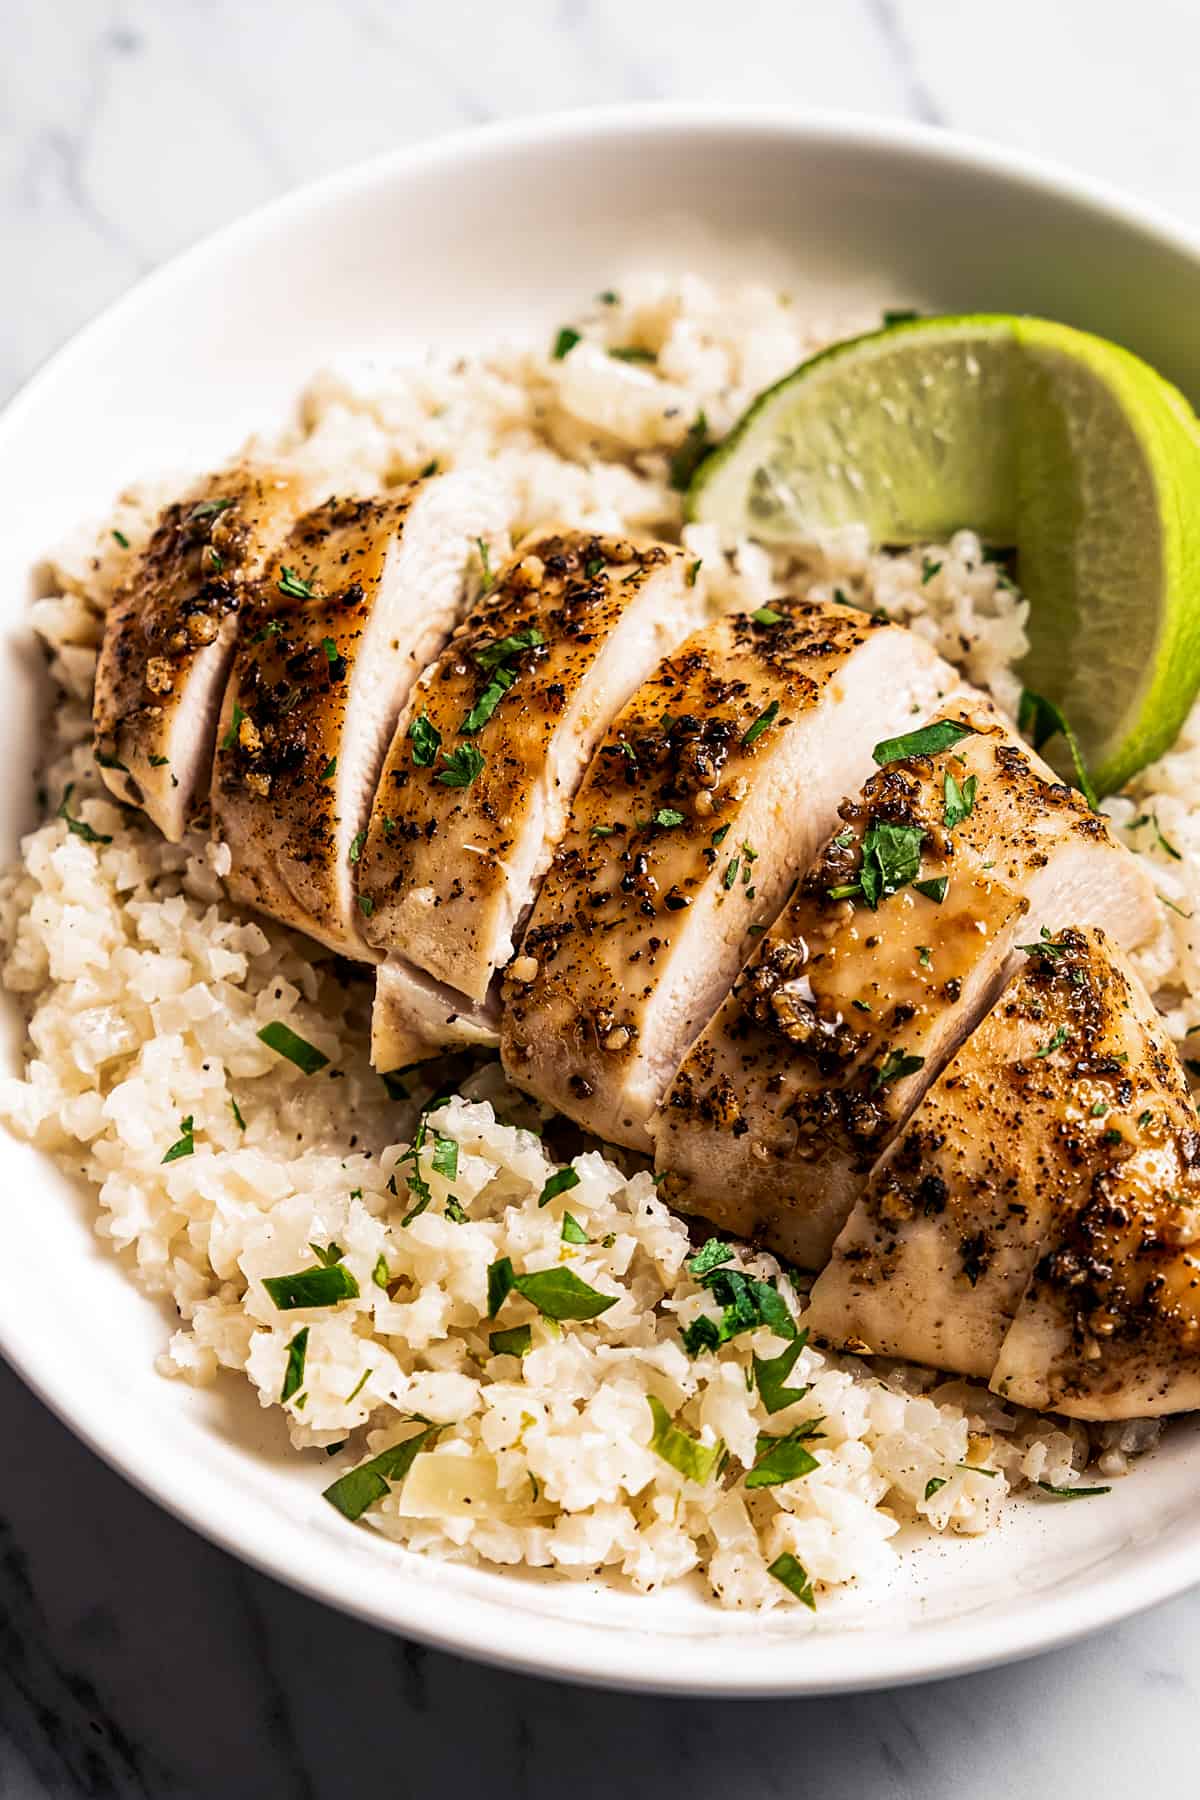
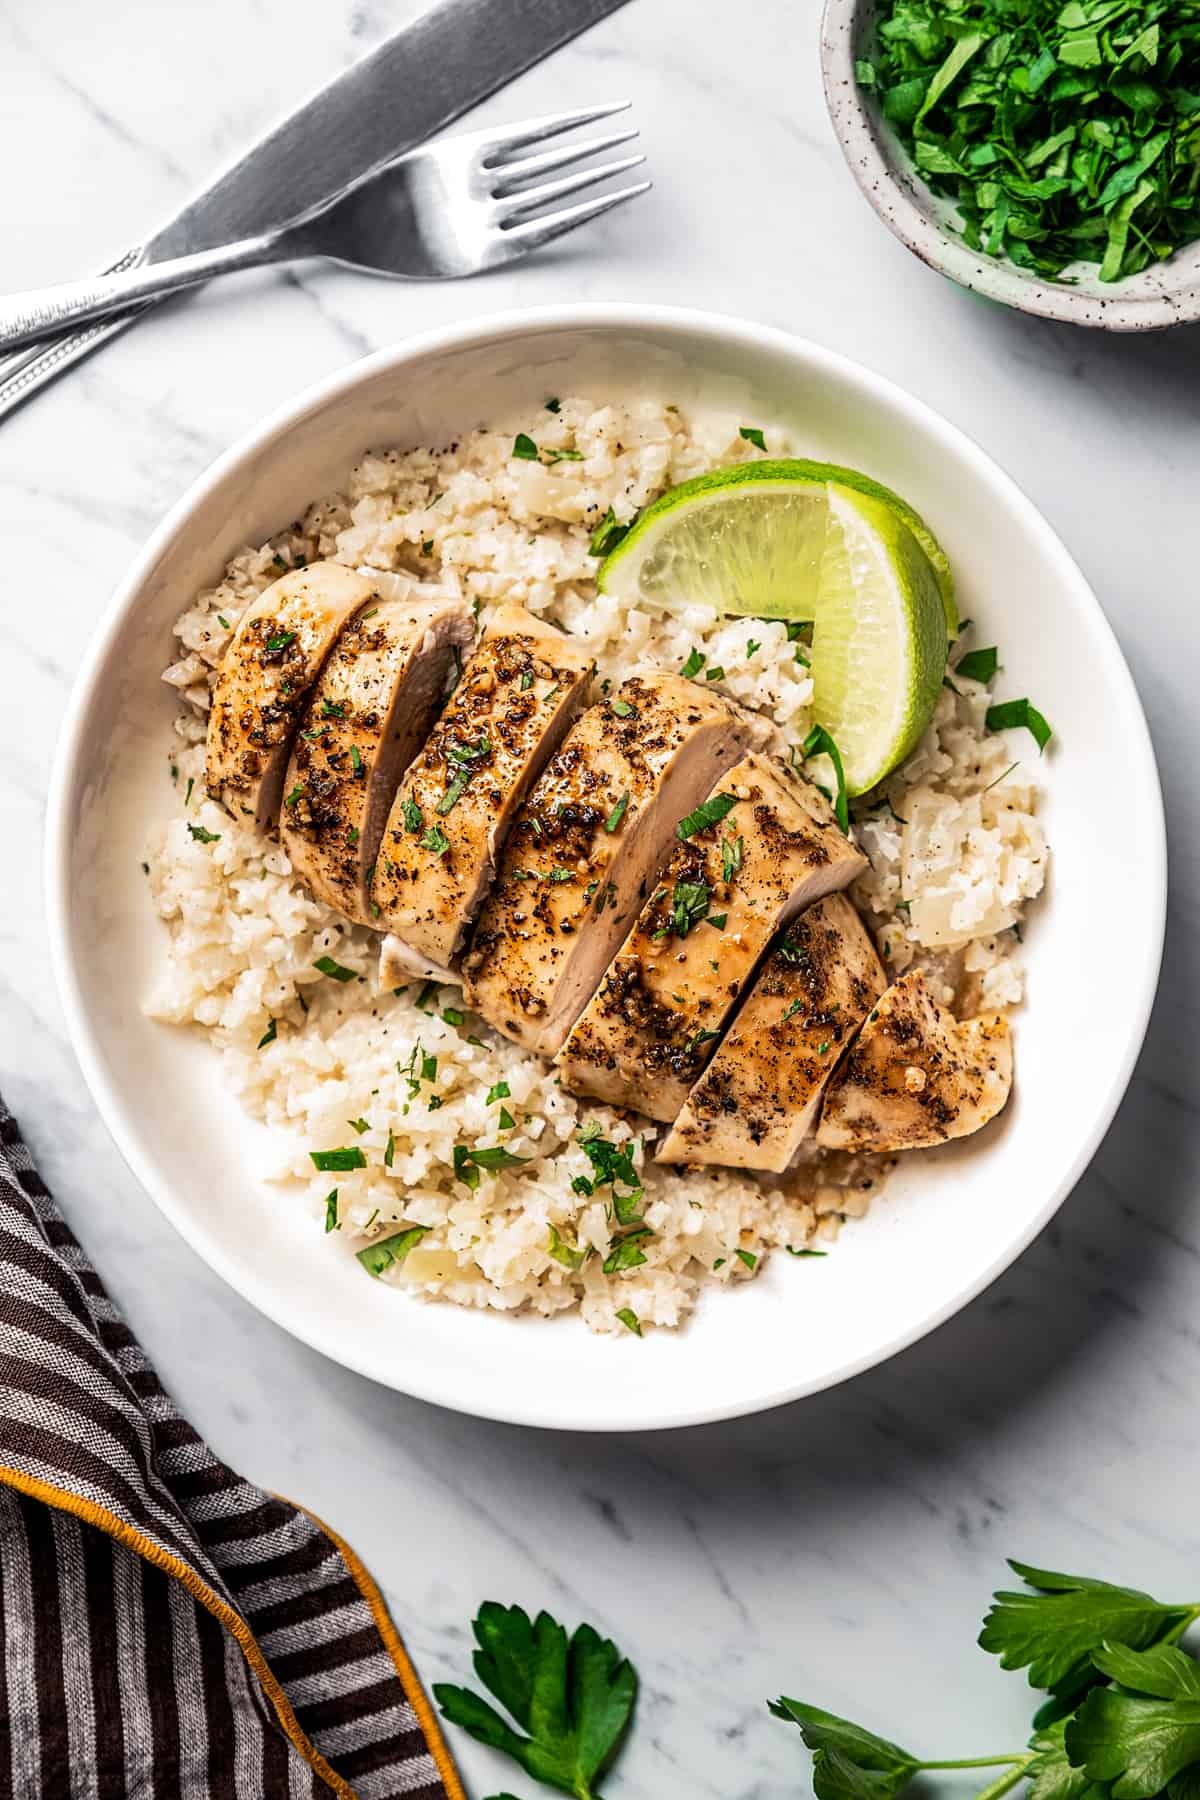
- Salads & bowls: Slice the chicken and serve it in a Caesar salad, over jeera rice, or with coconut lime cauliflower rice for a lighter option.
- Soups: Shred it and stir it into this chicken vegetable soup or my Thai chicken soup for an easy protein boost.
- Pasta: Serve it over creamy garlic butter pasta with spinach.
- Vegetable sides: Pair it with sautéed garlic broccolini for a simple side, or chop it up and toss it with roasted mushrooms with Parmesan during the last few minutes of cooking.
- Potatoes: Add air fryer baked potatoes, Parmesan truffle fries, or crispy smashed potatoes to make it a meal.
Pin this now to find it later
Pin It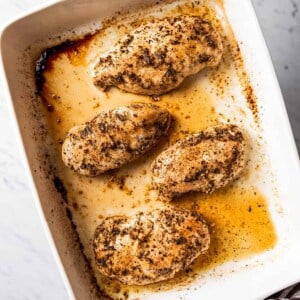
Baked Chicken Breast
Ingredients
- olive oil cooking spray
- 4 boneless, skinless chicken breasts, fat trimmed off
- 2 cloves garlic, minced
- salt and freshly ground black pepper, to taste
- ½ teaspoon garlic powder, or to taste
- ½ teaspoon dried oregano, or to taste
- ½ teaspoon Italian Seasoning, or to taste
- 1 tablespoon butter, cut up into 4 pats
- parchment paper
Instructions
- Prep. Preheat the oven to 400˚F. Lightly grease a 9×13 baking dish with cooking spray.
- Prep the chicken. Pat dry the chicken breasts with paper towels. Transfer the chicken breasts to the baking dish and rub a bit of minced garlic over each chicken breast. Season chicken on both sides with salt, pepper, garlic powder, oregano, and Italian seasoning. Place a pat of butter over each chicken breast.
- Add the parchment paper. Place a sheet of parchment paper over the chicken breasts. Tuck the edges so that the parchment paper is snug around the chicken.
- Bake. Place the chicken in the oven and bake for 30 to 33 minutes, or until the internal temperature of the chicken reaches 162˚F to 165˚F.
- Rest and serve. Remove the chicken breasts from the oven and transfer them to a serving plate; let rest for 5 minutes before serving and cutting.
Video
Notes
- Chicken Breasts: This recipe uses boneless and skinless chicken breasts. If you want to use chicken thighs, please check out this recipe: Oven Baked Chicken Thighs.
- Parchment Paper: This will help retain moisture, resulting in tender and juicy chicken. Aluminum foil can be used in place of parchment paper.
- Seasonings: Chicken can be flavored with various herbs and spices. My go-to’s are almost always garlic powder, onion powder, some paprika, dried oregano, dried thyme, or dried rosemary. Feel free to get creative using your favorite seasonings.
- Golden Brown Finish: To add a touch of golden crispiness, give the chicken breasts a quick broil to achieve that browned top.
- Instant Read Meat Thermometer: Please use a meat thermometer to check the chicken for doneness. Chicken is cooked through when its internal temperature registers at 165˚F. Also, let the chicken rest for 5 minutes after you pull it out of the oven and before slicing and serving.
Nutrition
Nutritional info is an estimate and provided as courtesy. Values may vary according to the ingredients and tools used. Please use your preferred nutritional calculator for more detailed info.
How to Bake Chicken Breast In Oven
Below are the simple steps for achieving perfectly juicy and tender chicken every time. If you’re looking for a reliable baked chicken breast recipe, you’ve come to the right place. This method has consistently produced succulent, flavorful chicken that pairs well with any side dish.
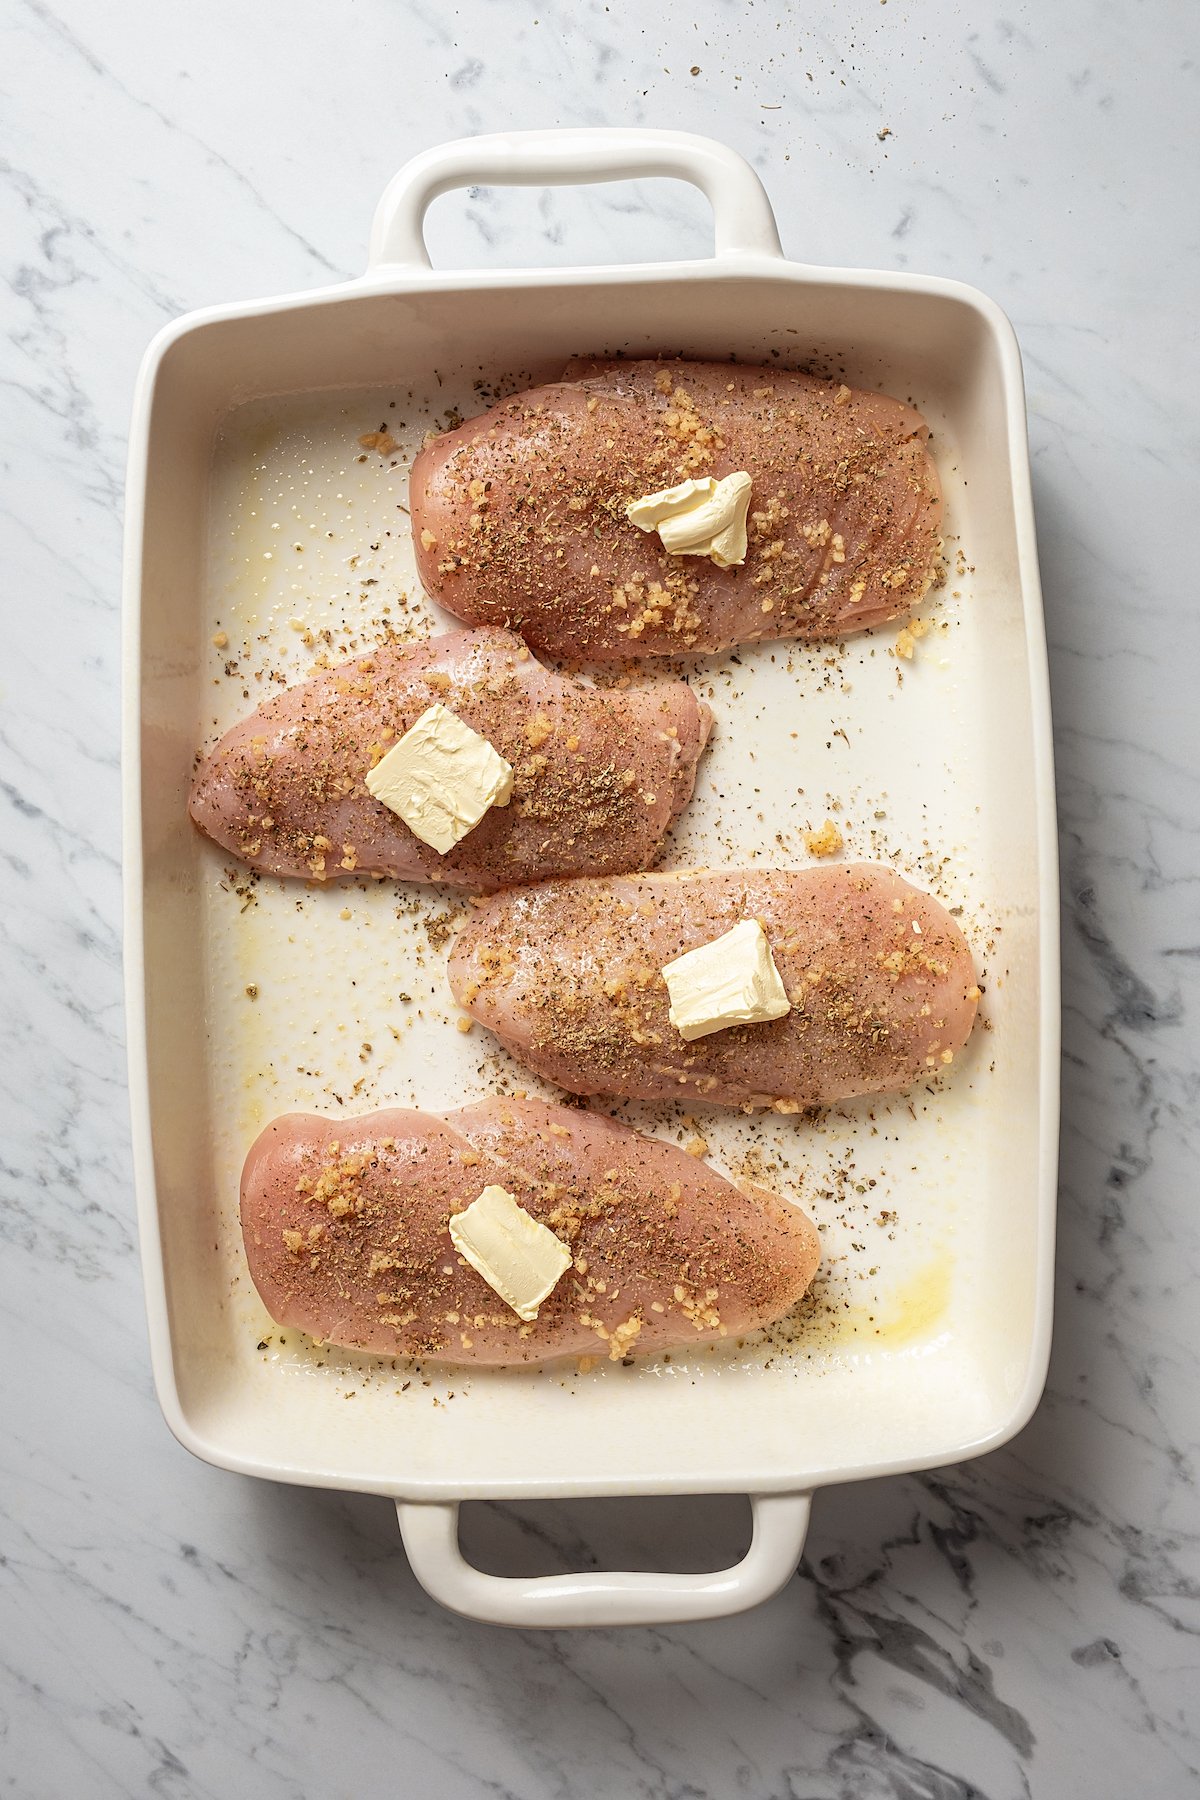
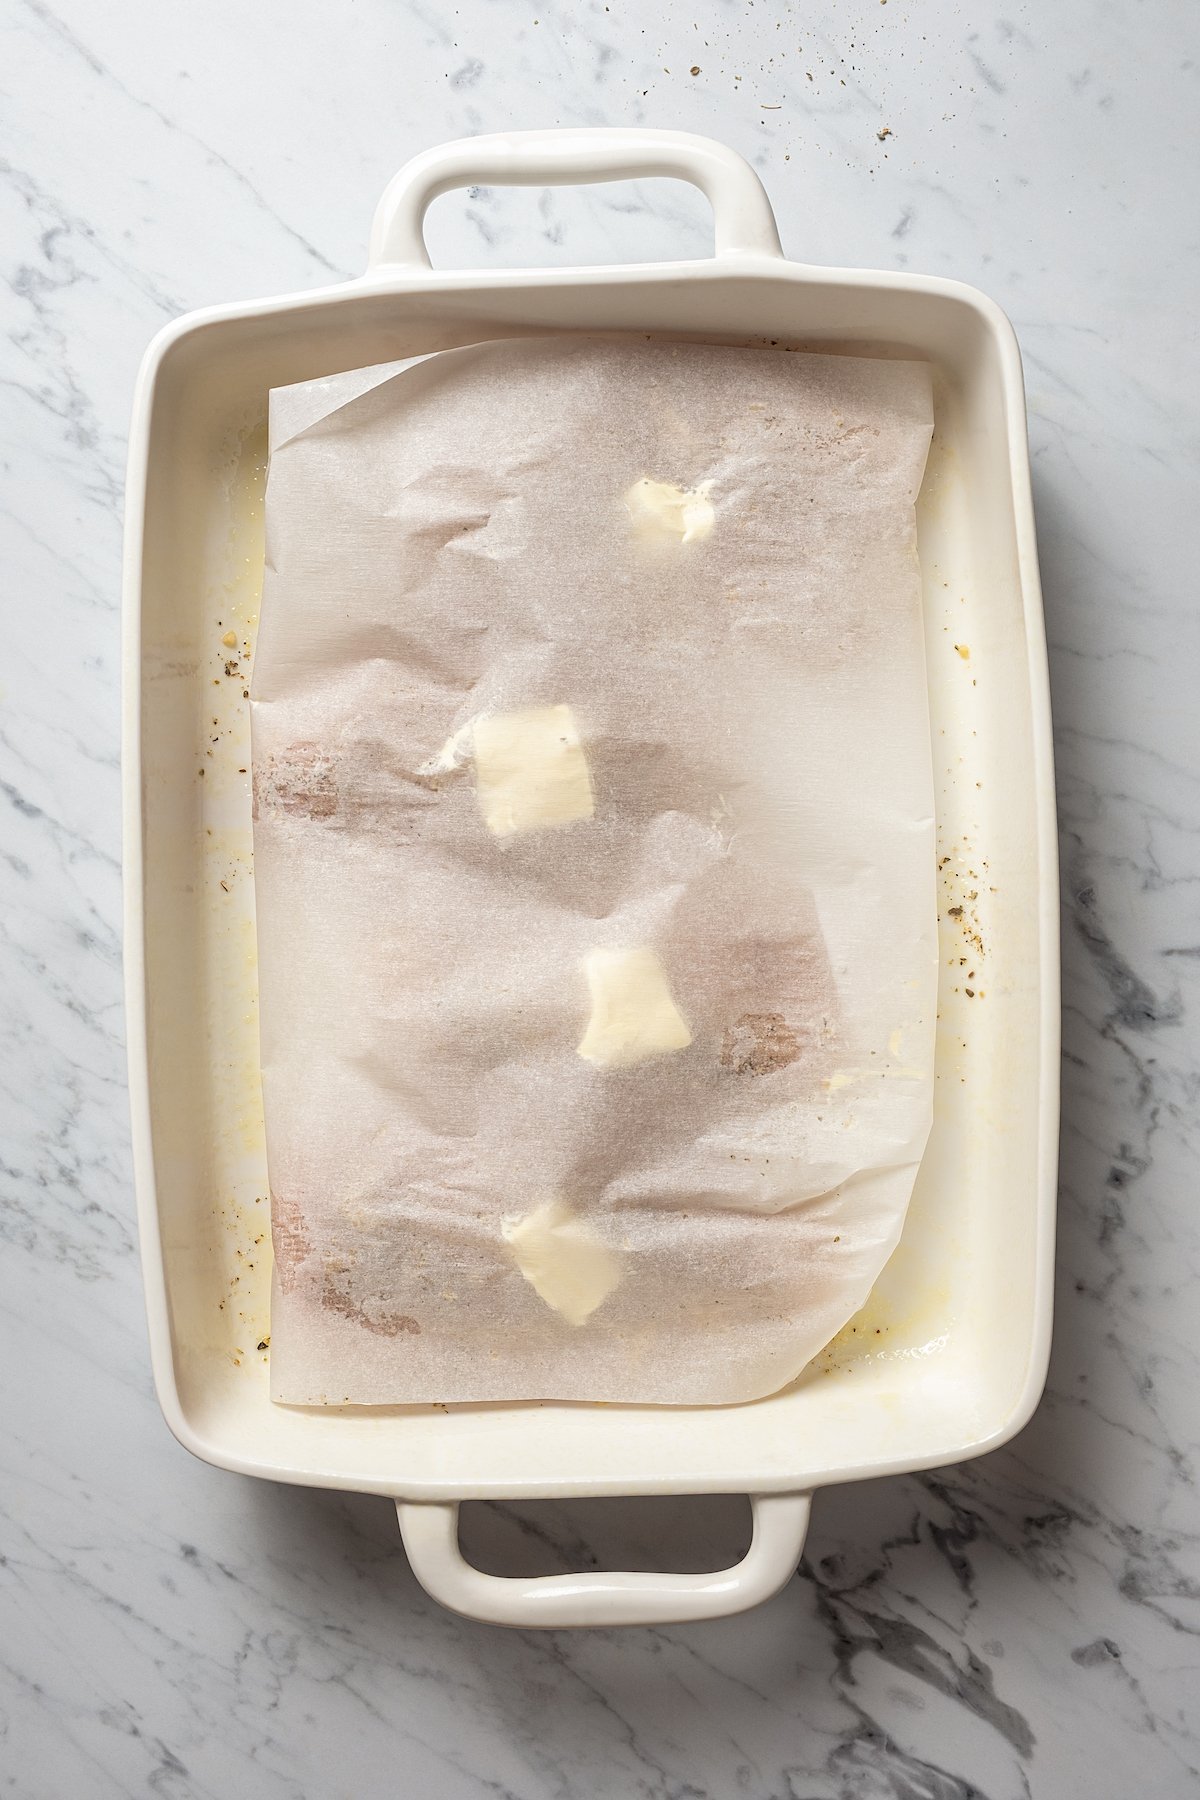
- Prepare. Preheat your oven to 400ºF and lightly grease a 9×13 baking dish with cooking spray.
- Season the chicken. Arrange the chicken breasts in the baking dish and rub the minced garlic all over each breast. Add the salt, pepper, garlic powder, oregano, and Italian seasoning to both sides. You could even combine the seasonings in a small bowl and then sprinkle them over the chicken.
- Add the butter and parchment. Set a pat of butter over each of the seasoned chicken breasts. Then, place a sheet of parchment paper over the chicken breasts and tuck the edges under the chicken so it’s snug; this is what keeps the steam in.
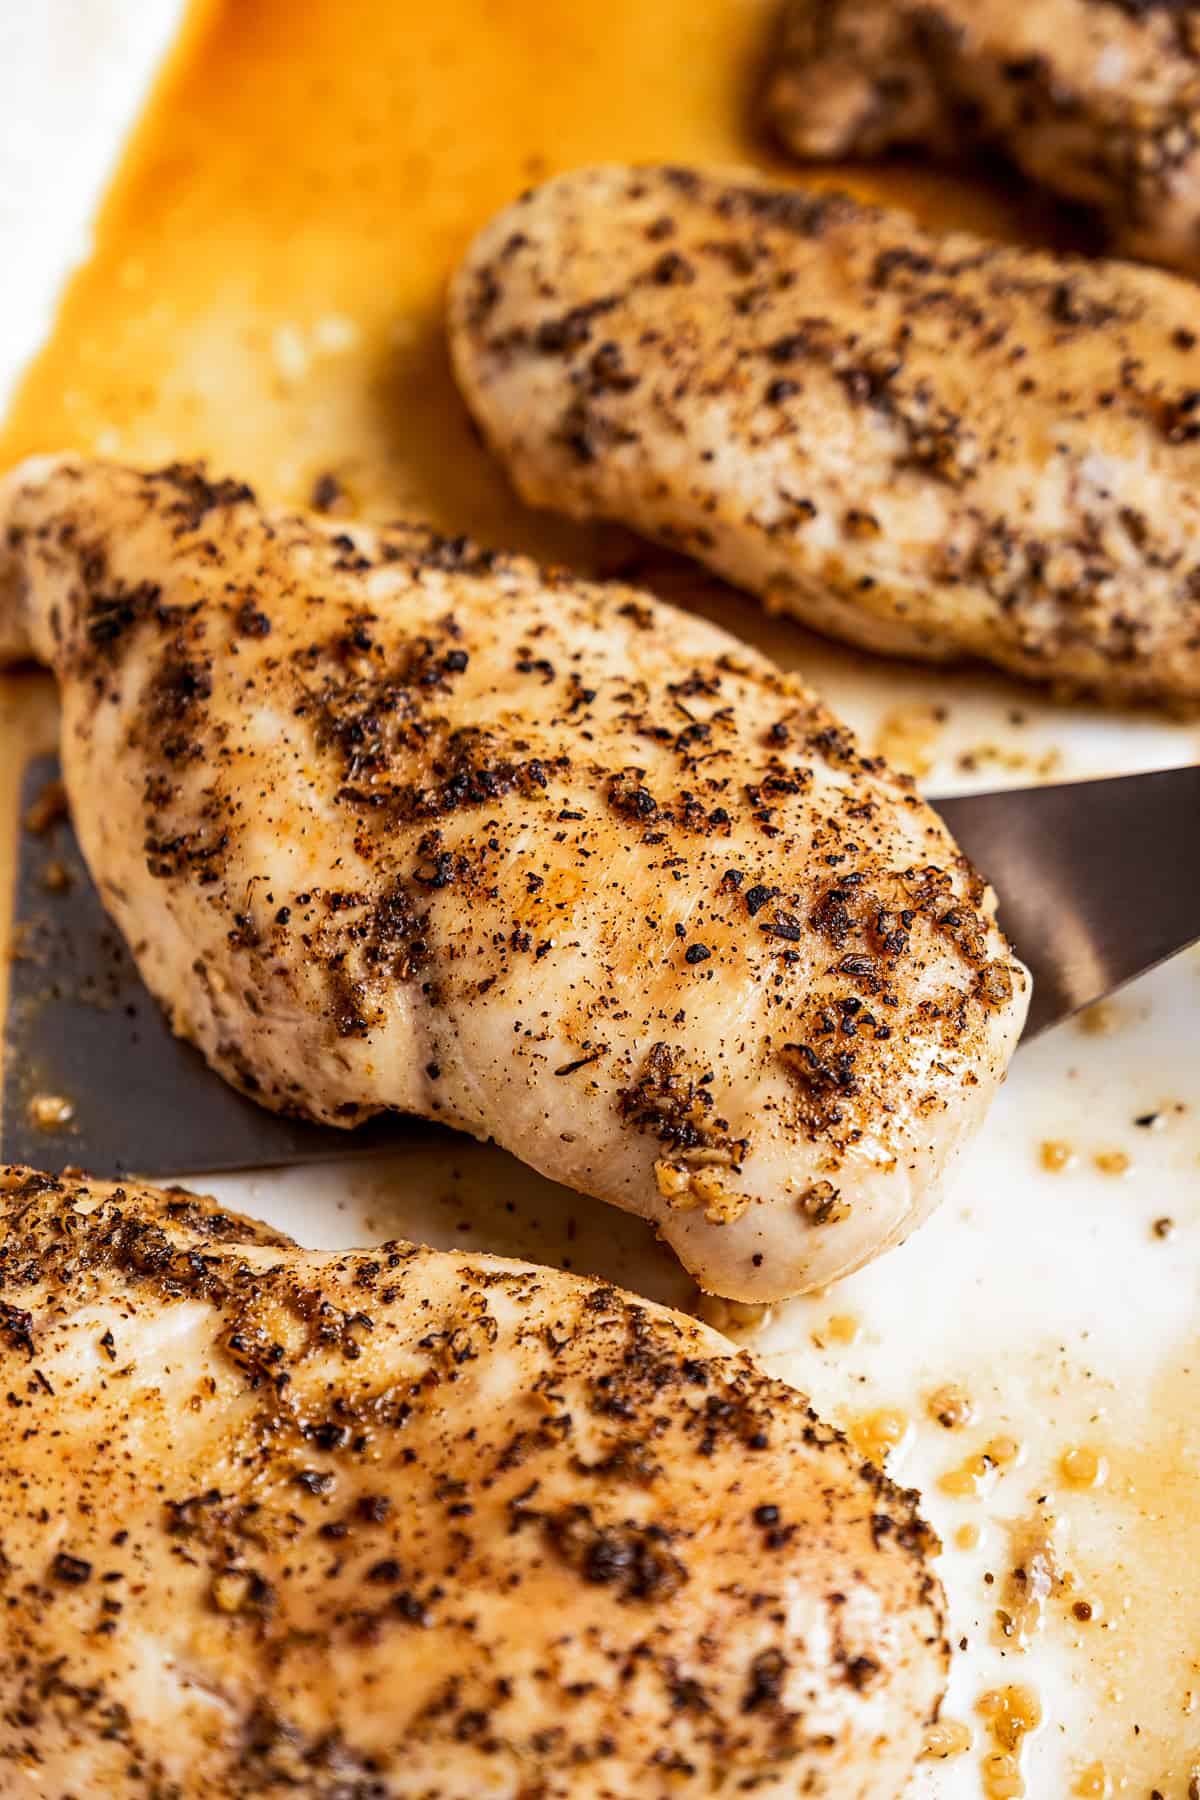
- Bake. It doesn’t take long to bake chicken; approximately half an hour is all you need. Place the baking dish in the oven and bake until the chicken’s internal temperature reaches 165ºF.
Storage
- Fridge. Let the cooked chicken breasts cool completely, then refrigerate them in an airtight container or wrap them tightly with plastic wrap; they will last for 4 to 5 days in the refrigerator.
- To reheat. Place the chicken on a parchment-lined baking sheet in a 350°F oven for about 10 minutes or until heated through. You can also microwave them, but be careful to avoid overcooking. A few short bursts of heat should do the trick.
Can I Freeze Baked Chicken?
Yes, you can freeze cooked chicken breasts. Wrap the cooked chicken tightly in plastic wrap and add a layer of aluminum foil over the plastic. Place the chicken in a freezer bag; seal the bag, pressing out as much excess air as possible. Set the bag in the back of the freezer, where it is the coldest, and store it for up to 3 months. When ready to use, remove the bag from the freezer and set it in the fridge overnight to thaw before reheating.
More Easy Chicken Recipes
- Italian Dressing Chicken
- Chicken Bryan
- Grilled Barbecue Chicken and Vegetables in Foil
- Crack Chicken
- Italian Chicken and Vegetables in Foil
- Chicken and Rice Fajitas in Foil


I’ve baked chicken with this recipe numerous times and it always turns out delicious, succulent and perfect!
That’s wonderful to hear! I’m very glad you enjoyed it! Thank YOU! 🙂