This post may contain affiliate links. Please read our disclosure policy.
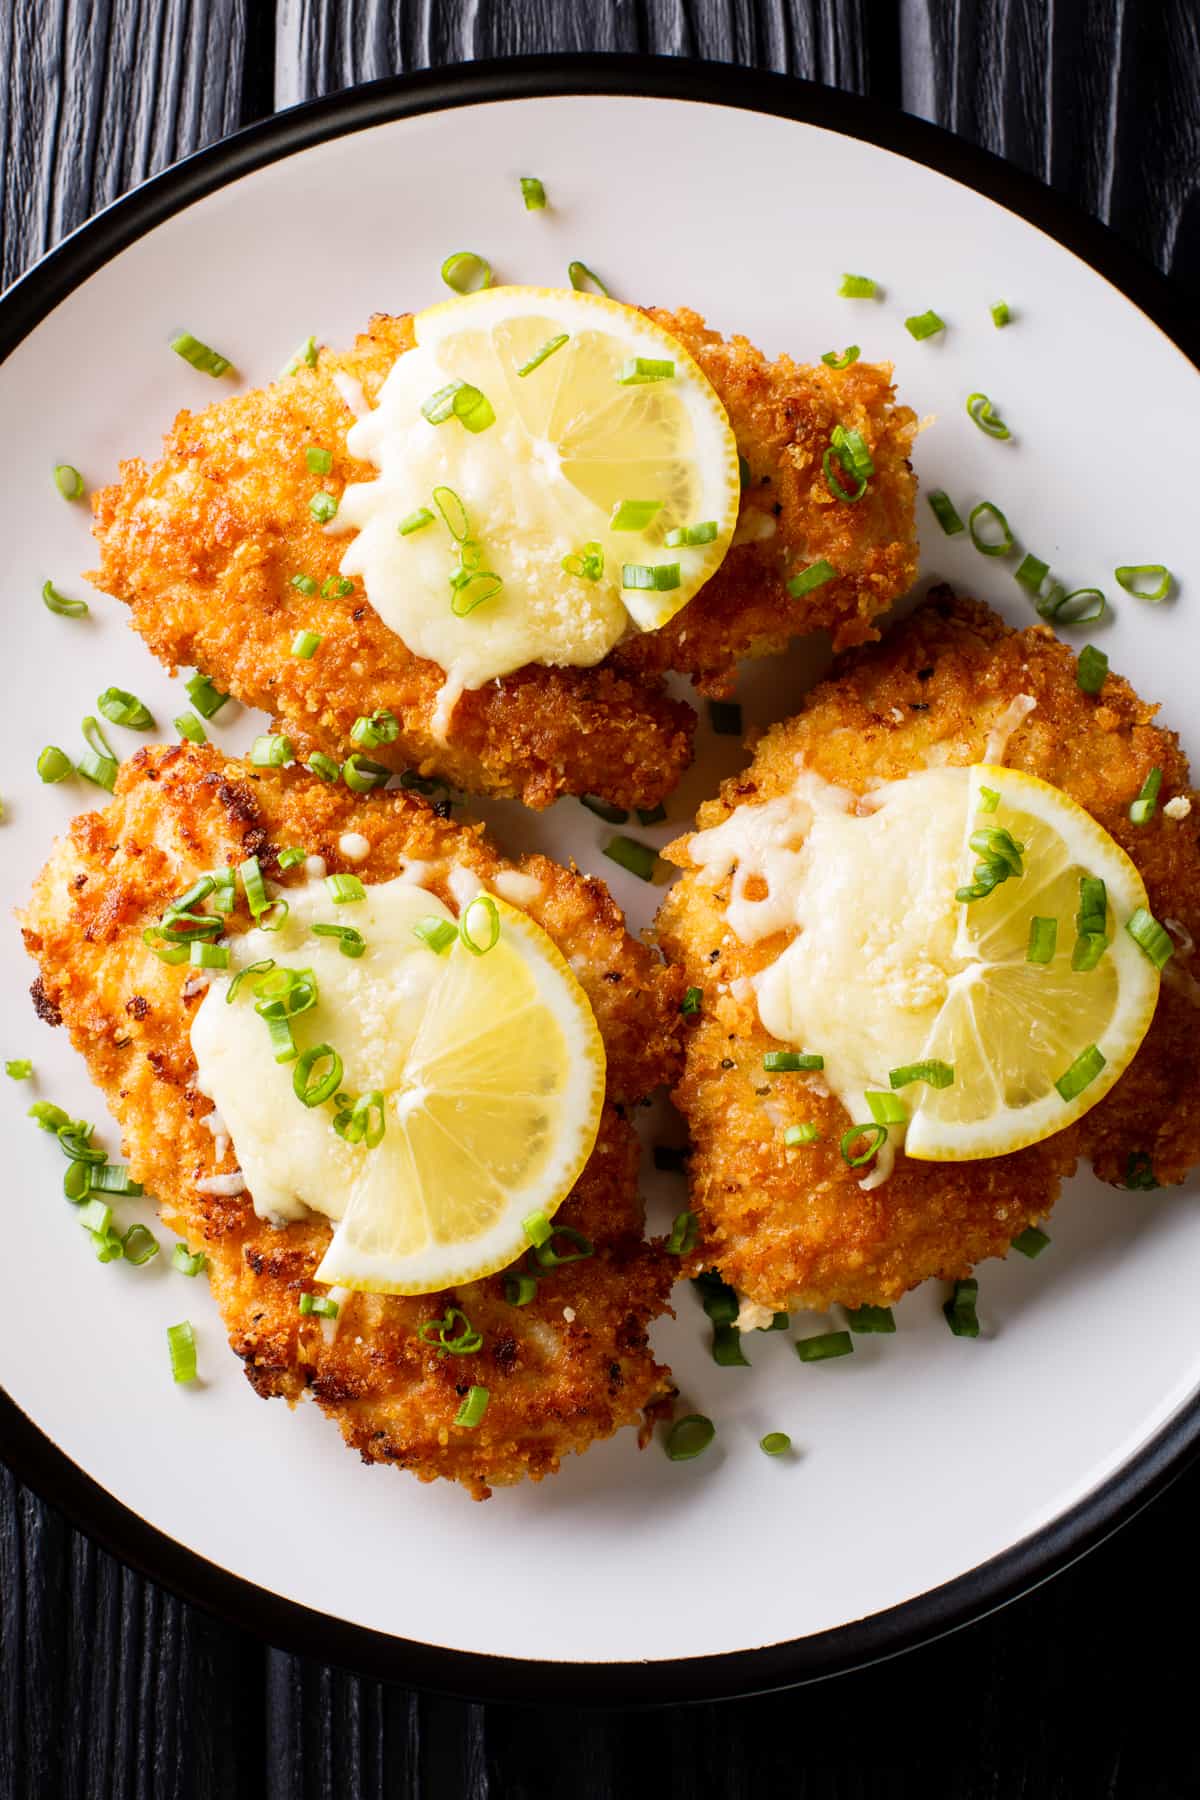
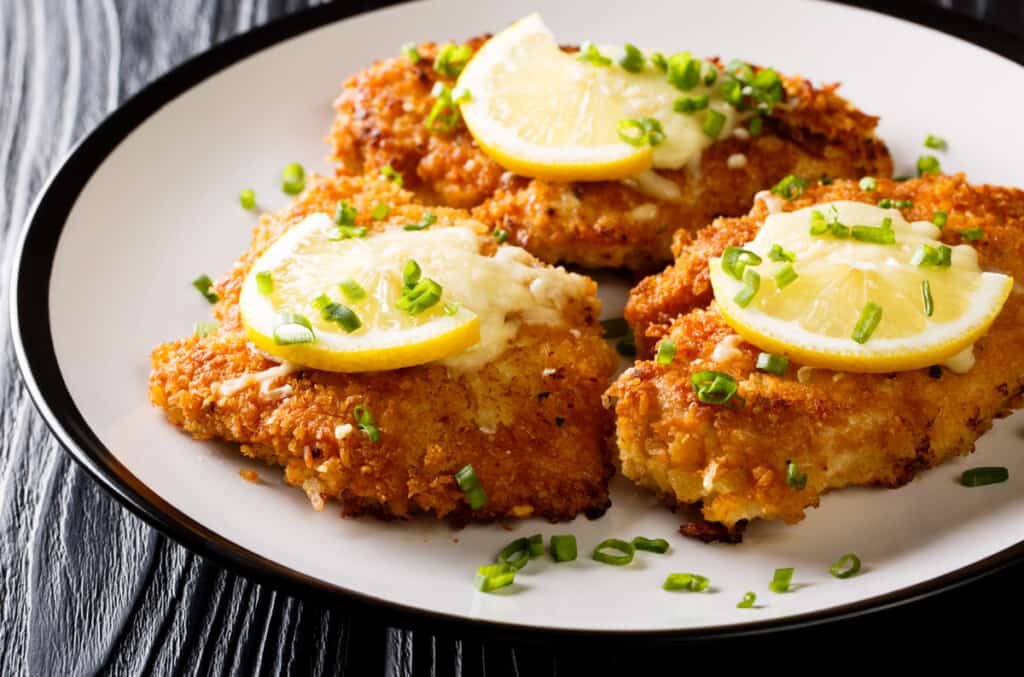
If you’ve got half an hour, you can whip up this classic chicken dinner called Chicken Milanese! It’s prepared with deliciously crispy chicken cutlets that are lightly breaded and pan-fried to a golden and juicy perfection.
A Simple, Chicken Milanese the Family Will Love
Not to toot my own horn, but from chicken Florentine to chicken saltimbocca and chicken Milanese, I am everyone’s go-to cook for Italian chicken recipes. 😉 No, really, I am! So, if you like Italian food with a fried vibe – like chicken tenders, chicken nuggets, fried chicken, chicken parm… – this recipe is for you!
This is a simple dish in the fried chicken category, but with a little more fresh and zesty flavor, thanks to delicious herbs and lemon. Known as chicken Milanese, or pollo alla milanese, it’s made with chicken cutlets pounded thin and lightly breaded with flour and panko crumbs, just like a chicken schnitzel. If that sounds delicious, well, it is! Plus, it’s easy to make.
This restaurant-style meal comes together with just a few steps, and in about half an hour. If you’re looking for a new spin on chicken, with deeper flavors and a crispy crunch, this one’s a keeper.
What Does Milanese Mean in Cooking?
The term “Milanese” means “Milan style,” as in the Italian city of Milan. And, the term Milanese in cooking is all about thin, juicy cutlets that are given a crispy breading and then pan-fried. Simple, elegant, and impossible to resist.
What’s the Difference Between Chicken Milanese and Chicken Parmesan?
Chicken parmesan is made with fried cutlets that are topped with red sauce and cheese, while these Milanese cutlets are served with a simple squeeze of lemon and a little basil oil, if you like. However, keep in mind that Chicken Milanese makes a great base for chicken parmesan, so feel free to double this recipe and save half for making homemade chicken parmesan another time.
Ingredients You’ll Need
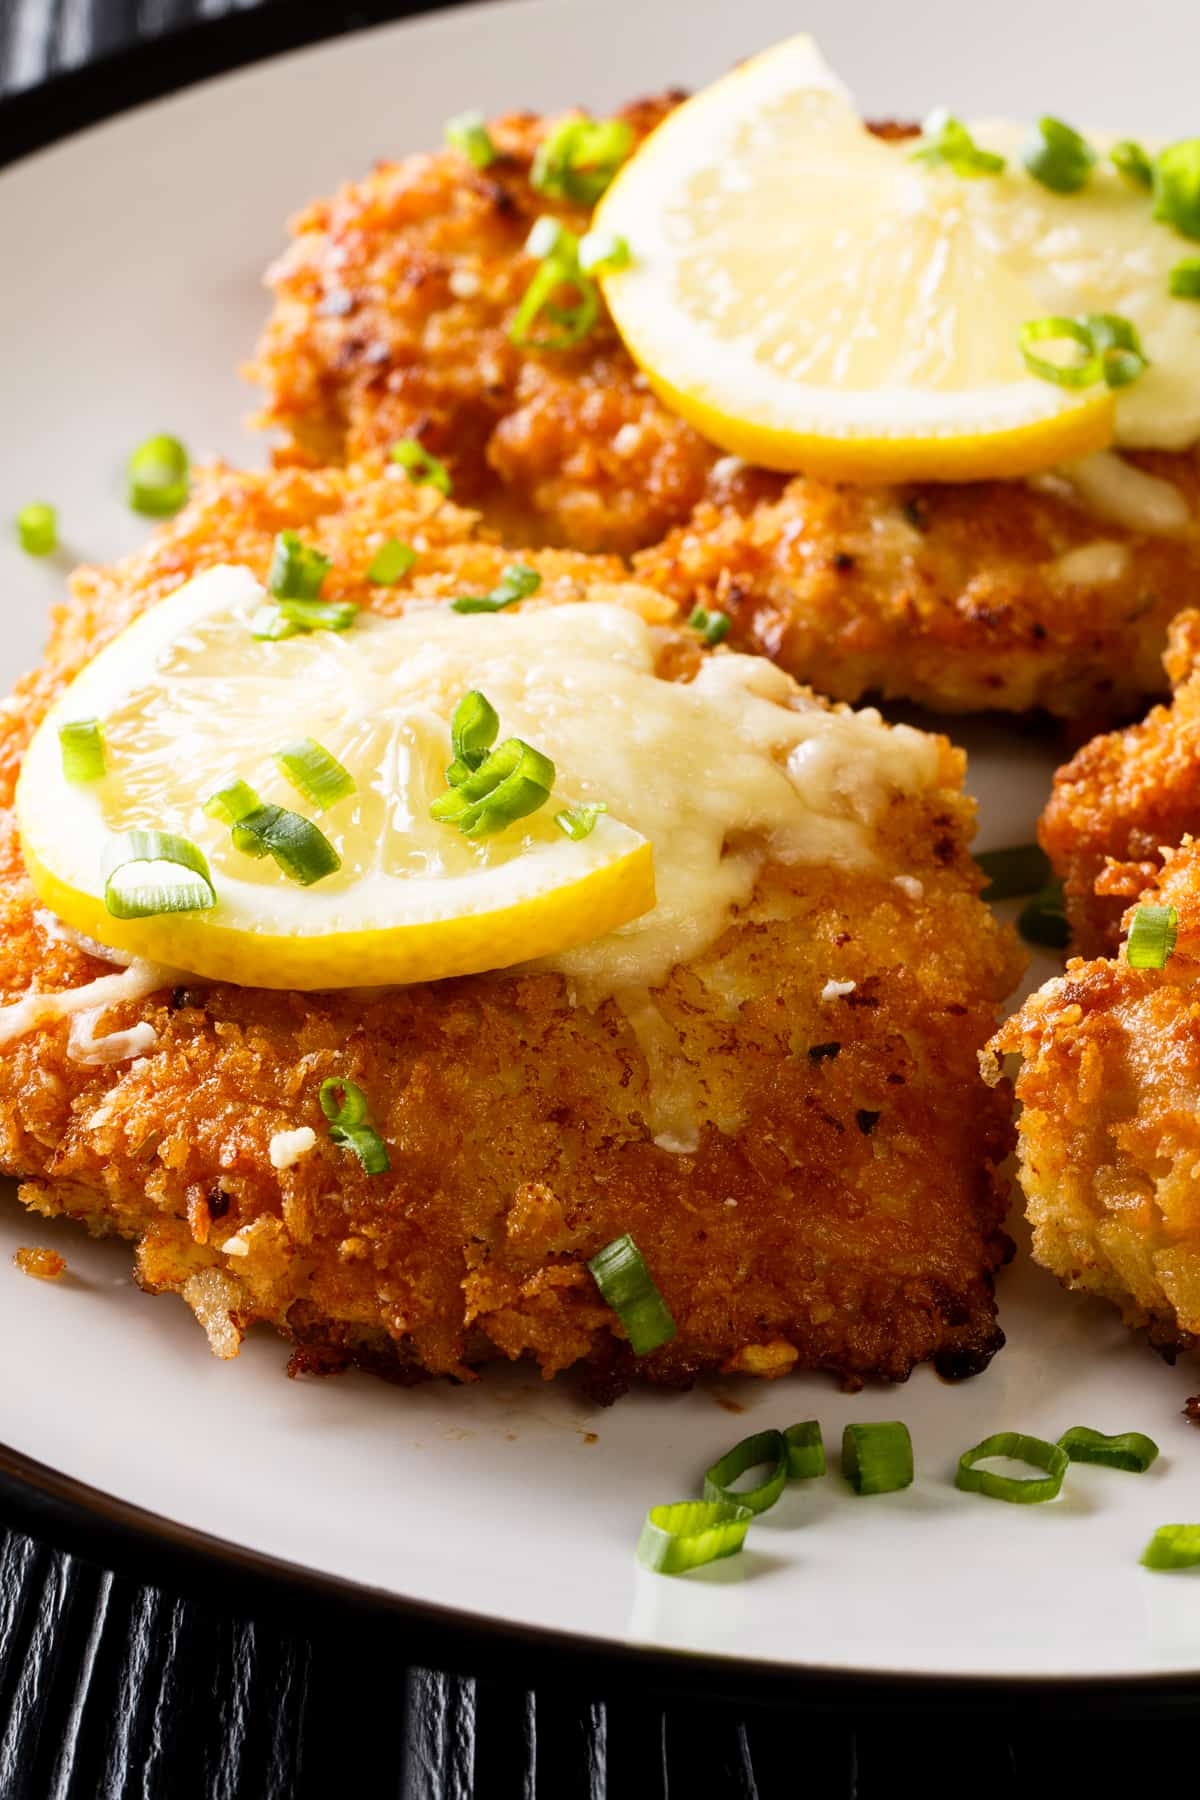
Let’s talk about what makes this chicken Milanese recipe so delicious! You’ll be happy to know that most of the ingredients are probably already in your pantry. Simple, classic, and perfect for cooking this crispy chicken dish in no time!
- Chicken: I use chicken cutlets, pounded to a ¼-inch thickness. You could also cut regular chicken breasts in half to make thin pieces and pound those into “cutlets.”
- Seasonings: I use a simple and classic seasoning of salt, black pepper, garlic powder, and onion powder.
- Oil: Olive oil is my favorite for this recipe. You could also use avocado oil, vegetable oil, or any neutral cooking oil.
- Flour: Regular all-purpose flour is best for the breading.
- Eggs: Large, whole eggs, lightly beaten will help the breading adhere to the chicken breast.
- Panko: These Japanese-style breadcrumbs are famously crunchy. Regular breadcrumbs are okay to use.
- Butter: Salted or unsalted, whichever you prefer.
- Lemon Wedges: For serving.
- Fresh Chopped Chives: For garnish. Freshly chopped parsley or basil are also good options.
Recipe Tips
- Thin Chicken Is Key: Pounding the chicken thin is a crucial part of this dish. Just as in chicken Marsala and chicken Kiev, thin chicken breasts will stay moist and cook through quickly, while thicker pieces are easier to dry out.
- How to Pound Chicken Cutlets: You can use a meat mallet (the flat side, not the spiky side) to pound chicken, or a small heavy saucepan. A rolling pin is also good. To keep the mess minimized, put the chicken in a zip-top bag before pounding it.
- Hot Oil: The mixture of butter and olive oil has to be good and hot before you add the chicken, or it won’t sizzle and fry. Instead, it will absorb the oil and become soggy – not good. To test the heat, drop a small bit of egg or panko into the skillet. If it sizzles, the oil should be hot enough.
- Serve Immediately: For the best texture and flavor, serve chicken Milanese right away before the breading can soften.
Serving Suggestions
When it comes to serving this easy chicken Milanese recipe, I’ve got plenty of delicious options! For a creamy side, pair it with my lemon Parmesan risotto—the bright lemon flavors are a great match. If you’re in the mood for something fresh, any salad will do, but my tomato burrata salad with ripe tomatoes and creamy burrata cheese is especially amazing.
For a veggie option, a simple sheet pan of roasted veggies always hits the spot, like my roasted potatoes and carrots, which are both so tasty. And to wash it all down, grab a cold iced Americano or this delicious frosted lemonade.
How to Store and Reheat Leftovers
- Refrigerate: Pollo alla Milanese is best served fresh, but leftovers can be stored in airtight containers in the fridge for up to 3 days. Use them to make chicken Milanese sandwiches or toss them into a chicken salad.
- Freeze: Place the cooked and cooled chicken on a clean plate or tray and freeze until solid. Then, place the chicken in freezer bags and store it in the freezer for up to 3 months. Thaw in the fridge before reheating.
- Reheat: I recommend baking or air-frying the chicken to get it crispy again. About 10 minutes at 400°F will work for most ovens, while air fryers take slightly less time.
Pin this now to find it later
Pin It
Chicken Milanese
Ingredients
- 1.5 to 2 pounds chicken cutlets, pounded to a ¼-inch thickness
- salt and freshly ground black pepper, to taste
- ¾ cup all-purpose flour
- 2 large eggs, beaten
- 1 cup panko bread crumbs
- 1 tablespoon garlic powder
- 1 tablespoon onion powder
- 3 tablespoons olive oil
- 2 tablespoons butter
- lemon wedges, for serving
- chopped fresh chives, for garnish
Instructions
- Season the chicken cutlets with salt and pepper; set aside.
- Place the flour in a shallow bowl or plate.
- Lightly beat the eggs into another shallow dish.
- Combine the panko crumbs, garlic powder, and onion powder in a third dish.
- In a large skillet set over medium heat, combine and heat up the olive oil and butter.
- Dip a chicken cutlet in the flour, shake off any excess, and then dip it in the eggs. Shake off excess, then dip the chicken cutlet, on both sides, in the panko mixture.
- Transfer the chicken to a wax-lined plate or a rimmed baking sheet. Repeat the process with the remaining cutlets.
- When the oil is hot, and the butter is melted, fry 2 to 3 cutlets at a time for about 3 minutes or until golden on the bottom. Flip and cook for 3 more minutes or until golden, crispy, and cooked through. The thicker the cutlets, the longer they will need to cook through.
- Transfer the chicken to a paper towel-lined plate. Repeat with remaining chicken cutlets.
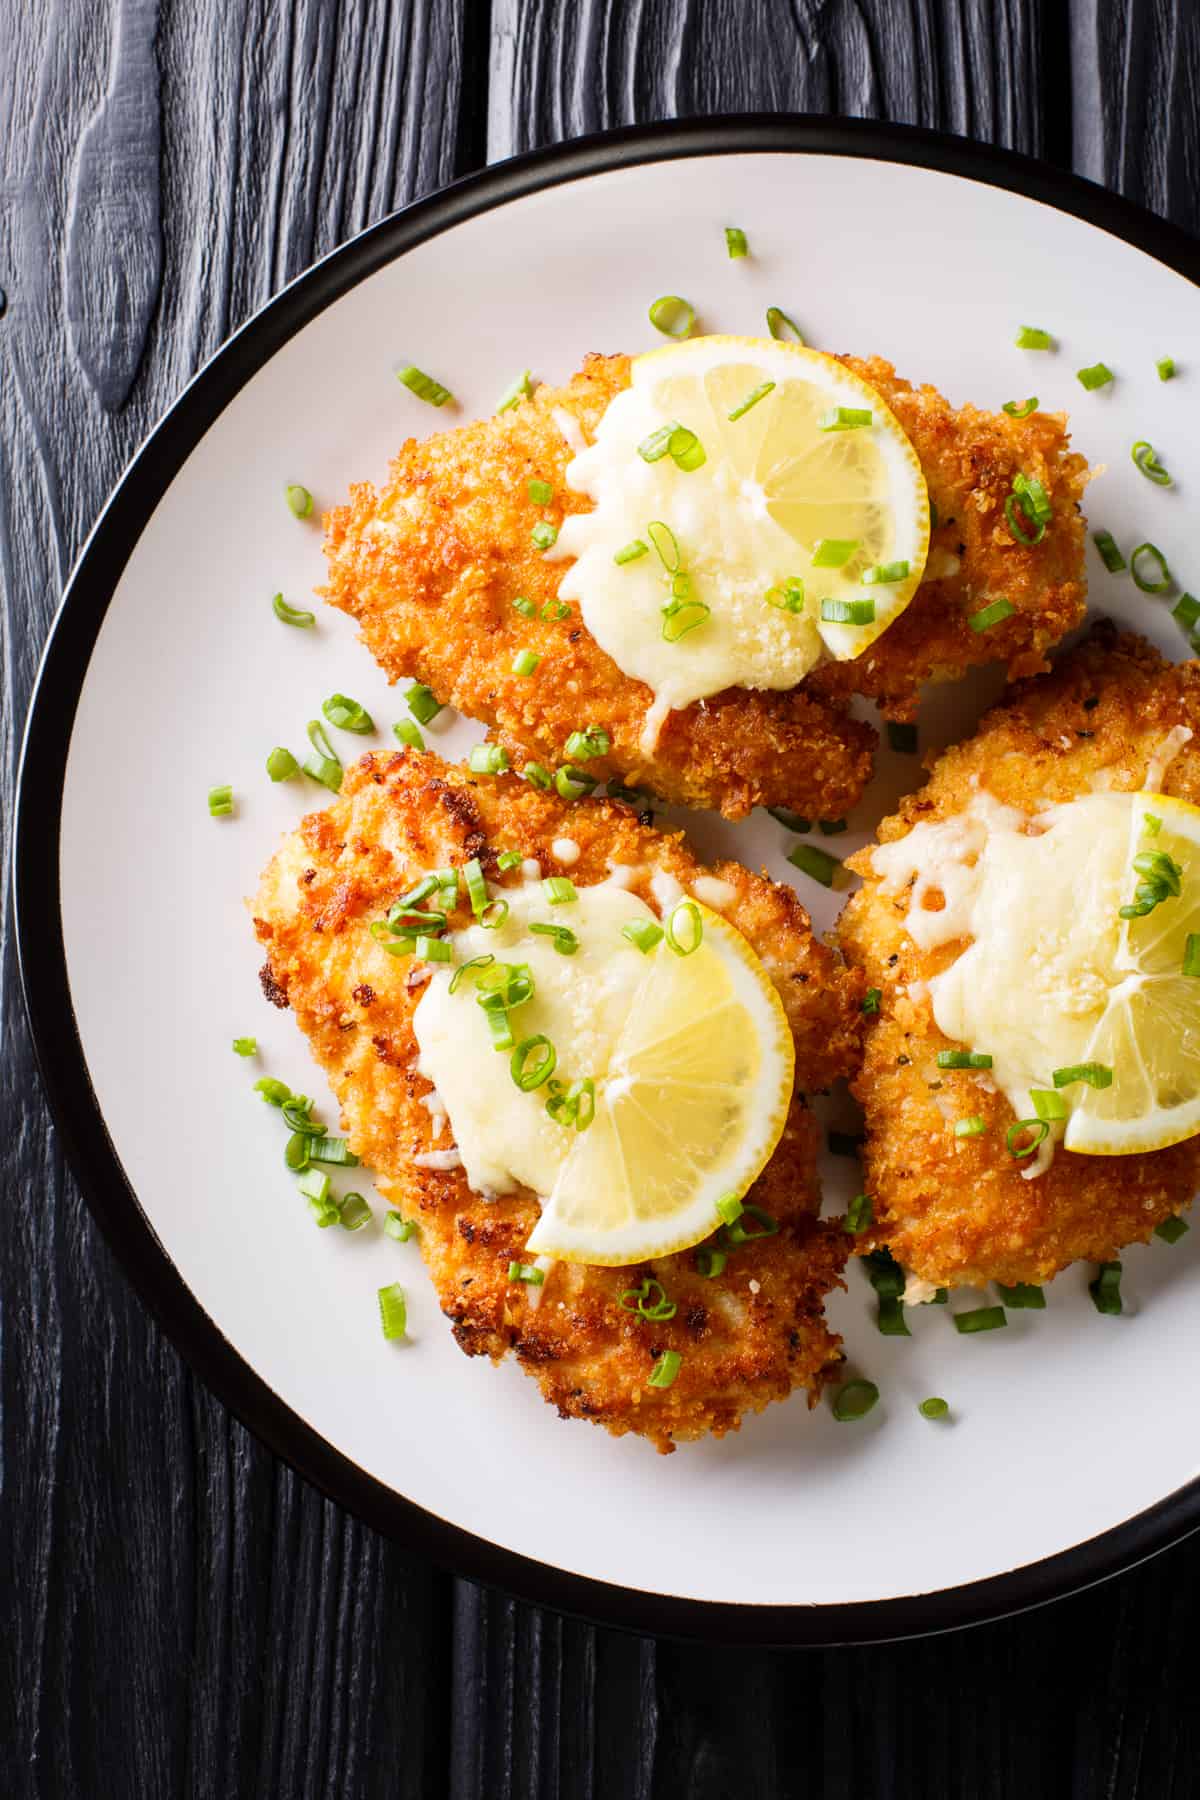
- Serve the chicken cutlets topped with a squeeze of lemon, a drizzle of basil oil if using, and chopped fresh chives.
Equipment
Notes
- Chicken Cutlets: A chicken cutlet is a chicken breast cut in half, horizontally, to make two thinner chicken pieces. You can either buy the chicken cutlets or cut three chicken breasts in half to make 6 chicken cutlets.
- Thin Chicken Is Key: Pounding the chicken thin is crucial to this dish. Thin chicken pieces will stay moist and cook quickly.
- How to Pound Chicken Cutlets: You can use a meat mallet to pound chicken or a small heavy saucepan. Put the chicken in a zip-top bag before pounding it to minimize the mess.
- Hot Oil: The butter and olive oil mixture must be hot before you add the chicken, or it won’t sizzle and fry. To test the heat, drop some egg or panko into the skillet; if it sizzles, the oil should be hot enough.
- Basil Oil: This is optional, but it does taste great drizzled over chicken, fish, tomatoes, pasta, etc. To make the basil oil, in a small food processor, combine ¼ cup oil, 1/4 cup basil leaves, 1 clove garlic, and salt to taste; purée until smooth. Drizzle over chicken before serving.
Nutrition
Nutritional info is an estimate and provided as courtesy. Values may vary according to the ingredients and tools used. Please use your preferred nutritional calculator for more detailed info.
How To Make Chicken Milanese
Ready to master this crispy Milanese recipe? Let’s start with the pan-frying method! Setting up a simple breading station with all your ingredients in shallow bowls makes the process smooth and easy—plus, it feels like you’re running your own little kitchen show!
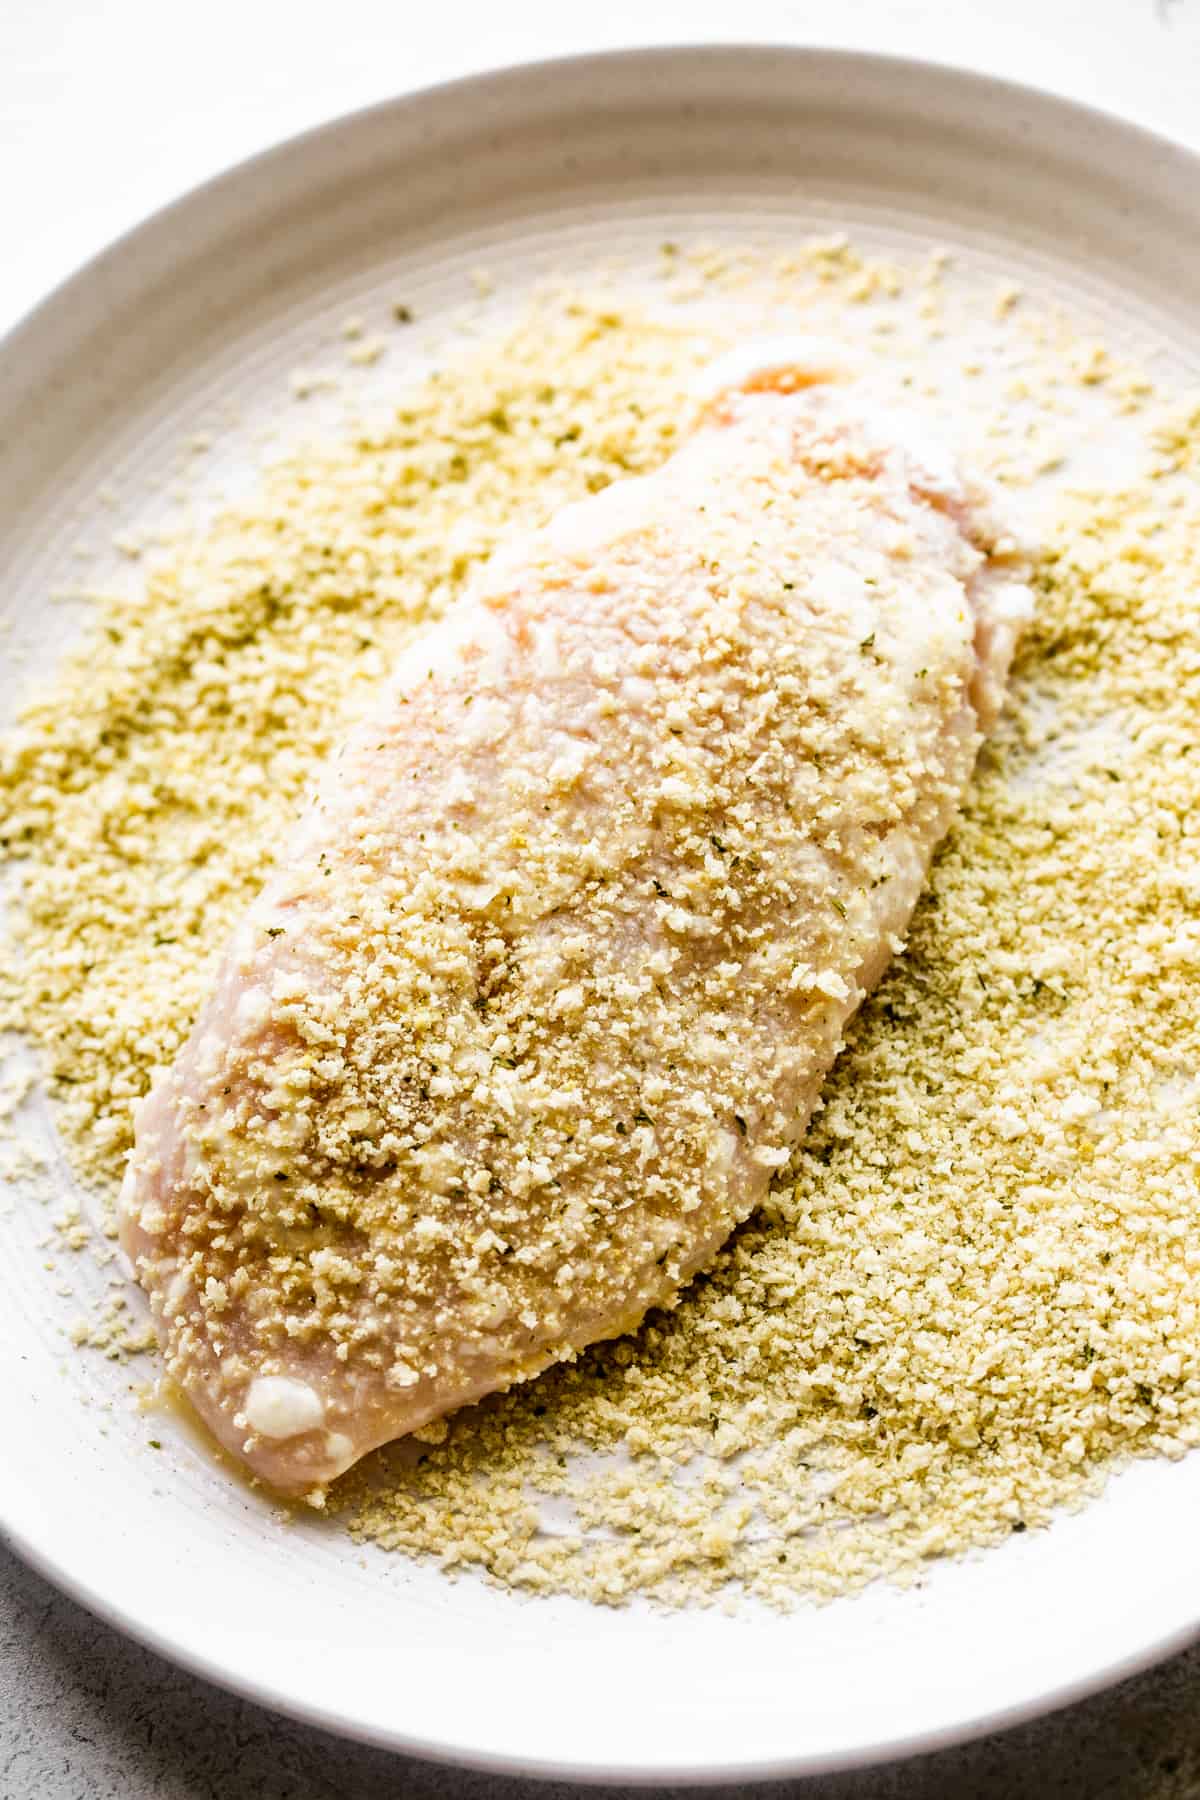
- Prep the Chicken. To start, sprinkle salt and pepper all over the thin chicken cutlets, and then set them aside.
- If using the basil oil, combine basil, garlic, some salt, and ¼ cup of olive oil in a food processor. Puree the mixture until it’s nice and smooth, and then set it aside.
- Set Up Your Breading Station. Arrange the breading ingredients in shallow dishes: one for flour, one for the eggs, and one for the Panko. Stir the garlic and onion powders into the Panko.
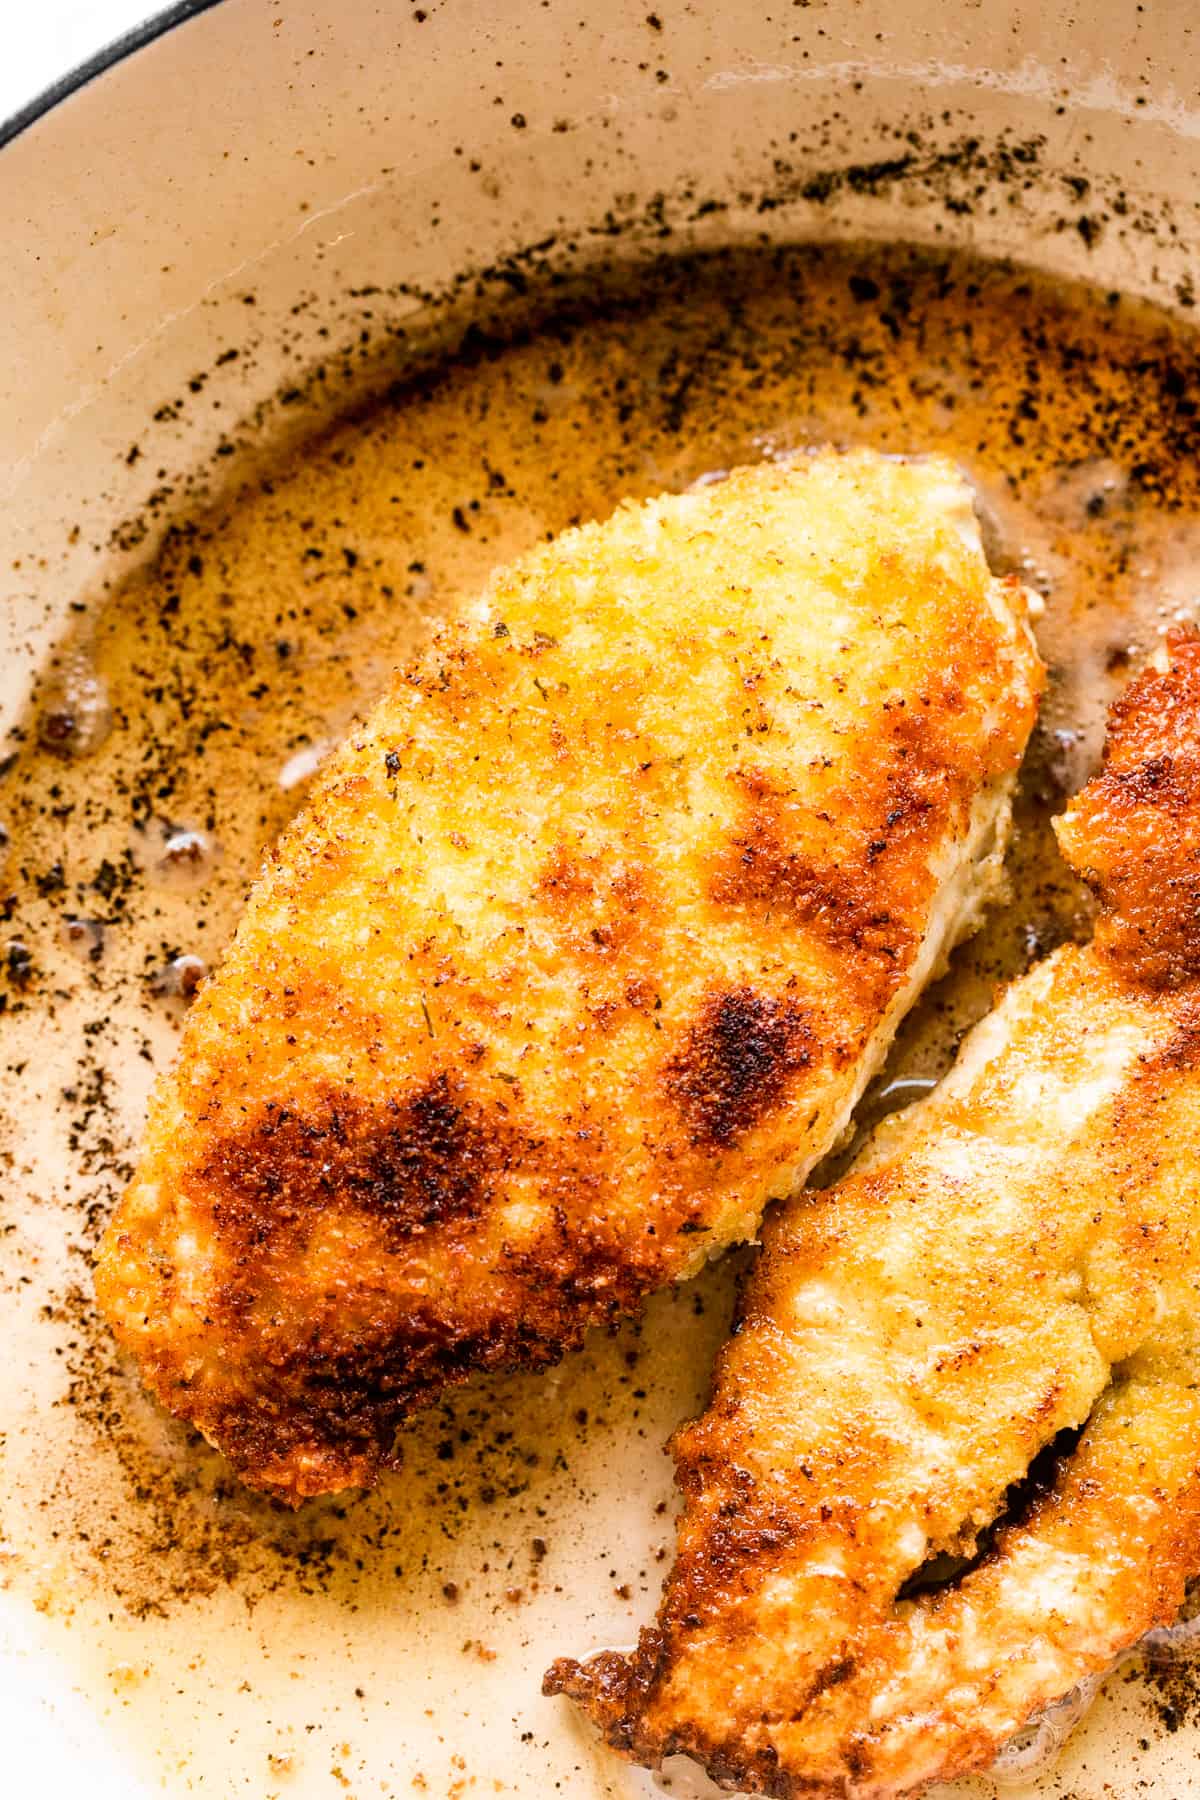
- Bread and Shallow-Fry the Chicken. Set a large, sturdy skillet over medium heat. Add the butter and remaining olive oil to the skillet and let it heat up. Meanwhile, dredge the chicken in flour, then eggs, and then Panko, shaking off the excess gently each time. Place each breaded cutlet on a wax-paper-lined plate or a rimmed baking sheet. Once the oil is hot and the butter is melted, fry 2 to 3 cutlets at a time for about 3 minutes per side, until they are golden and crispy.
- Drain and Serve. As you go, place the cooked chicken pieces on a clean paper towel-lined plate to drain. Once all the chicken is cooked, serve with a squeeze of lemon, a drizzle of the basil oil, and a garnish of chopped fresh parsley.
More Italian Inspired Dinners
- Italian Wedding Soup
- Parmesan Crusted Chicken
- Italian Dressing Chicken
- Slow Cooker Chicken Marsala
- Porchetta
- Crockpot Lasagna
