No Knead Skillet Bread with Olives

Updated Nov 02, 2023
This post may contain affiliate links. Please read our disclosure policy.
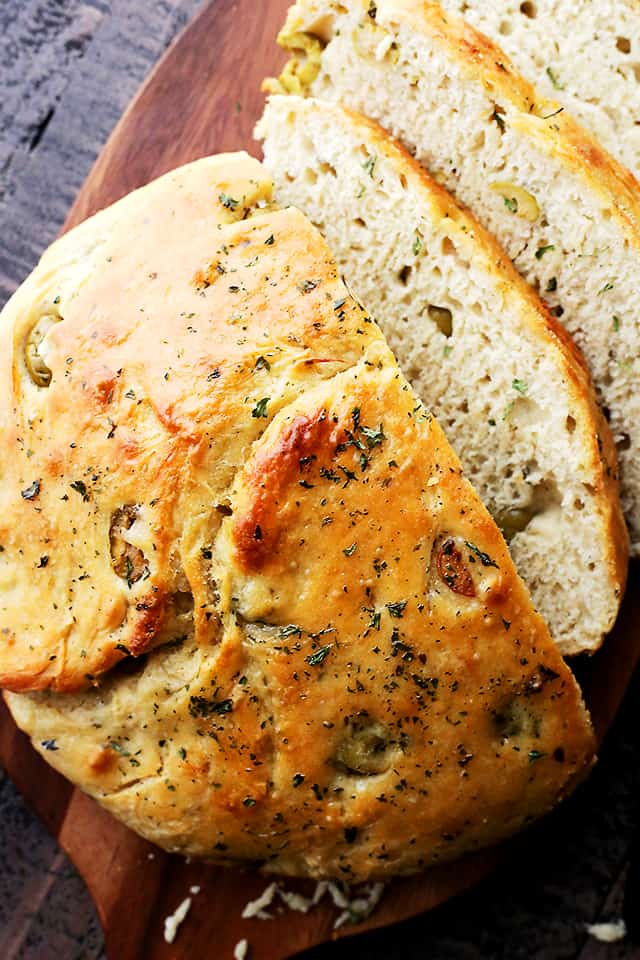
Enjoy a crusty, fluffy, and incredibly flavorful loaf of no-knead bread filled with marinated olives and garlic, cooked in a skillet! It’s simple to make and irresistibly delicious!
If you love homemade bread as much as I do, you’ve got to try my easy garlic breadsticks or these crispy, flavorful grissini, too; both are perfect for dipping or snacking!
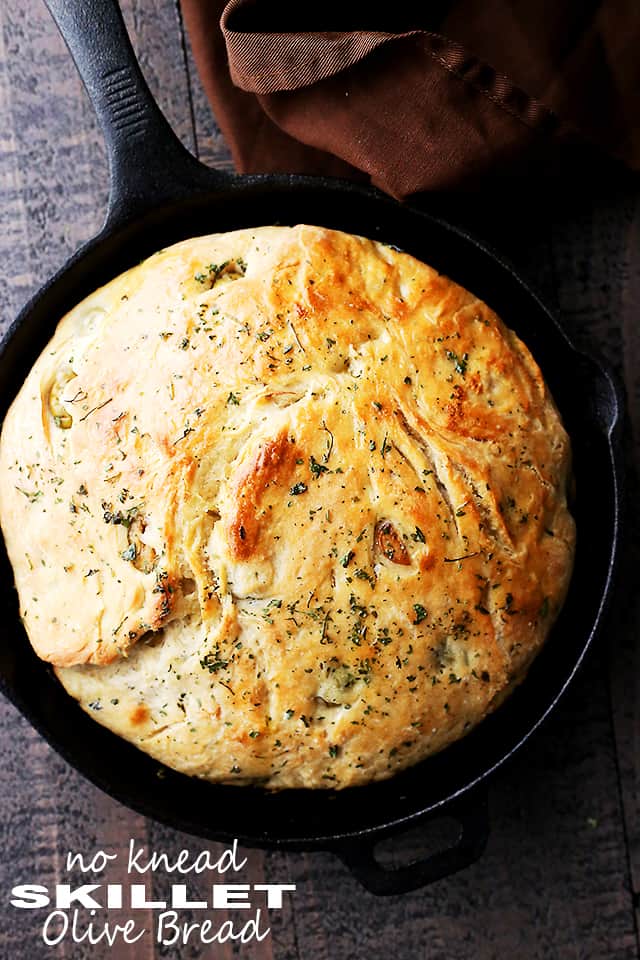
If you’re a bread lover who craves freshly baked goodness without a lot of work and kneading, this no knead bread in a skillet is the recipe you need! This simple, flavorful homemade bread is crusty on the outside, soft on the inside, and studded with savory olives. With just a few basic ingredients and a cast iron skillet, you can easily create a delicious loaf that will impress everyone, including yourself!
Why I Love This Skillet Bread Recipe
- Perfect texture: Achieve a delicious, soft, fluffy bread without kneading.
- Adaptable: This recipe includes marinated olives and garlic, but you can easily swap and customize it by incorporating other ingredients.
- Effortless: This bread recipe requires minimal effort, making it a perfect choice for bakers of all levels.
Ingredients For Skillet Bread
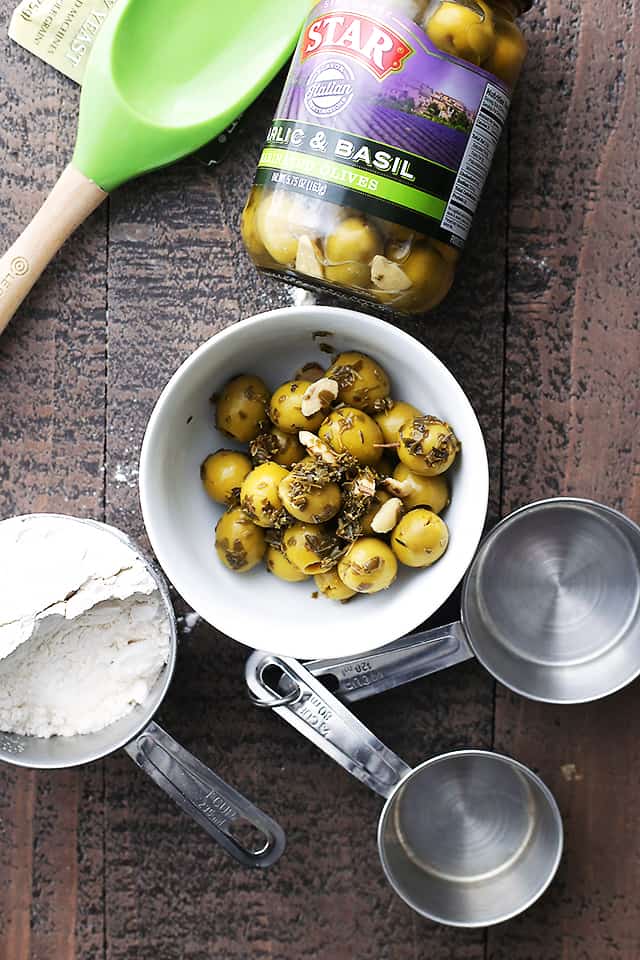
- For the dough: lukewarm water, yeast, all-purpose flour, and salt.
- For the filling: olives, herbs, and garlic.
How To Make No Knead Skillet Bread
As championed by the authors of Artisan Bread in Five Minutes a Day, in a nutshell, this Skillet Bread is just a batch of straightforward dough.
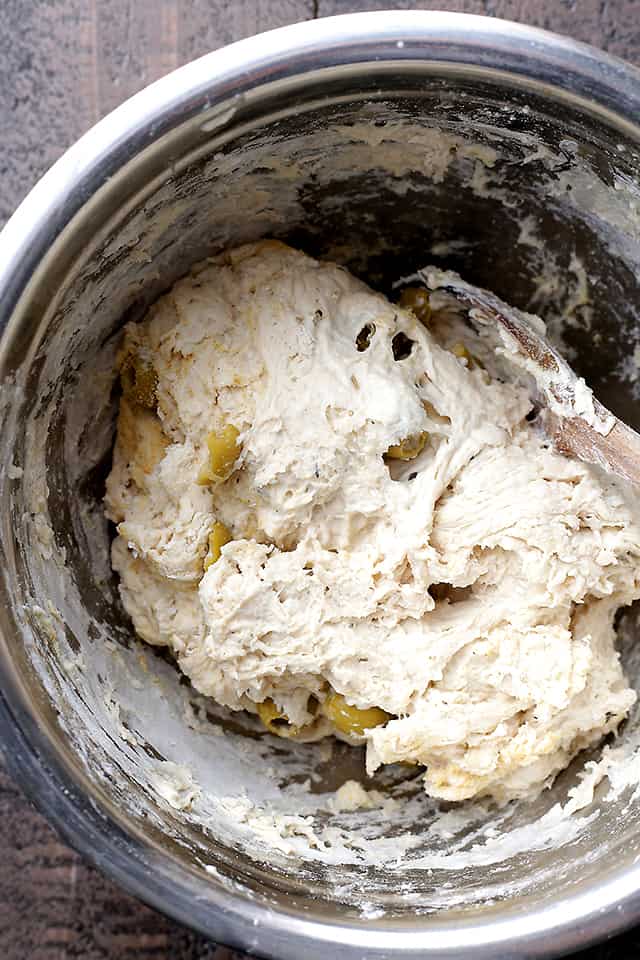
- Start by combining lukewarm water, yeast, flour, and salt in a bowl. Stir in the olives, herbs, and garlic and let the dough rise for 1 hour.
- Coat a 10-inch skillet (a 12-inch skillet works, too) with olive oil. Shape the dough into a disk, transfer it to the skillet, and let it rest for 30 more minutes.
- Preheat the oven to 400°F.
- Drizzle the dough with olive oil, sprinkle it with salt and parsley, and bake for 30 minutes or until browned.
- Invert the skillet bread and cool it completely on a rack before cutting and serving.
Recipe Tips
- Mixing the dough: When combining the ingredients, the water should be warm but not hot. Hot water will kill the yeast, but warm water will make it easier to mix the dough.
- Flour options: I have only tested this recipe with all-purpose flour and haven’t tested it with other types.
- Resting and rising: After mixing the dough, cover it with a clean kitchen towel or plastic wrap and let it rest in a warm spot to double in size.
- Baking time and temperature: Every oven is different, so keep an eye on the bread towards the end of the baking time to ensure it doesn’t overbake. Bread is done baking when the center reaches about 190˚F to 210˚F (88˚C to 99˚C) on an instant-read thermometer.
- Cooling and serving: Once the bread is baked, transfer it to a wire rack to cool completely before slicing. This helps the bread retain its structure and moisture. To maintain the ideal texture of your bread, it’s crucial to remove it from the pan promptly after baking. Allowing the bread to remain in the pan can result in it becoming wet and soggy.
Variations
- Herbs and Seasonings: Add dried herbs like oregano, rosemary, or basil to the dough for extra flavor.
- Cheese: Mix in grated or crumbled cheese such as cheddar, Parmesan, or feta for a savory twist.
- Sun-Dried Tomatoes: Incorporate chopped sun-dried tomatoes for a tangy Mediterranean flair.
Ways to Serve It
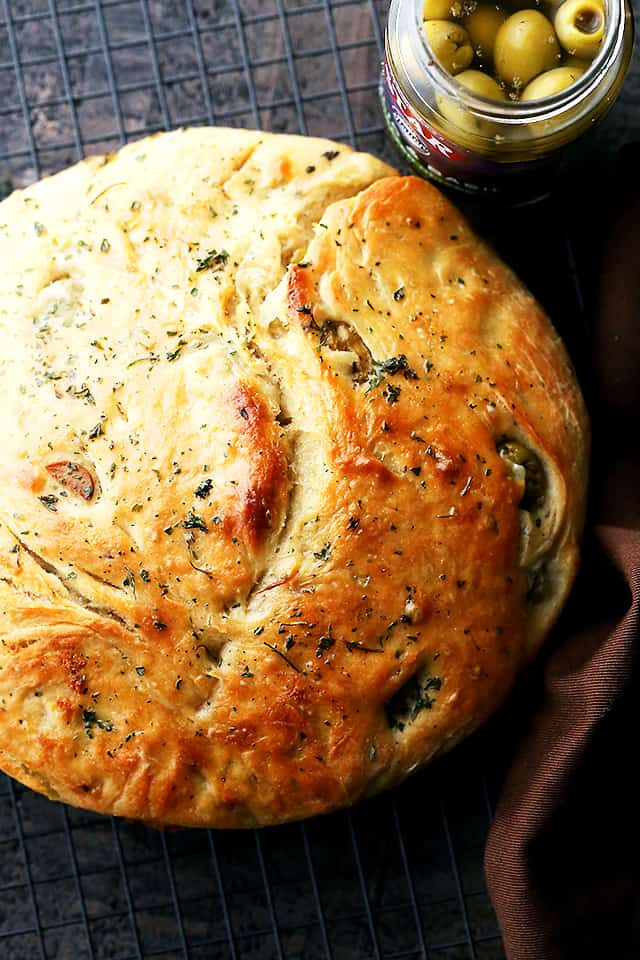
Spread it with butter, dip it in olive oil and balsamic vinegar, sop up some tomato soup or chicken noodle soup with it, grab an heirloom tomato salad, or do what I do: break off a chunk and inhale it as is.
Pin this now to find it later
Pin It
No Knead Skillet Bread
Video
Ingredients
- 2 cups lukewarm water, about 105˚F
- 2¼ teaspoons active dry yeast
- ½ tablespoon salt
- 4⅓ cups all-purpose flour, divided
- 1 cup garlic and basil marinated olives, drained, herbs and garlic reserved (you can also use any other pitted olives you have on hand)
- 1 teaspoon garlic powder
- 2 tablespoons olive oil, divided
- coarse salt
- dried parsley
Instructions
- Make the dough. In a large mixing bowl, combine the water and yeast. Add 1 cup of flour and salt; stir with a wooden spoon until combined. Stir in the olives, herbs, garlic, and garlic powder. Add remaining flour, one cup at a time, stirring until thoroughly combined.
- Let it rise. Cover with plastic wrap and set in a warm spot to rise for 1 hour.
- Prep the skillet. Add a tablespoon of olive oil to a 10-inch to 12-inch cast-iron skillet; using a napkin or your fingers, coat the bottom and sides of the skillet with the oil.
- Transfer the dough to the skillet. Flour your hands; remove the plastic wrap, and using your hands, transfer the dough to the prepared skillet and shape it into a disk. Cover with a kitchen towel and let stand for 30 minutes.
- Prep for baking. Meanwhile, preheat the oven to 400˚F.
- Bake. Drizzle the remaining olive oil over the top of the bread, then sprinkle it with salt and parsley. Score the top of the loaf with a knife, then bake for 30 to 35 minutes, or until the top is nicely browned.
- Let it cool. Remove from the oven, turn the bread onto a wire rack, and let it cool completely before cutting and serving.
Notes
- The olives sit in a liquid with garlic and herbs; reserve as much of the herbs and garlic as possible when draining. Alternatively, add your own garlic and freeze-dried basil to the dough.
- If you can’t find the specified olives, use whatever marinated olives you can find. Then, you can add garlic, dried basil, or other herbs.
- Dough Mixing: Use warm, not hot, water to combine the ingredients. Excessive heat can harm the yeast.
- Flour: This recipe has been tested with all-purpose flour.
- If you do not have a cast iron skillet, use a stoneware baking dish instead.
- It is crucial to remove bread from the skillet when it comes out of the oven because it will get moist and soggy if left in the skillet.
Nutrition
Nutritional info is an estimate and provided as courtesy. Values may vary according to the ingredients and tools used. Please use your preferred nutritional calculator for more detailed info.
More Bread Recipes
- Rosemary and Garlic No Knead Skillet Bread
- No Rise Slow Cooker Bread
- Skillet Soda Bread
- Apple and Zucchini Bread








That looks so delicious, i might have to try it!
I love bread and with olives? This is genius. This recipe also looks very easy. A super winner in my book!
This looks incredible! Would totally be a hit at our house!
This looks so yummy! I love that it is a no knead bread!
Such a gorgeous bread and I love how easy it is to make!
Hi. I made this today and I have some questions. I didn’t have the Star olive mix suggested but used a cup of olives and homegrown garlic and basil. The recipe rose nicely but when I moved it to the skillet, it was less of a dough and more like batter. It held together but filled the 8″ skillet completely. After sitting before baking, it overlapped the edges of the skillet and then did the same in the oven. In short, is the dough supposed to be firm or loose and should I have cut back on the water and flour for an 8″ pan? Oh, it tastes fine; I just wasn’t;t expecting it to act the way it did.
Hi Robert!! The 8 inch skillet is fine, and yes, the dough should fill up the skillet.
Also, was it warm where you left the dough to rise? Speaking from experience, what might have happened is that the room was too warm for the dough and it rose much faster, which is why it went over the edges. I’m thinking the same reason – temperature – for why the dough thinned out. Let me know if this helps. Have a great night ahead!
Mine did the same thing t rose just too big to fill in the skillet. So I had a 12 inch skillet but that was too big. So I used my copper pot instead. It took 50 minutes instead of 35, but it did it’s job. And when it came out it looked like something from a restaurant. It was nice and square. I think you could use anything as long as it’s oven safe and watch for adjusted cooked times. But if you use an 8 inch square or round pan I would fit it on a baking sheet Incase there is spillover. I just used whatever olives they had at the grocery store and tweaked it with some cracked pepper, red pepper flakes and rosemary and didn’t measure any of the seasoning just the yeast, flour and water and it came out spectacular. I’m telling you this because mine was also a mush instead of a firm dough but I think that has something to do with the fact that you don’t knead it.
Only stoneware or iron skillet? I have corning ware and glass pie plates, No?? Cant wait to try!!!
Hi Debbie! So this type of bread turns out best if made in a cast iron skillet, stoneware, and/or in a dutch oven. The glass pie dish definitely won’t work, and I’m not completely sure about the corningware. I hope that helps!
Yes, however, should the stoneware be unglazed or does it matter?
Lovely loaf of bread, full of flavour for a bit of time and just a little effort. 🙂
could this be made gluten free. thank you. pat.
Hi Pat! There is a gluten-free all purpose flour blend recipe that I got from the book “Gluten-Free Artisan Bread in Five Minutes a Day”, and it works perfectly, cup for cup.
GF Flour Blend:
6 cups white rice flour
3¼ cups sorghum flour
1¾ cups tapioca starch/flour
1¼ cups potato starch
¼ cup xanthan gum or ground psyllium husk
1. Mix all ingredients together very thoroughly in a lidded 5- to 6-quart container using a spoon or a Danish dough whisk. If your lid is sealed tightly, pick up the container and shake it vigorously for quick and complete blending.
2. Store in a cool, dry place.
do you have a GF version for this? It looks yummy
Hi Shea! I have this Homemade Gluten-Free All-Purpose Flour Blend that you can try. It’s from the book “Gluten-Free Artisan Bread in Five Minutes a Day”. I hope this helps!
6 cups white rice flour
3¼ cups sorghum flour
1¾ cups tapioca starch/flour
1¼ cups potato starch
¼ cup xanthan gum or ground psyllium husk
1. Mix all ingredients together very thoroughly in a lidded 5- to 6-quart container using a spoon or a Danish dough whisk. If your lid is sealed tightly, pick up the container and shake it vigorously for quick and complete blending.
2. Store in a cool, dry place.