Chocolate Olive Oil Cake
Jan 30, 2022, Updated Jul 08, 2024
This post may contain affiliate links. Please read our disclosure policy.
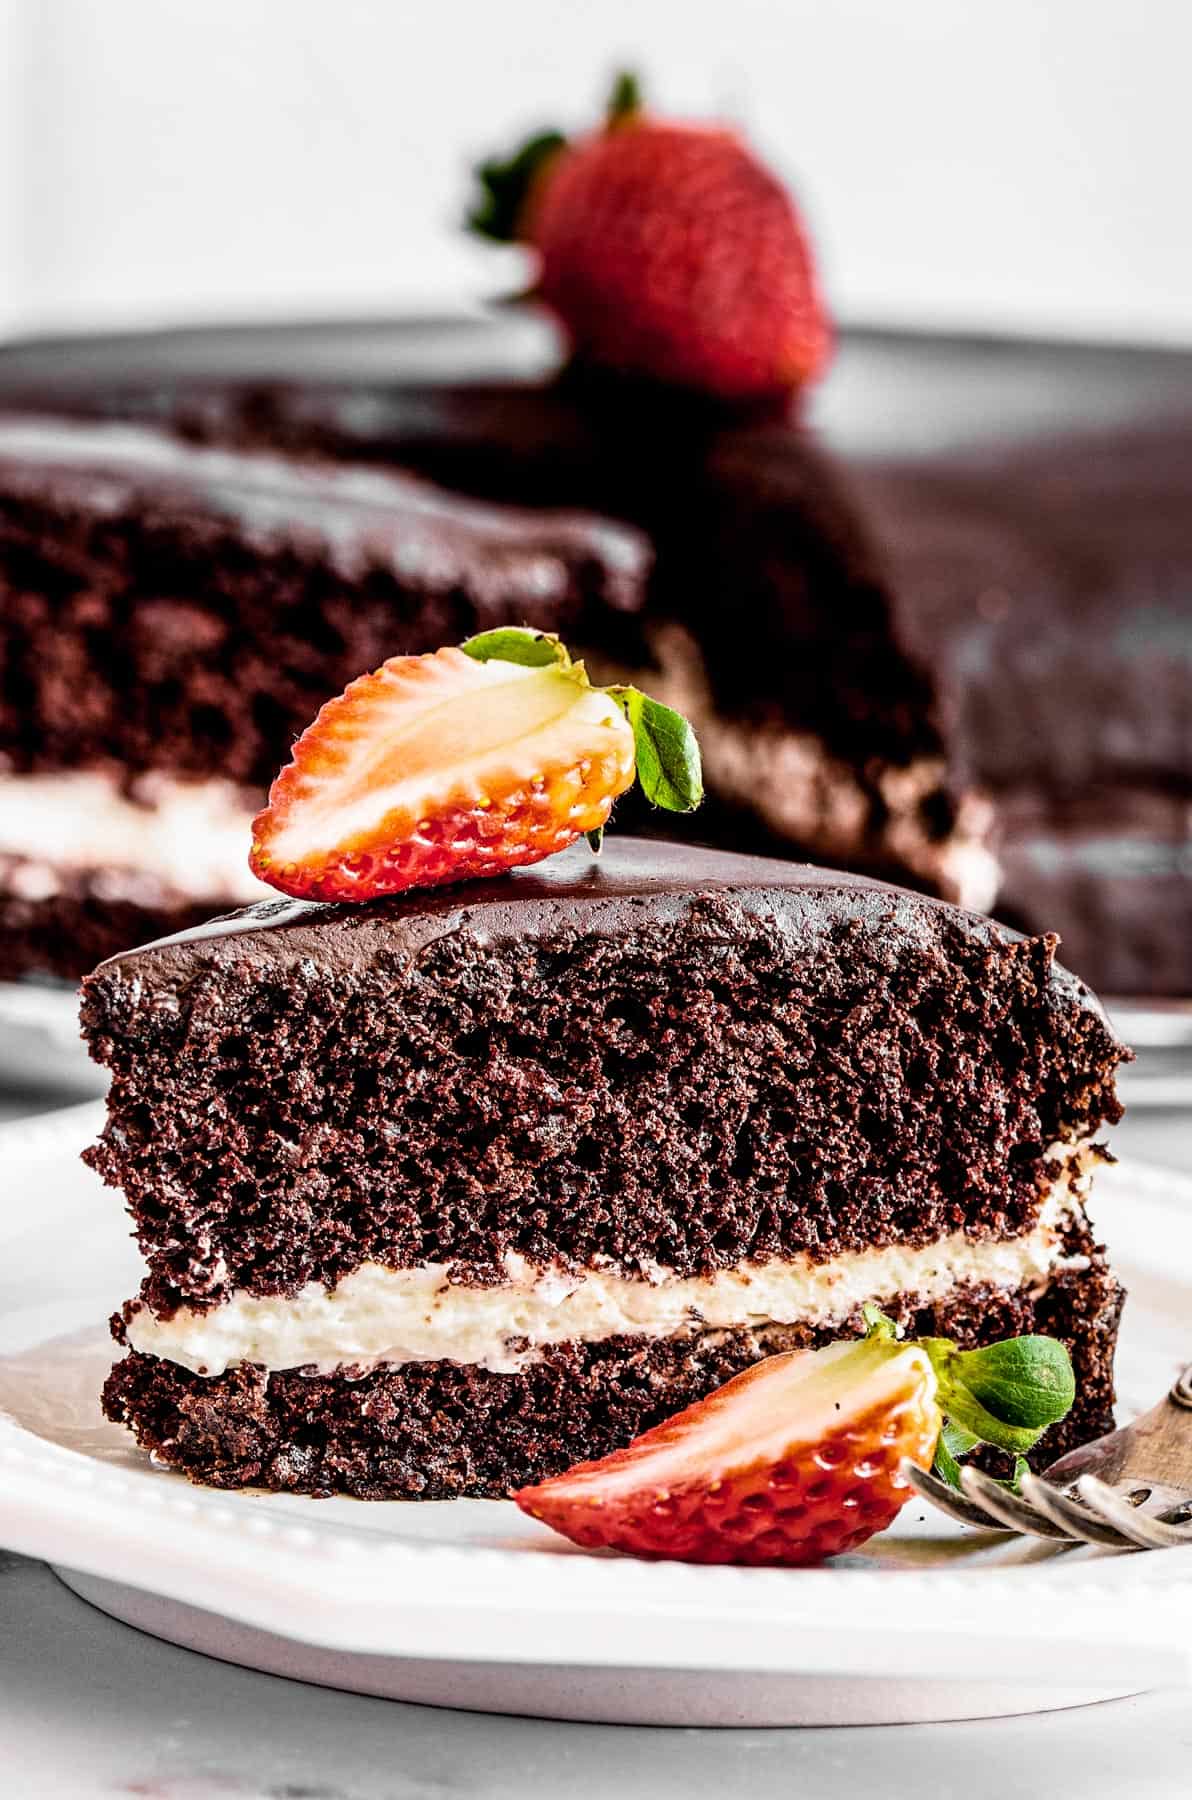
This Chocolate Olive Oil Cake is a game-changer! Moist, rich, and infused with subtle hints of olive oil, it’s layered with fluffy whipped cream and finished with a luscious mocha glaze.
And, if you’re a chocolate lover like me, this is just the beginning! You should also make my creamy avocado chocolate mousse or this indulgent chocolate soufflé.
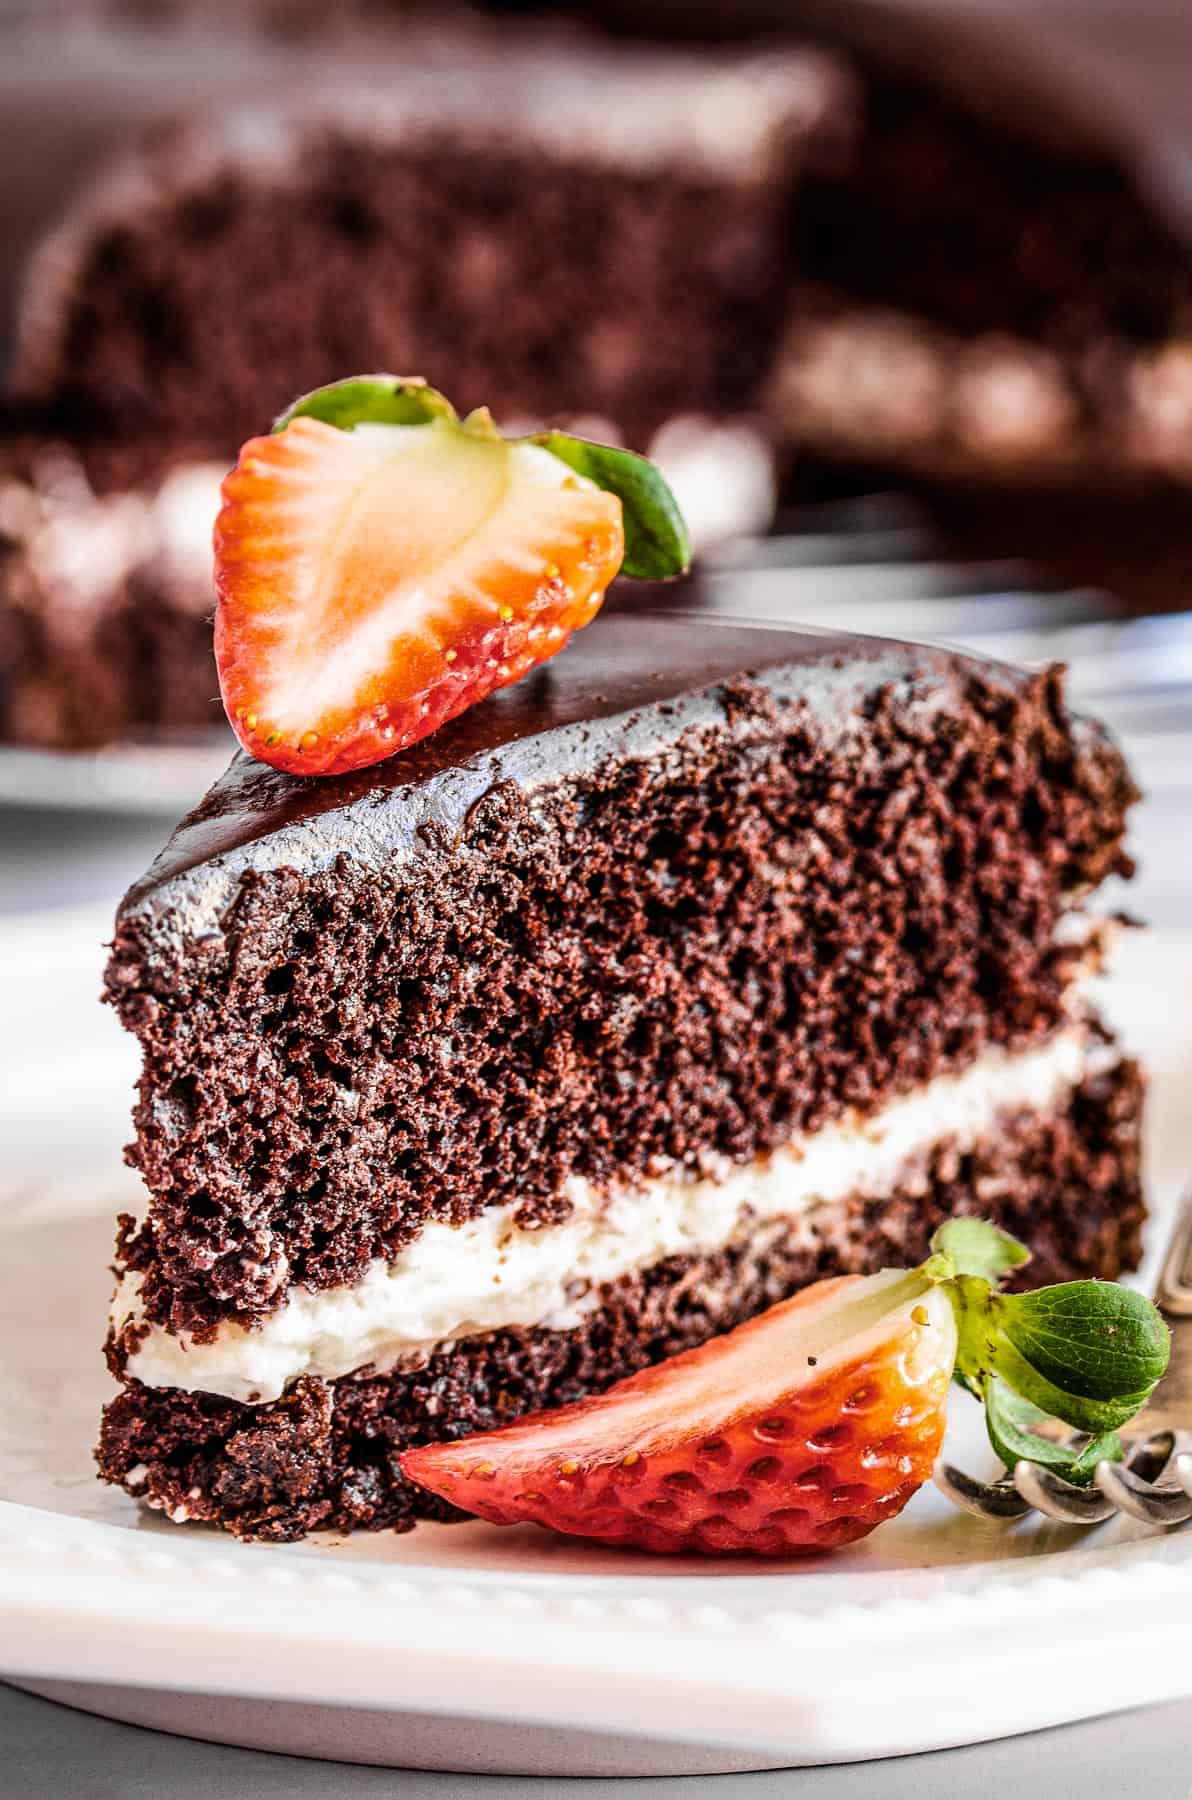
Okay, let’s talk cake. Specifically, this glazed chocolate olive oil cake. The first time I made it, I was absolutely convinced it was going to be life-changing, and, spoiler alert, it totally is. But let me backtrack for a second.
Years ago, I heard about chocolate olive oil cake, and I couldn’t wrap my head around it. Olive oil? In cake? It sounded fancy and mysterious, and honestly, like something that could go really wrong. But curiosity got the best of me and I decided to give it a go. Long story short, the first attempt was… fine.
Fast forward to a few tweaks later, and we have the winner! This chocolate olive oil cake recipe is everything. It’s light but rich, super moist, with just the right hint of olive oil and espresso. I make it for birthdays, dinners, random Mondays… you name it. And let me tell you, it’s always a hit. Basically, if you’re looking for a cake that makes people say, “You made this?!” while simultaneously grabbing another slice, this is the one.
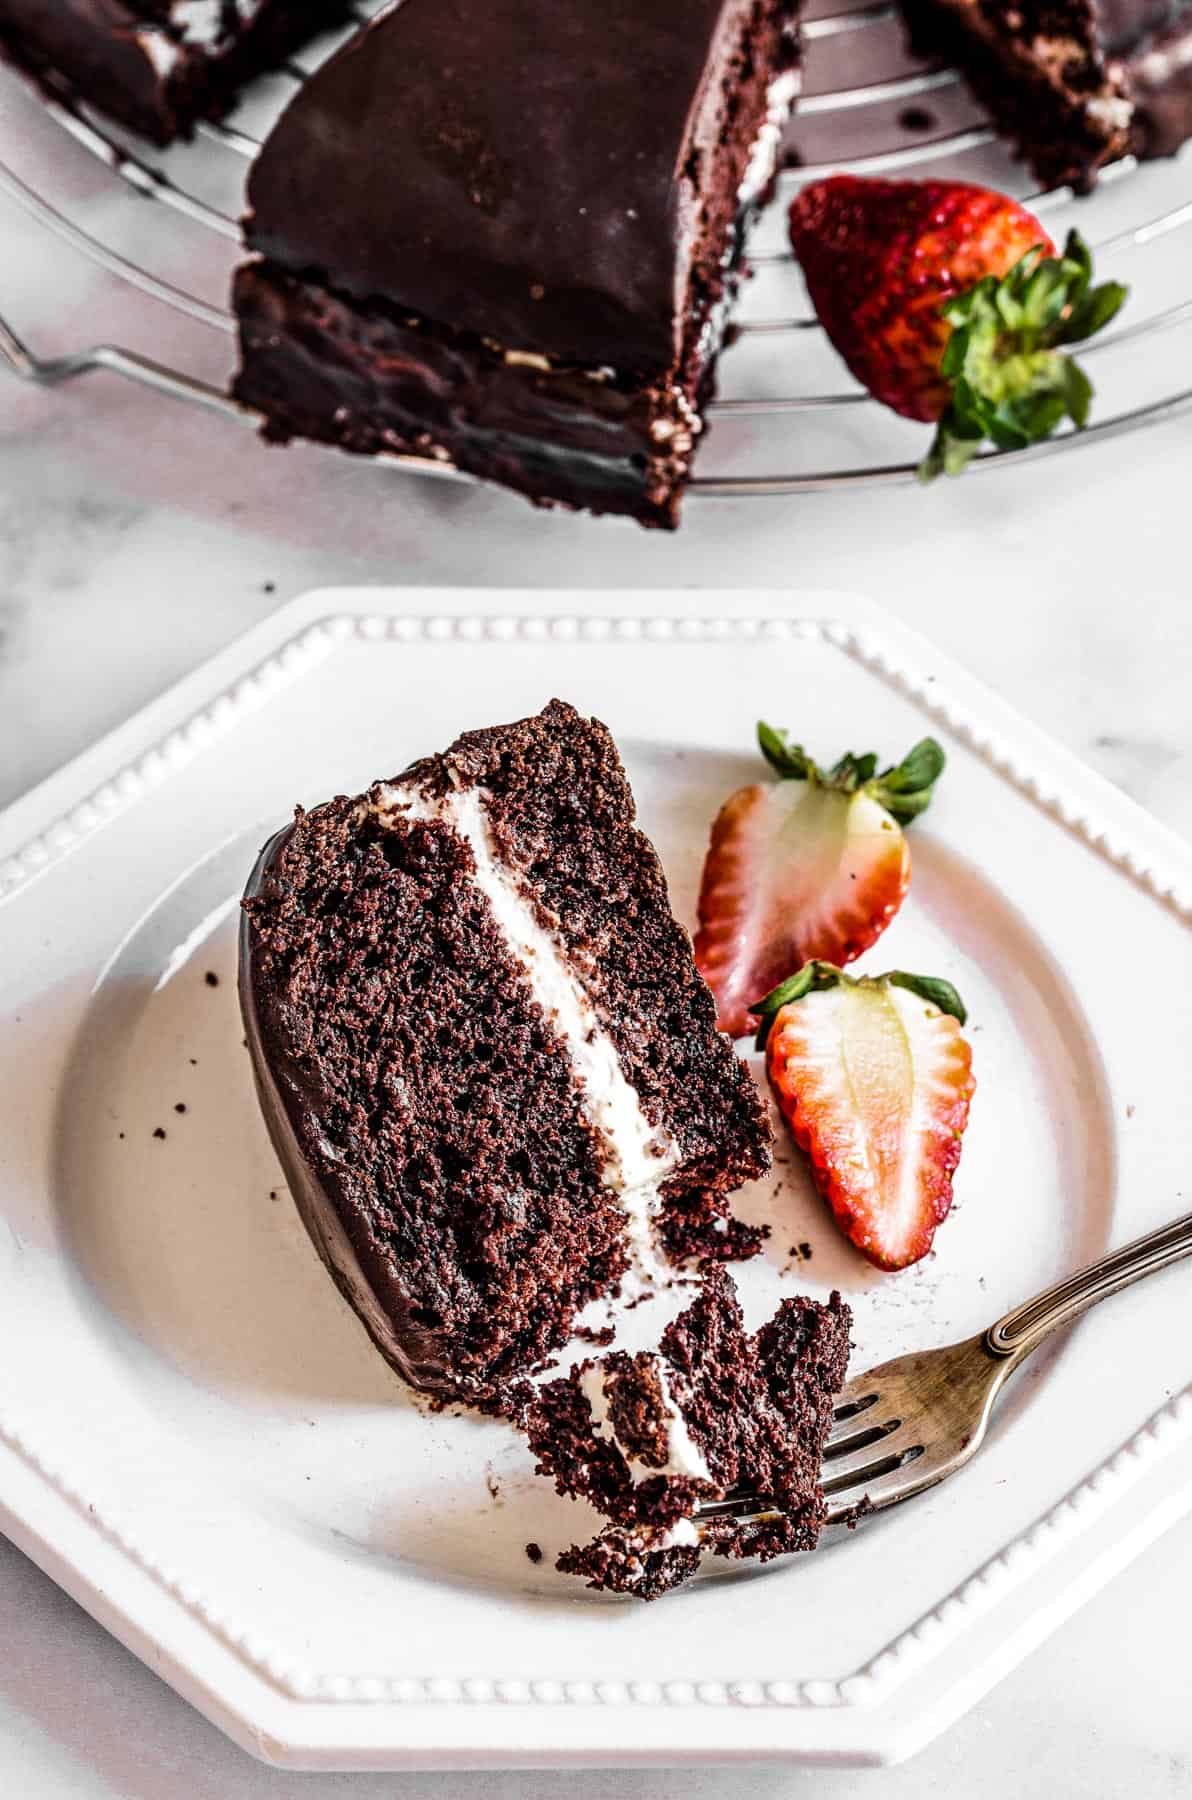
What is Olive Oil Cake?
Olive oil cake is like a regular chocolate cake (only WAY better, IMO) where the key difference is the taste and texture. Olive oil adds incredible moisture to this chocolate cake; it also intensifies the rich chocolate flavor thanks to the subtle bitterness.

Cake Ingredients
There are three elements to this olive oil chocolate cake: the cake itself, the filling layer, and the chocolate glaze. Below, I’ve laid out all the details with notes and possible substitutions, but please check the recipe card at the bottom of the post for exact measurements and instructions.
- Cocoa: Dark cocoa powder (Dutch-process) is great for this chocolate cake. You can also use regular cocoa powder.
- Extra Virgin Olive Oil: The star of the show! So choose wisely, and get a good quality extra virgin olive oil. Some are stronger or milder than others, so use one that suits your tastes.
- White Vinegar: A little bit of white vinegar in the batter reacts with baking soda to make the cake fluffier. Science!
- Whipping Cream: For the perfectly airy and delicious whipped cream filling that’s seriously to die for!
- Vanilla Extract: For the cake, as well as the whipped cream.
- Espresso: I use instant espresso for the chocolate glaze, however you can also use regular espresso prepared ahead and set aside.
- Chocolate: Try to use good quality chopped chocolate and not chocolate chips.
- Heavy Cream: Needed for the chocolate glaze.
- Flour: I use all-purpose flour.
- Sugar: Helps to add sweetness and flavor and to retain moisture, keeping the cake soft and tender.
- Baking Soda: Make the cake rise and become light and fluffy.
- Salt: It enhances the overall flavor of the cake and balances the sweetness.
How to Make Chocolate Olive Oil Cake
Layers of supremely fluffy yet moist chocolate cake and whipped cream, with delicious hints of olive oil and espresso. I’m drooling as I type! It’s super impressive, crazy delish, and easy to make at the same time. Basically, it’s the ultimate triple threat, and here is how you make it!
- Make the Cakes: Combine the dry ingredients in a mixing bowl. Set the mixer to low speed while you slowly add in the olive oil and other wet ingredients. Once smooth, pour the batter into two prepared pans, and bake until a toothpick inserted into the centers comes out clean.
- Make the Whipped Cream: While the cake layers are cooling, combine the ingredients for the whipped cream layer. Pop the mixture into the fridge to chill, before beating the mixture until you have lovely, stiff peaks.
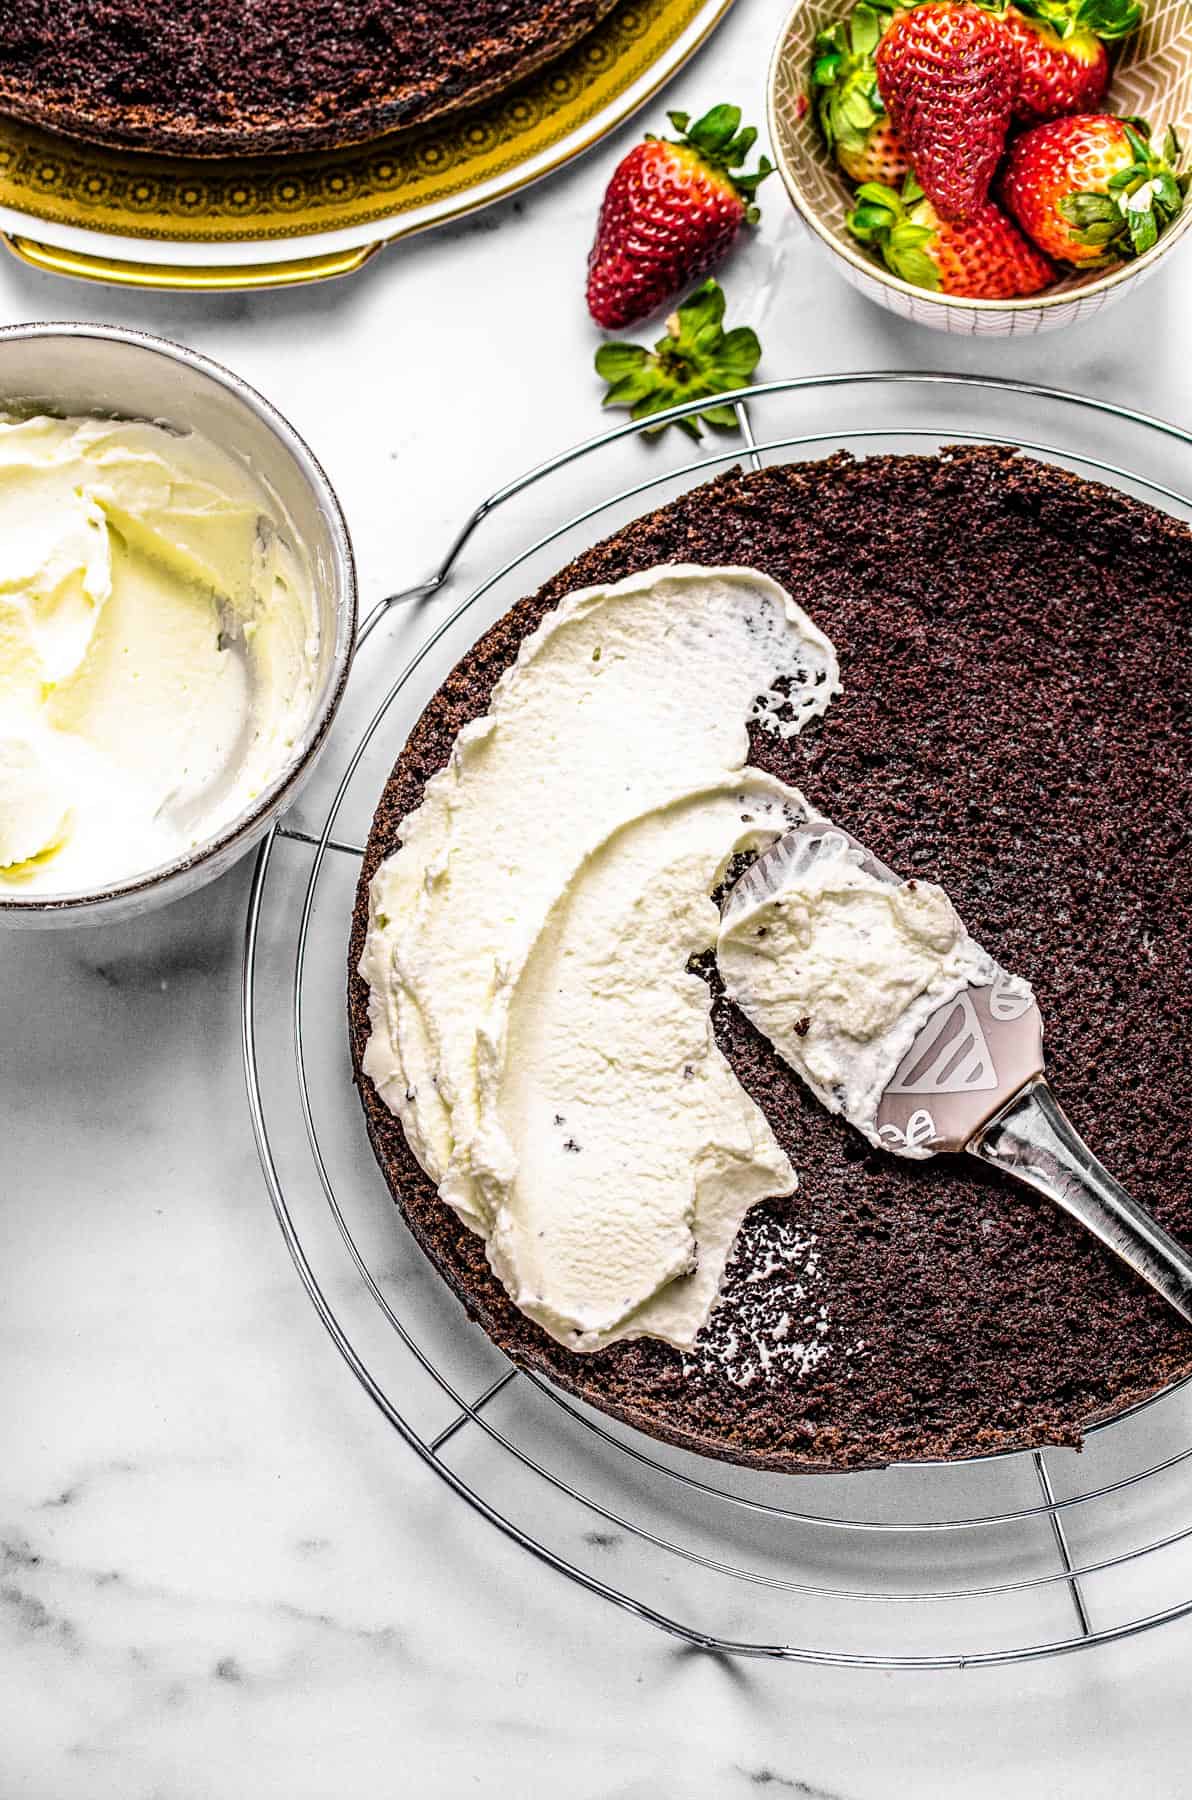
- Assemble the Cake: Spread a thick layer of whipped cream over one cake, and then place the other cake on top.
- Make the Chocolate Glaze: Combine the heavy cream and chopped chocolate in a double boiler, stirring until fully melted. Stir in your prepared espresso, and voila!
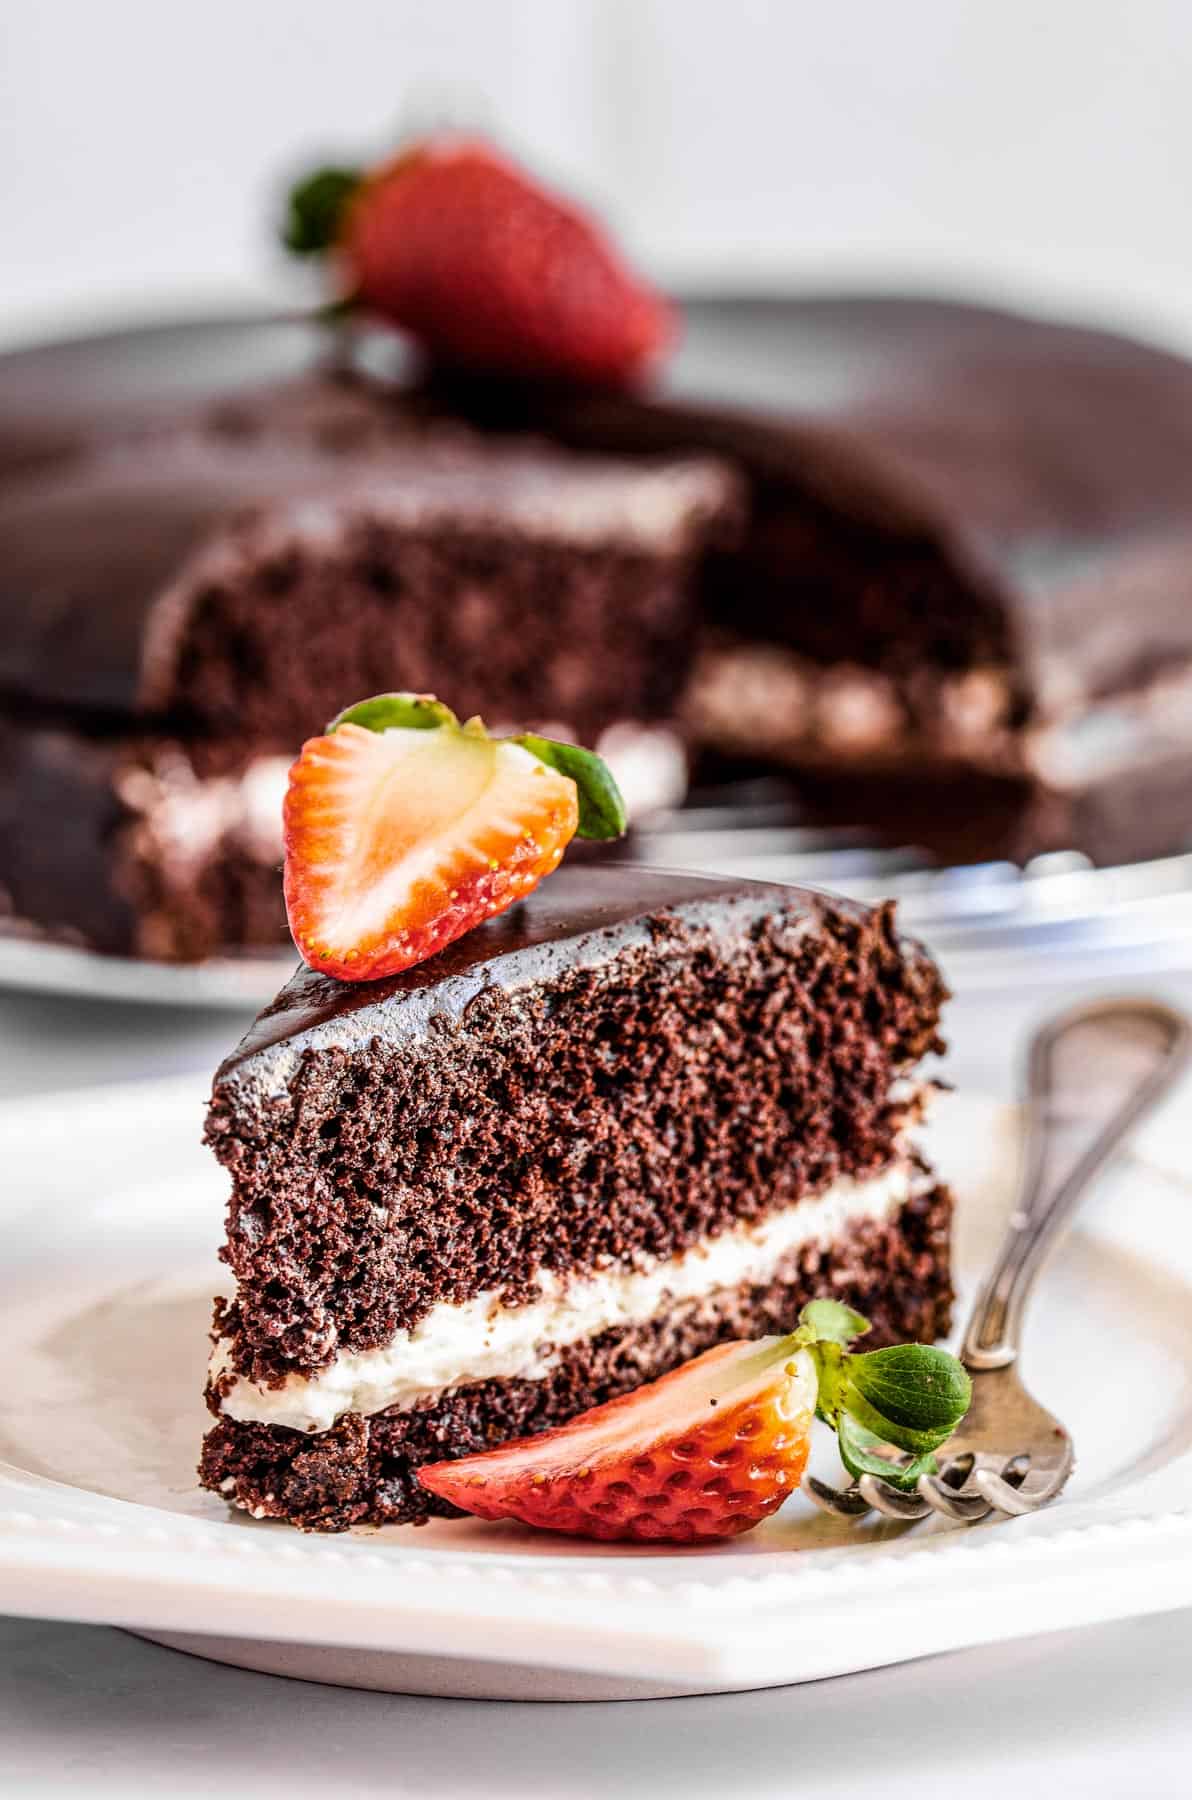
- Glaze: Keep the chocolate glaze warm until you’re ready to use it, and then pour it over the chocolate olive oil cake to finish.
Recipe Tips
- Use Quality Ingredients: The flavor of your olive oil cake will be unique to the oil you choose. So invest in a good quality EVOO (it’s worth it for so many recipes!). The same applies to the chocolate for the glaze; invest in the good stuff and be rewarded with the best results.
- Room Temperature Ingredients: Make sure your eggs and other refrigerated ingredients are at room temperature before starting. This helps the batter mix evenly and results in a smoother cake texture.
- Don’t Overmix the Batter: Overmixing can lead to a denser cake. Mix until the ingredients are just combined for the best, fluffiest results.
- Line Your Pan: To make sure your cake releases easily, line the bottom of your pan with parchment paper and grease the sides. It’s a simple step that saves you from potential heartbreak later!
- Test for Doneness: Ovens can vary, so start checking the olive oil cake a few minutes before the recommended baking time. Insert a toothpick into the center—if it comes out clean or with just a few moist crumbs, your cake is ready.
- Cool Completely Before Glazing: It’s tempting to dive right in, but let the cake cool completely before adding the glaze. If the cake is too warm, the glaze can slide right off instead of setting beautifully on top.
- Make It Ahead: This cake actually tastes even better the next day, as the flavors have time to deepen. Bake it a day in advance and store it covered at room temperature.
- Substitute the Mocha Glaze: I won’t lie, the mocha chocolate glaze is a non-negotiable in my books! However, if you’d like to skip it or switch it, you can easily top this cake with other options, like this Mascarpone Frosting or even a regular ol’ Chocolate Frosting. You can also see below for more topping ideas!
Topping Ideas For Cakes
This chocolate cake is delicious all on its own, but it’s also the perfect blank slate for all sorts of toppings and decorations. Here are some easy topping ideas:
- Fresh Berries
- Powdered Sugar
- Extra Whipped Cream
- Chocolate Shavings
- Cocoa Powder
- Crushed Pecans, Walnuts, or Hazelnuts
- Pistachios
- Lemon or Orange Zest
How to Store Extras
- Store your chocolate olive oil cake airtight at room temperature for up to 4 days or up to one week in the fridge.
- To freeze, once the cake is completely cool, wrap it tightly or store it in a freezer-safe container. You can freeze the whole cake or individual slices. Thaw the cake in the fridge when craving something chocolatey and delicious!
More Chocolate Cakes to Try
- Kahlua Chocolate Cake
- Black Magic Chocolate Cake
- German Marble Cake
- Quick Cherry Chocolate Cake
- Keto Chocolate Fudge Cake Recipe
Pin this now to find it later
Pin It
Chocolate Olive Oil Cake
Ingredients
For the Cake
- 3 cups all-purpose flour
- 2 cups granulated sugar
- 6 tablespoons cocoa powder
- 2 teaspoons baking soda
- ½ teaspoon table salt
- ¾ cup extra virgin olive oil
- 2 tablespoons white vinegar
- 1 tablespoon pure vanilla extract
- 2 cups cold water
For the Whipped Cream
- 2 cups heavy cream
- 1 teaspoon pure vanilla extract
- 2 tablespoons sugar
For the Mocha Glaze
- ¼ cup prepared espresso
- 1½ cups heavy cream
- 2¾ cups semi-sweet chocolate chips, chopped
Instructions
- Preheat the oven to 350˚F. Coat the insides of two 9-inch cake pans with butter. Afterward, add a bit of flour to each, shaking and rotating the pans to ensure they're fully dusted. Set aside.
- In your stand mixer's bowl, sift together the flour, sugar, cocoa, baking soda, and salt. Pour in the oil, vinegar, vanilla, and water; beat on low speed until the batter is combined and smooth. Evenly distribute the batter between the two cake pans.
- Bake for 30 minutes or until a toothpick inserted in the center of the cake comes out clean. Put the cake pans on cooling racks and cool for 15 to 20 minutes before removing the cakes from the pans to let them cool completely.
- Before you start filling and stacking, trim and level the cake layers. Sometimes cakes bake with a slight hump on top. Use a long serrated knife to trim off any domes that bake up on the tops of your cakes.
For The Whipped Cream
- Meanwhile, whisk together the whipping cream, vanilla, and sugar in a bowl. Cover and chill in the refrigerator for 20 to 30 minutes. Then remove from the fridge and, using a mixer, beat the mixture until stiff peaks form.
- Spread the whipped cream over one of the trimmed cooled cakes, then set the other cake layer on top. Set aside.
For The Mocha Glaze
- Make the espresso.
- Combine the heavy cream and chopped chocolate in a double broiler. Stir until the chocolate is completely melted and the sauce is very smooth. Stir in the brewed espresso.
- Keep the glaze warm until ready to use, then pour it over the cake and spread it all around.
- Cut and serve.
Notes
- Refrigeration: If not serving immediately after assembling, consider refrigerating the cake to set the glaze and maintain the integrity of the whipped cream layer.
- Serving: Use a hot knife (dipped in hot water and then wiped dry) for cleaner slices when cutting through the cake, especially if it has been chilled.
- Storage: This cake can be stored in an airtight container in the refrigerator for up to 7 days. Allow slices to come to room temperature for 10 minutes for the best flavor and texture before serving. You can also freeze the cake for 2 to 3 months.
Nutrition
Nutritional info is an estimate and provided as courtesy. Values may vary according to the ingredients and tools used. Please use your preferred nutritional calculator for more detailed info.


Super decadent. I love the contrast of the whipped cream and mocha glaze.
Thank YOU! I am very glad you enjoyed it! 🙂