Instant Pot Chicken Breasts Recipe
Sep 05, 2018, Updated Oct 15, 2023
This post may contain affiliate links. Please read our disclosure policy.
If you are looking to master cooking chicken breasts in the Instant Pot, here’s the perfect recipe for you! With the right seasoning, achieve irresistibly tender and juicy chicken, using either fresh or frozen breasts, all cooked to perfection.
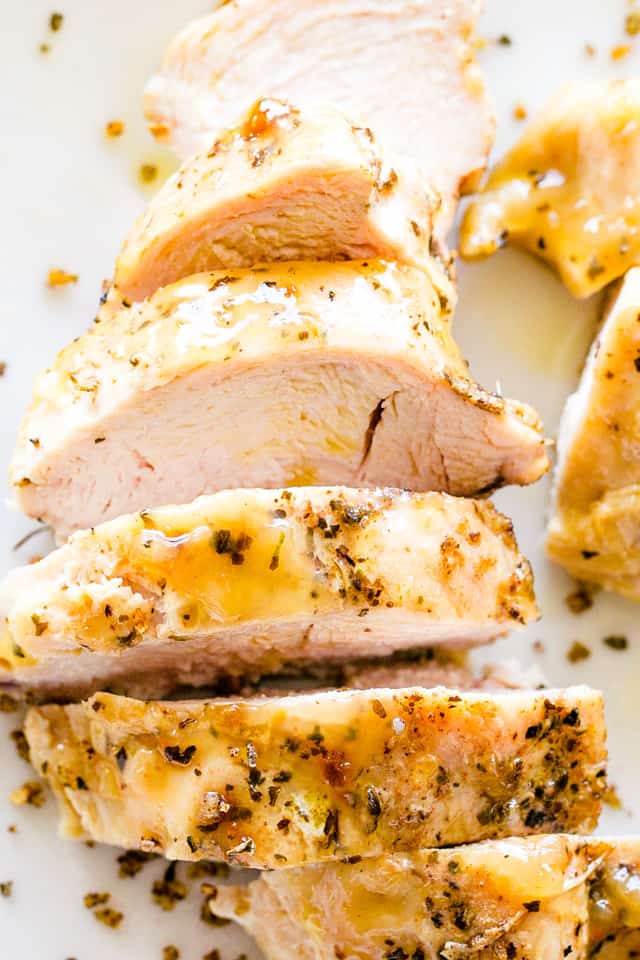
Juicy Chicken Breasts Cooked In The Instant Pot
Instant Pot Chicken Breasts are your ticket to a juicy, tender, and flavorful meal in minutes! Chicken is a go-to ingredient for many households, and using an Instant Pot makes cooking them a breeze. This handy kitchen gadget, an electric pressure cooker, has become a game changer for whipping up meals in record time. And with this chicken recipe, you’ll have a quick, yet flavorful dish, making it a lifesaver for those hectic weeknight dinners. Think tender, moist chicken breasts infused with savory flavors, all ready in just 20 minutes! If you’re yet to jump on the Instant Pot bandwagon, no worries – I’ve got you covered with an equally tempting baked chicken breast recipe that promises juiciness and flavor in every bite.
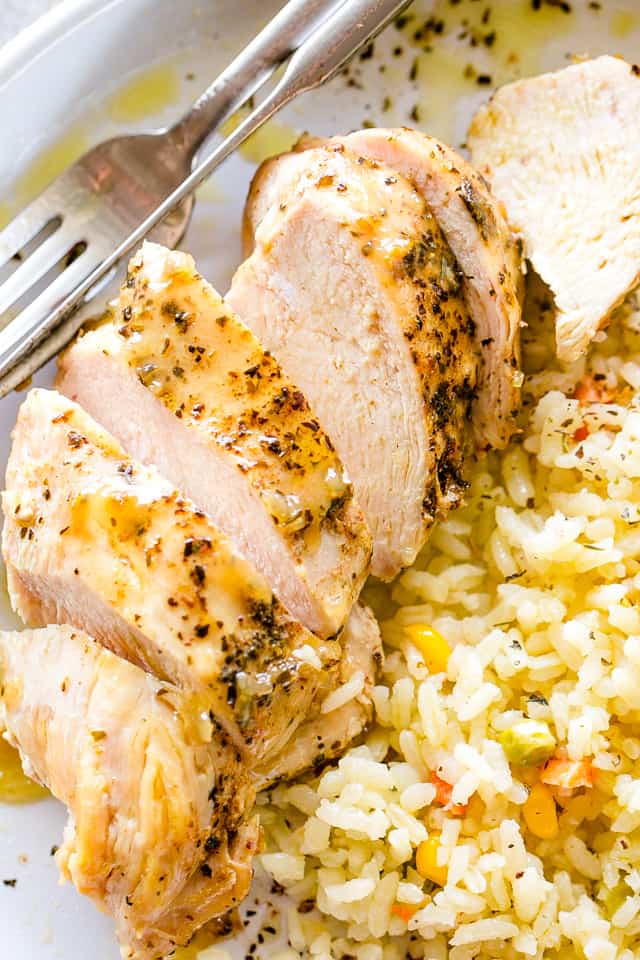
Why We Love This Instant Pot Chicken Recipe
- Easy to Follow: This recipe is so easy, whether you’re new to using an Instant Pot or a seasoned pro.
- Versatile: The recipe works with fresh or frozen chicken, making it adaptable to what you have on hand.
- Quick: Thanks to the efficiency of the Instant Pot, you’ll have a delicious meal in under 30 minutes.
- Tender and Juicy Results: Cooking in an Instant Pot ensures moist and tender chicken every time.
- Ideal for Busy Days: This recipe is your stress-free answer to busy days, making meal prep easy and quick.
- Light: Cooking chicken breasts in an Instant Pot provides a wholesome, nutritious, and protein-rich meal.
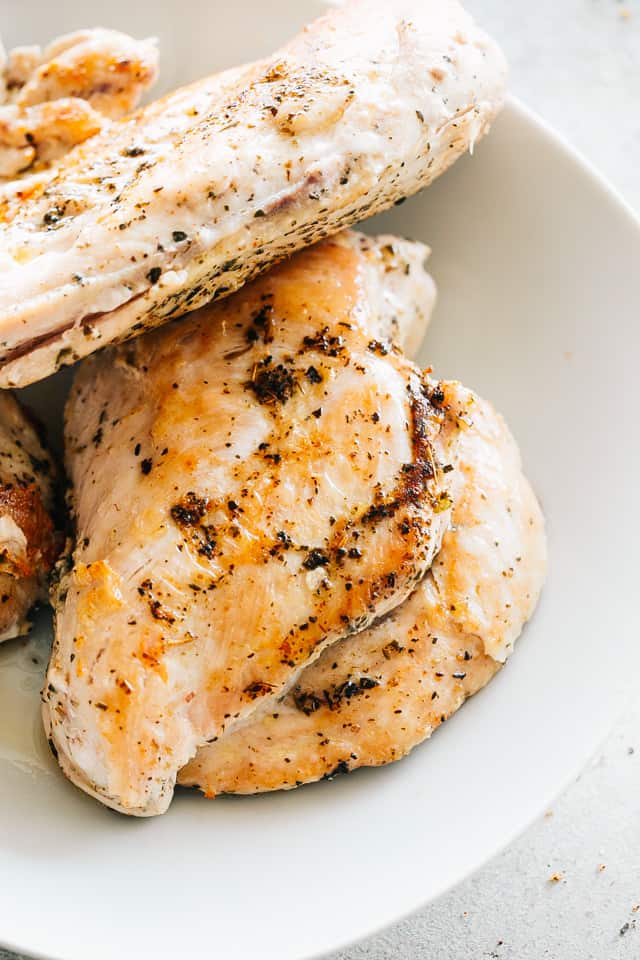
How To Cook Chicken Breasts In The Instant Pot
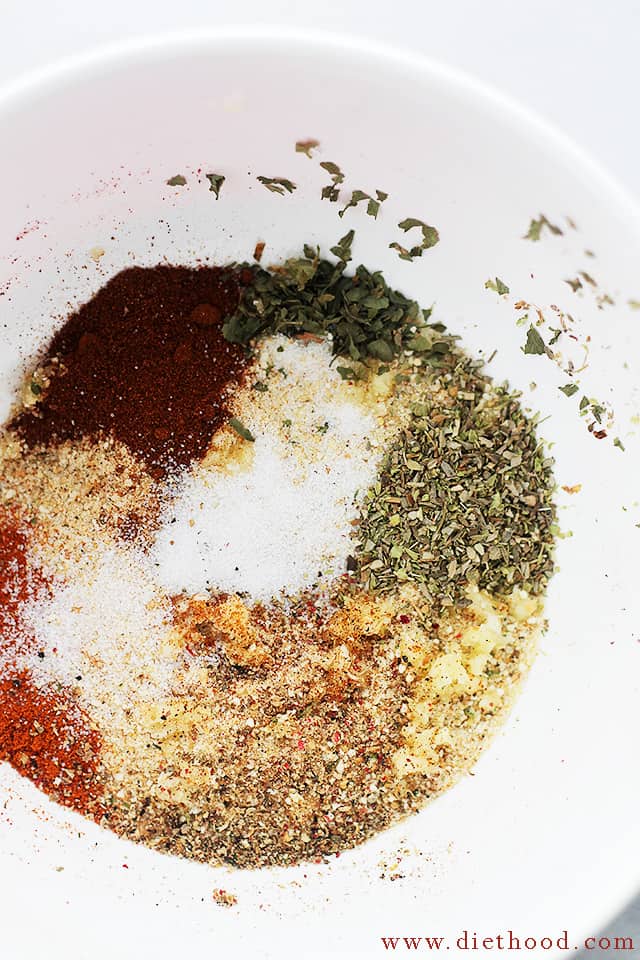
- Season the chicken breasts: I use a combination of Italian seasoning, paprika, garlic powder, onion powder, salt, pepper, and olive oil to create a paste that I can rub all over the chicken breasts.
- Select the sauté mode on the Instant Pot and warm up the olive oil. Add seasoned chicken breasts to the pot and sear on both sides until browned. Remove chicken breasts.
- Pour pineapple juice (you can also use water or chicken broth) in the Instant Pot and scrape up the bits.
- Place the trivet inside the Instant Pot and arrange the chicken breasts on the trivet in a single layer. If you do not have a trivet, place 5 or 6 aluminum foil balls inside the pot; then arrange the chicken breasts over the foil balls.
- Close the pot, set the valve to sealing, select the manual or pressure cook button (this depends on your Instant Pot model), select high pressure, and set the timer to 5 minutes.
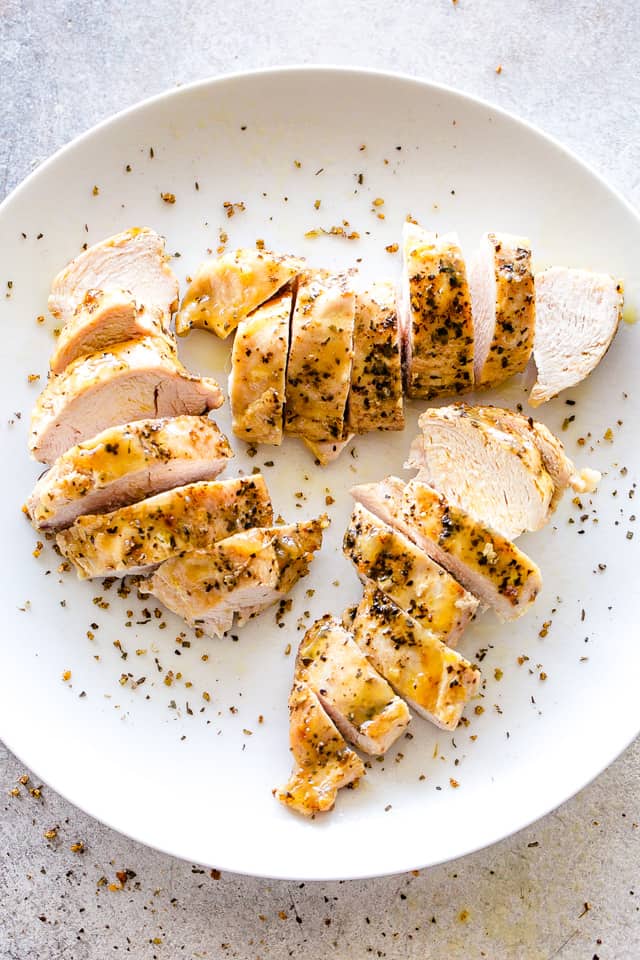
- When the 5 minutes are up, let the pressure release naturally for 8 minutes; then, release any remaining pressure. Remove the chicken breasts, let them rest for 5 to 8 minutes, and then cut and serve.
- Instant Pot Gravy: After removing the chicken breasts and trivet, consider making a delicious gravy for the chicken. Select the Saute mode and boil the liquid inside the pot. Make a slurry with water and cornstarch and add it to the pot; whisk it and cook for 3 to 4 minutes or until thickened to a desired consistency. Serve it with the chicken.
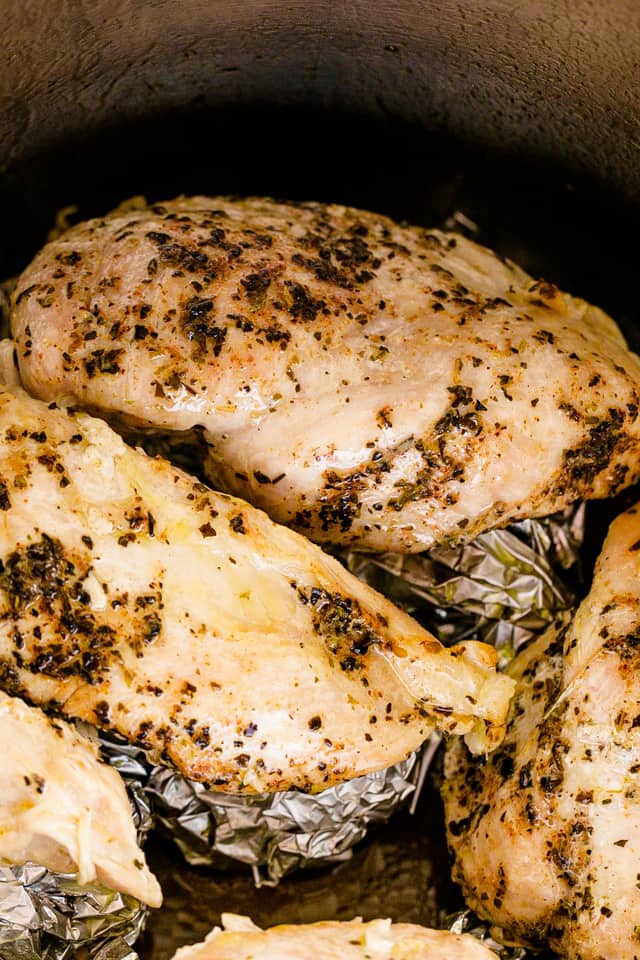
How To Cook Frozen Chicken Breasts in the Instant Pot
- First, separate the frozen chicken breasts; do not place them in the Instant Pot all glued together, but instead separate them and arrange them in one layer. Even when using fresh chicken, I advise you not to pile it up. One layer will ensure even cooking, keeping the chicken breasts moist.
- Cook frozen chicken breasts for 10 to 12 minutes at high pressure, and do a 10 minutes natural release. You may need to increase the cooking time to 14 minutes for large chicken breasts.
- Also, for frozen chicken breasts, note that it will take longer for the pressure to build in the Instant Pot; about 15 minutes. It takes 8 to 10 minutes for fresh chicken breasts.
Tips For Success
- Use a meat thermometer: To ensure that the chicken is fully cooked and safe to eat, use a meat thermometer. The internal temperature should register at 165°F.
- Don’t overcook the chicken: Overcooking chicken breasts in an Instant Pot can result in dry and tough meat.
- Add flavor to the cooking liquid: Adding seasonings or herbs to the cooking liquid can infuse the chicken breasts with more flavor. Try adding bay leaves, rosemary, thyme, or other herbs to the chicken broth or water.
- Salt and Pepper to taste: When a recipe instructs to add salt and pepper to taste, it means that you can add as much of that ingredient as you prefer. This does not imply a salty flavor. When adding salt, we want to eliminate blandness and bitterness and make the rest of the flavors pop.
- Sear the chicken before cooking: Searing the chicken breasts for a few minutes before pressure-cooking can help to brown and caramelize the exterior, resulting in more flavor and texture.
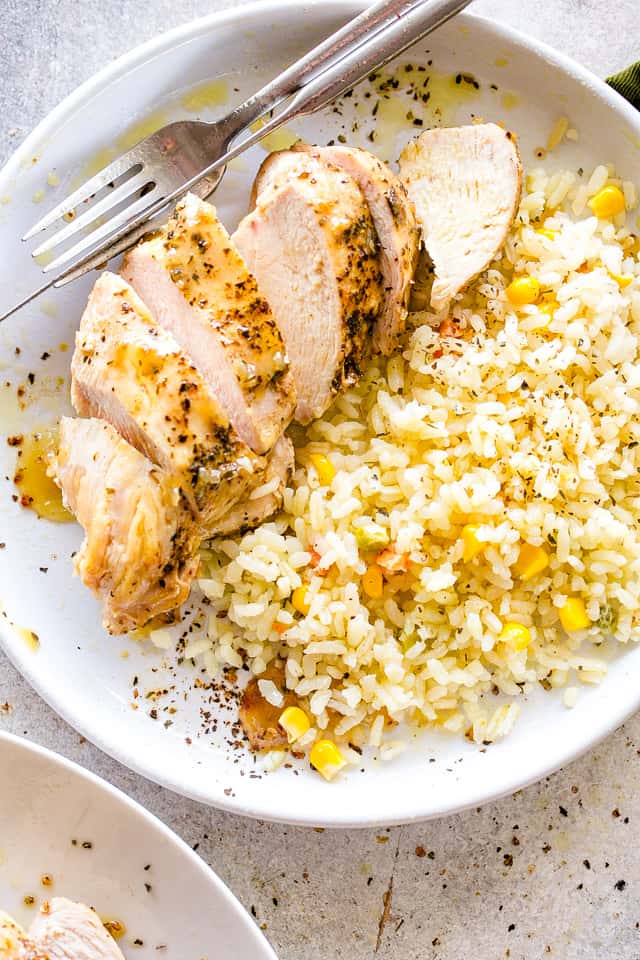
Side Dishes for Chicken Breasts
- Lemon Rice
- Garlic Parmesan Roasted Vegetables
- Cheesy Bacon Potato Foil Packets
- Garlicky Lemon Parmesan Broccoli
- Garlic Butter Spinach Pasta
Instant Pot Chicken Recipes
- Instant Pot Honey Garlic Chicken Recipe
- Instant Pot Creamy Chicken Tortellini Soup
- Instant Pot Chicken Zoodle Soup
Pin this now to find it later
Pin It
Tender and Juicy Instant Pot Chicken Breasts
Ingredients
- 4 large boneless, skinless chicken breasts
- 1 teaspoon Italian Seasoning
- ½ teaspoon paprika
- ½ teaspoon garlic powder
- ½ teaspoon onion powder
- salt and fresh ground pepper,, to taste
- 2 tablespoons olive oil,, divided
- 1 cup pineapple juice, chicken broth, white wine, or water
Instructions
- Pat dry the chicken breasts and set aside.
- In a small mixing bowl combine Italian Seasoning, paprika, garlic powder, onion powder, salt, and fresh ground pepper.
- Add 1 tablespoon olive oil to the seasonings and mix until thoroughly combined into a paste.
- Rub the paste all over the chicken breasts.
- Select the sauté mode on the Instant Pot and heat 1 tablespoon olive oil.
- Once the oil is hot, add the chicken breasts and brown on both sides; about 2 minutes per side.
- Remove chicken from the Instant Pot and set aside.
- Add pineapple juice to the Instant Pot and scrape up any bits stuck to the bottom.
- Place a trivet inside the Instant Pot and arrange the chicken breasts on the trivet in one single layer.
- Close the pot, set the valve to sealing, select the manual or pressure cook button (this depends on your Instant Pot model), select HIGH pressure, and set the timer to 5 minutes.
- When the 5 minutes are up, let the pressure release naturally for 8 minutes; then, release any remaining pressure.
- Remove chicken from pot and rest for 5 minutes before cutting and serving.
For The Gravy
- After removing the chicken breasts and trivet from the Instant Pot, select the SAUTÉ mode and bring the liquid to a boil.
- Make a slurry. In a small mixing bowl, whisk together 2 tablespoons of water and 1 tablespoon of cornstarch until combined, then whisk that into the liquid inside the pot; let cook for 3 to 4 minutes or until thickened to a desired consistency.
- Pour the gravy over the chicken breasts and serve.
Video
Notes
- Trivet: If you don’t have a trivet, make several aluminum foil balls and arrange those on the bottom of the pot.
- Liquid: You can use pineapple juice, apple juice, chicken broth, or wine.
- Cooking Frozen Chicken Breasts: For frozen chicken breasts, you will need to increase the cooking time to 12 to 14 minutes and do a 10 minutes Natural Pressure Release.
- Use a meat thermometer: Check if the chicken is cooked using a thermometer. Chicken is done when its internal temperature registers at 165°F.
- Avoid overcooking: Overcooking will result in very dry chicken.
- Sear before cooking: A quick sear before pressure-cooking improves flavor and texture.
- Storing Leftover Chicken: Let the cooked chicken breasts cool completely; store them in an airtight container, or wrap them tightly with plastic wrap and refrigerate for up to 4 days.
- To Freeze Leftover Chicken: Wrap cooked chicken breasts tightly in plastic wrap. I also add a layer of aluminum foil over the plastic wrap. Place the wrapped chicken breasts in a freezer bag and keep them in the freezer for up to 4 months.
Nutrition
Nutritional info is an estimate and provided as courtesy. Values may vary according to the ingredients and tools used. Please use your preferred nutritional calculator for more detailed info.



Made it tonight and it was absolutely delicious! It was sooo tasty and juicy! I used frozen chicken breasts and it didn’t take too long for the pressure to build. I also added natural pineapple juice. Thank you for the recipe!!
That’s great! I’m very glad you enjoyed it! Thank YOU! 🙂
This was so easy, so tasty and the gravy was DE-licious! After reading some reviews about the chicken being overcooked, I decided to only cook for 4 mins + 5 min NR. We all thought the chicken was still dry, so next time I’d try a cook time of 3 min + 4 min NR. I’m sure it’s just a matter of getting the right timing with whichever IP you have. No biggie!
I used a combo of unsalted chicken stock and pineapple juice. YUM! The gravy needed some extra seasoning for our taste (salt, pepper, garlic powder), and I added just a little bit of Gravy Master, too. Dinner was a hit! This will definitely be in our rotation! 🙂
That’s great! I’m very glad you enjoyed it! Thank YOU! 🙂
2nd time making this! One of our new favorites! Chicken is so tender and juicy…..gravy is delish! Won’t make chicken any other way!
Can I cut breasts directly in 1/2 and then place them on trivet or would this dry them out and cause the cooking time to change?
Right. If they’re too thin, they’ll need less time to cook. Since I haven’t tested the recipe with thin cut chicken breasts, I don’t really know about how long you’d need to cook them for.
This quickly became one of my “go to” chicken recipes. It’s so easy and the results are always amazing.
Thank you for sharing this!
Thank YOU! I am very glad you enjoyed it! 🙂
I followed the recipe exactly and it was even better than I imagined. The sauce at the end actually became a gravy that my family loved! Can’t wait to have it again! This time with mashed potatoes!
That’s great! I am very glad you enjoyed it! Thank you so much! 🙂
I want to make this tonight but only need two chicken breasts (they are pretty thick). Would you suggest I change anything?
Hi! 👋
No, nothing to change. The cooking time stays the same.
I just bought my first Instapot Duo 6 QT. I am a single mom and was scared to try to cook in it. SO I already had chicken that was defrosted and my daughter was asking what was for dinner. I said I dont know, maybe I can try to make some chicken in the Instapot. So I did, but I had to tweak it a little bit with the seasoning and pineapple juice. I did not have ANY of the ingredients so I just used what I usually use for seasoning. I also had to use chicken broth. I also made the gravy. The chicken did come out just a tad dry, but with the gravy it was fine to my liking. I was really impressed with how easy it was from start to finish. Thank YOU. This meal was MY FIRST in the instapot
That’s great! I am very glad you enjoyed it! Thank YOU! 🙂
I just made this and it turned out great! I had pineapple juice on hand and the gravy turned out delicious. The chicken was a tad dry, should I cook it for less than 5 minutes next time? I will definitely make this again! thanks for sharing another great recipe!
Loved this recipe. I was surprised that people said it had no flavour; perhaps their herbs and spices are old 😂. I used Massell chicken stock instead of pineapple juice, but will try this again with fruit juice to see what it tastes like (maybe orange juice)
I am very glad you enjoyed it! THANK YOU! 🙂