This post may contain affiliate links. Please read our disclosure policy.
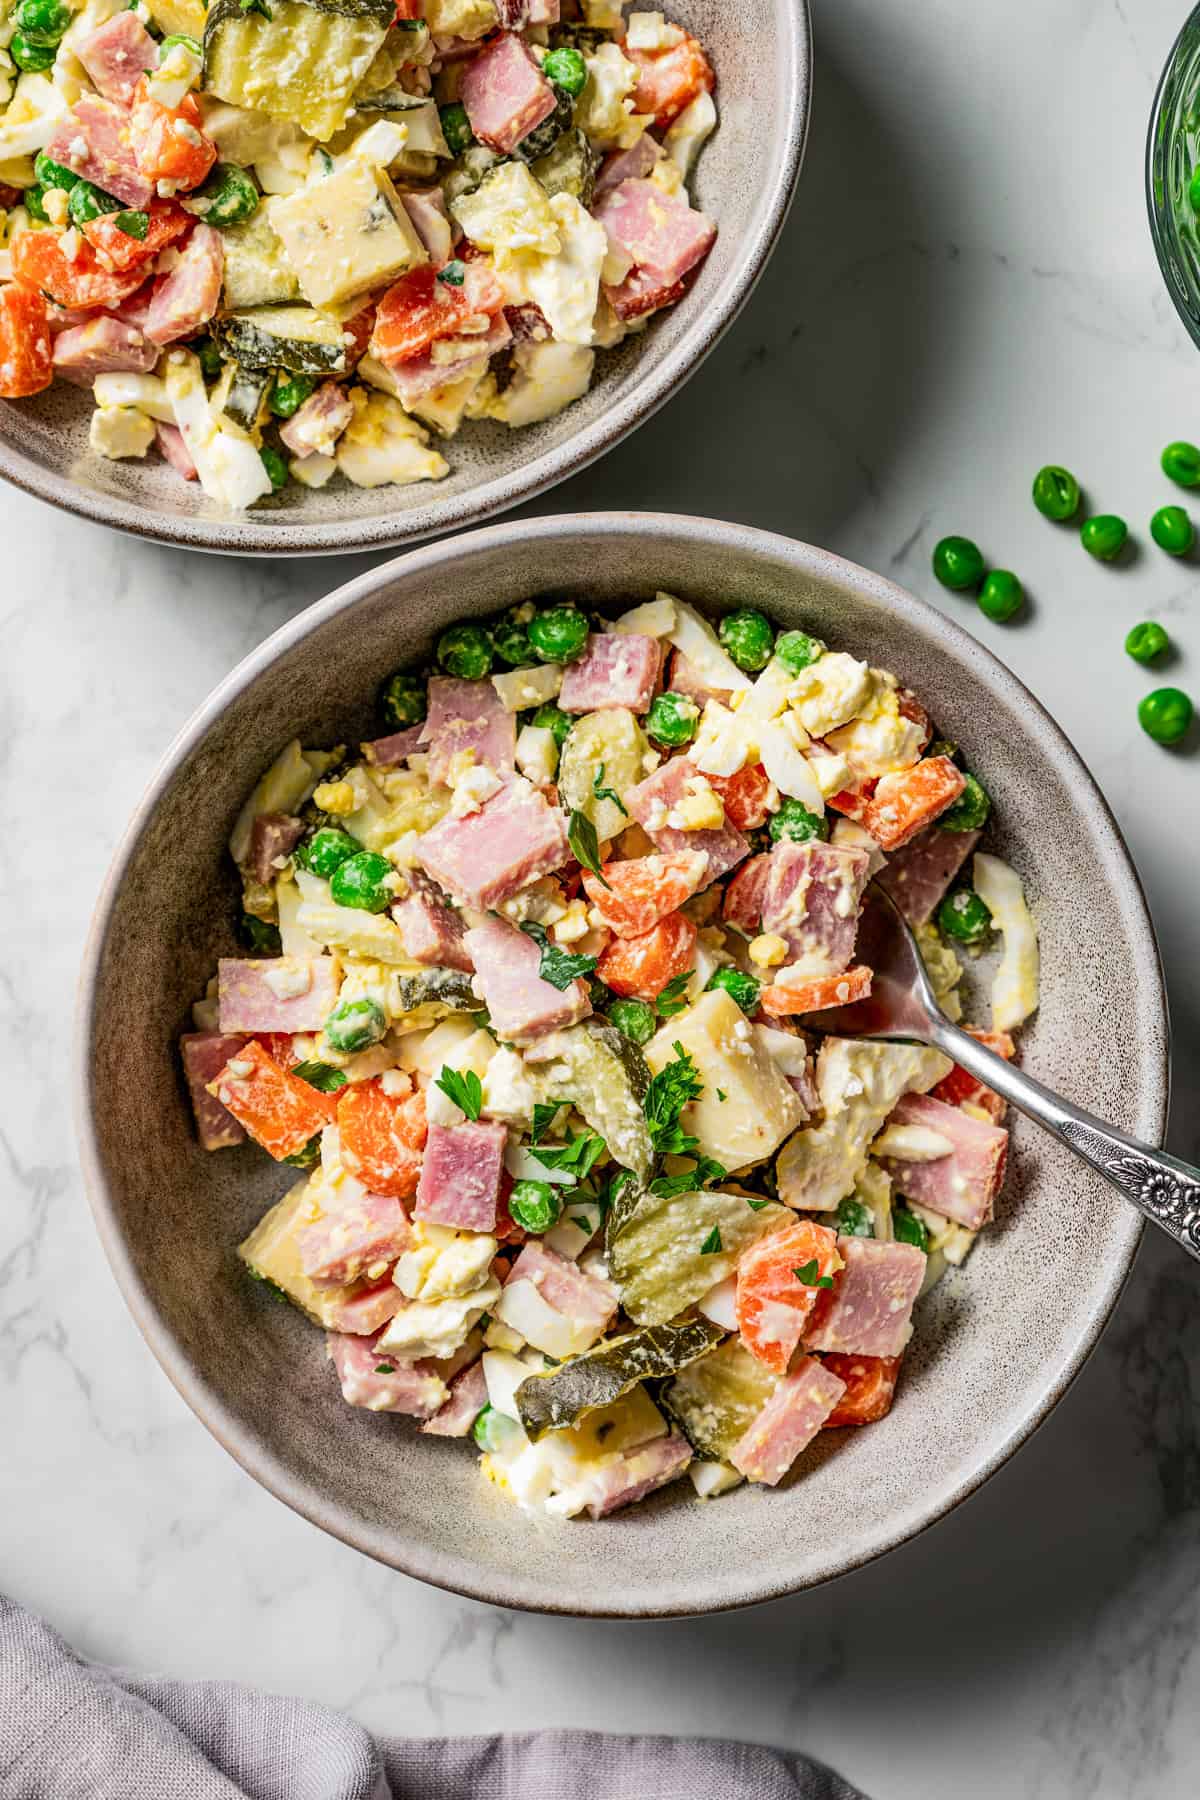
This Russian salad is one of my favorite dishes for a potluck or barbecue! Also called an Olivier salad, it’s a tasty, easy recipe with colorful layers of peas, carrots, eggs, ham, cheese, and pickles tossed in creamy mayo.
Make this dish ahead, add potatoes, or leave out the ham to make it vegetarian. If you love all-in-one salad recipes like a classic Cobb salad or Chef salad, you’ll love this one!
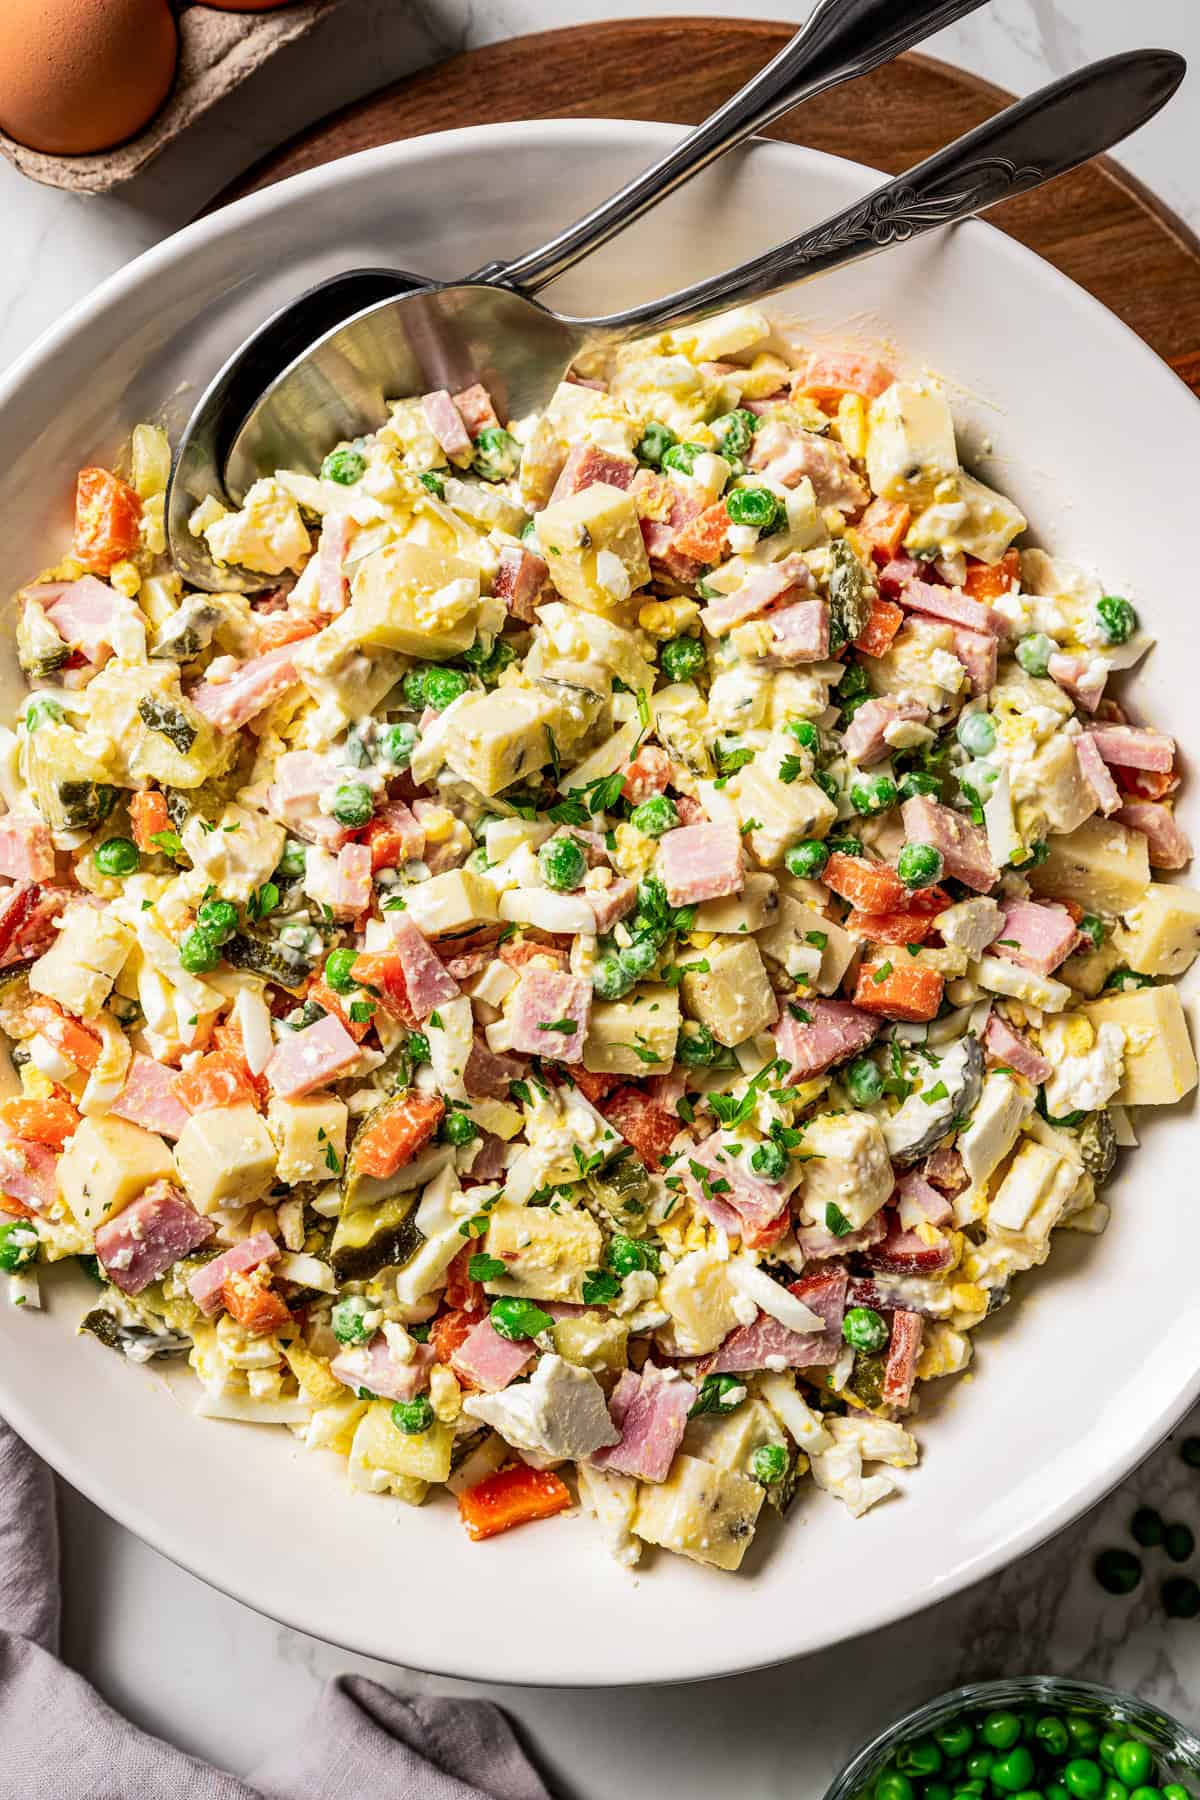
If there’s one dish I’ll never pass up at our Memorial Day picnic, Easter lunch, and Christmas dinner, it’s this easy Russian salad. I lick a plate clean of this salad with a side of kifli. It is a ham salad recipe with layers of tasty, savory ingredients, from salty ham and tender veggies to feta cheese and tangy pickles.
If you’ve followed me for a while, you’ll know I’m Macedonian, not Russian. But this Ruska salata is SO popular in Macedonia and Eastern Europe that it may as well be a recipe from back home!
Why You’ll Love This Russian Salad Recipe
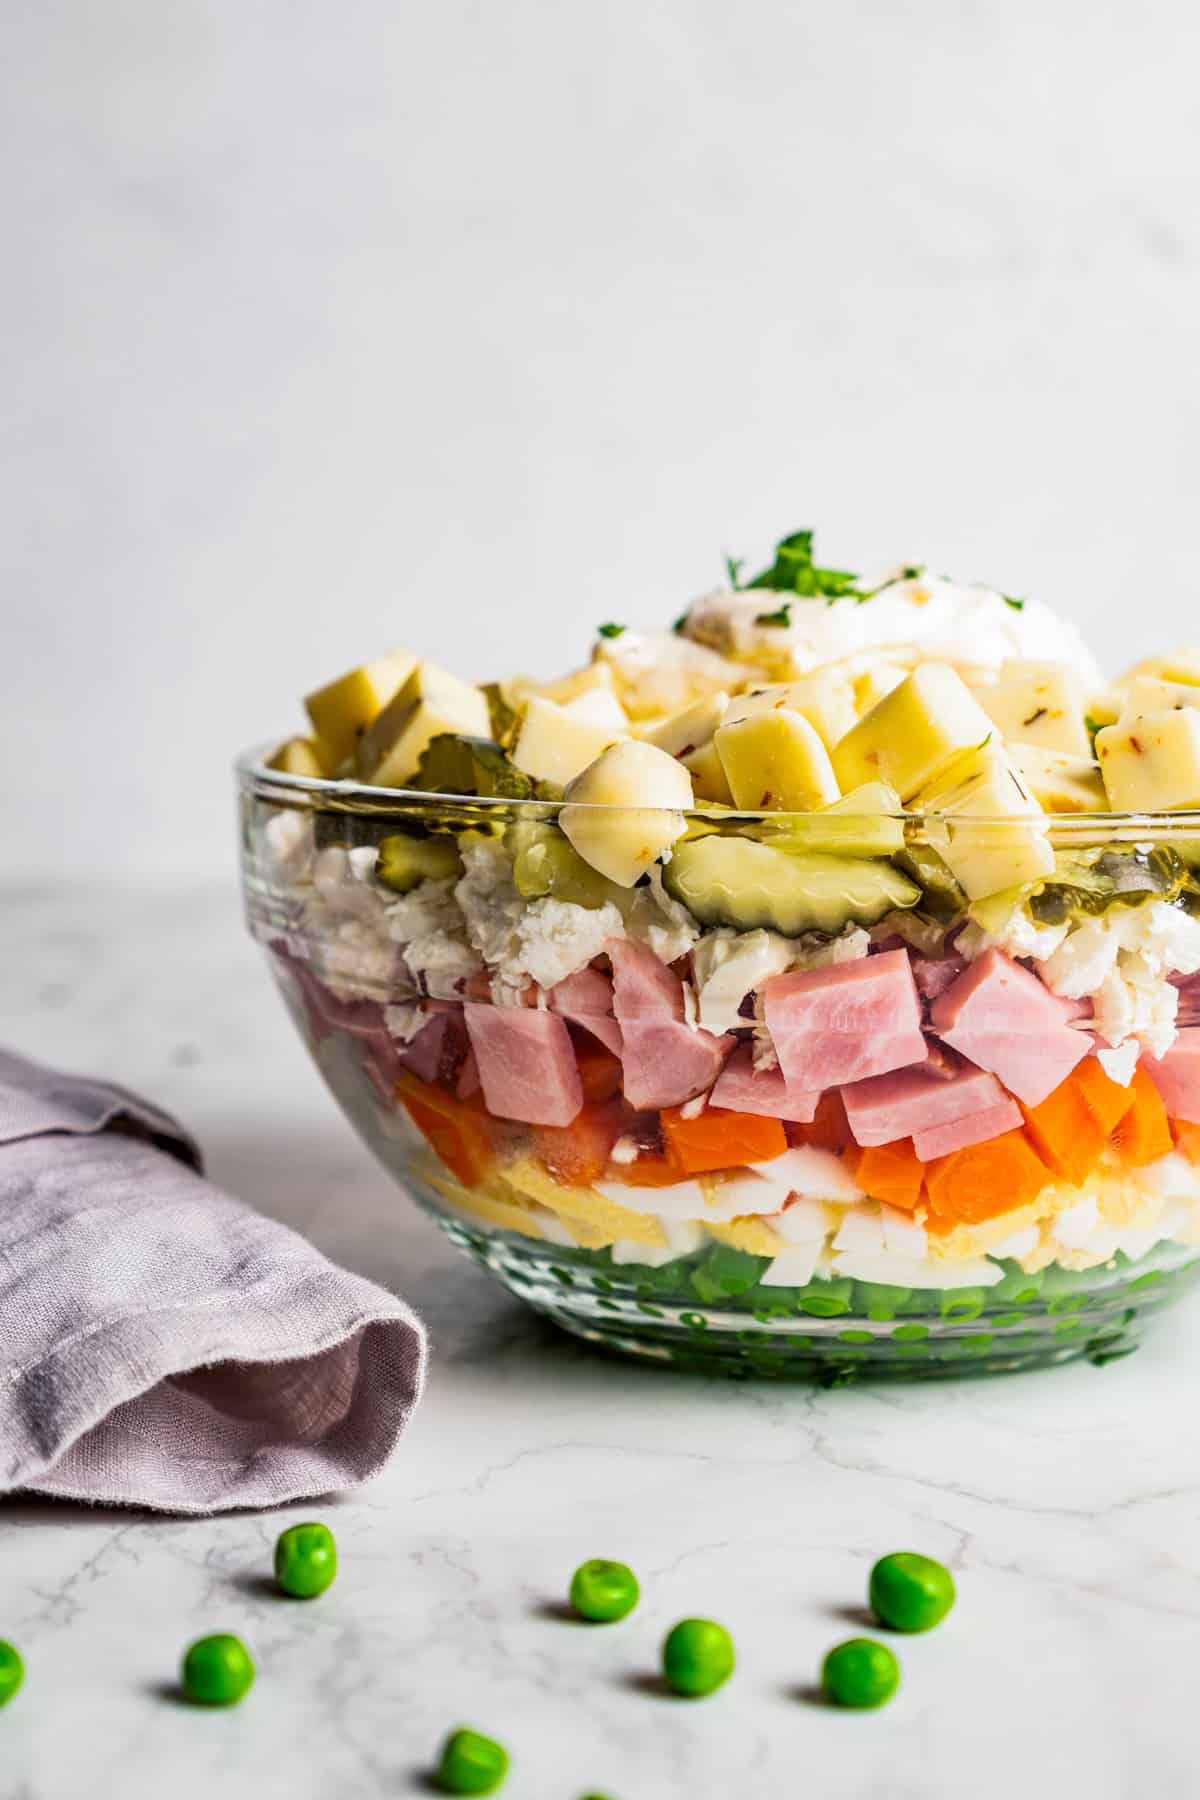
- Colorful layers. Just like ogres and onions (yes, Shrek reference), my Russian salad has layers. Of course, everything gets tossed together at the end. But the rainbow of colors in the bowl makes for the prettiest presentation at the potluck table.
- Rich and creamy. You don’t need to whip up a fancy dressing for this ham salad. The recipe keeps it creamy with one ingredient: good ol’ mayonnaise. It lets the rest of the flavors do the talking!
- So easy. I mean, most salads should be easy to make, but this one is SO simple. Once the ingredients are prepped and chopped, everything gets layered before it’s stored in the fridge. It takes 30 minutes or less!
- Make-ahead. Whether I’m meal-prepping this recipe as a mason jar salad or getting a headstart on the family picnic or barbecue menu, a layered Russian salad, aka Olivier salad, is perfect for preparing the day before. Just bring the mayo along when you’re ready to serve.
Why Is It Called Russian Salad?
It’s funny you ask, because I’ve run into a few Russians who have never even heard of a Russian salad. The dish was originally called Olivier salad after the Moscow-based chef that invented it. Eventually, it became “Russian salad”, “olivye”, and “ensalada rusa” in other parts of Europe.
The recipe has changed a lot over time. You’ll find versions with potatoes, chicken, and even cow’s tongue. So, while my Russian salad resembles the original, it takes a few liberties (and definitely no tongue!) while keeping the vegetables, cured meat, eggs, and mayo.
Ingredients You’ll Need
These are some notes on what you’ll need to make this Russian salad. Have a scroll down to the recipe card after the post for a printable list with recipe details.
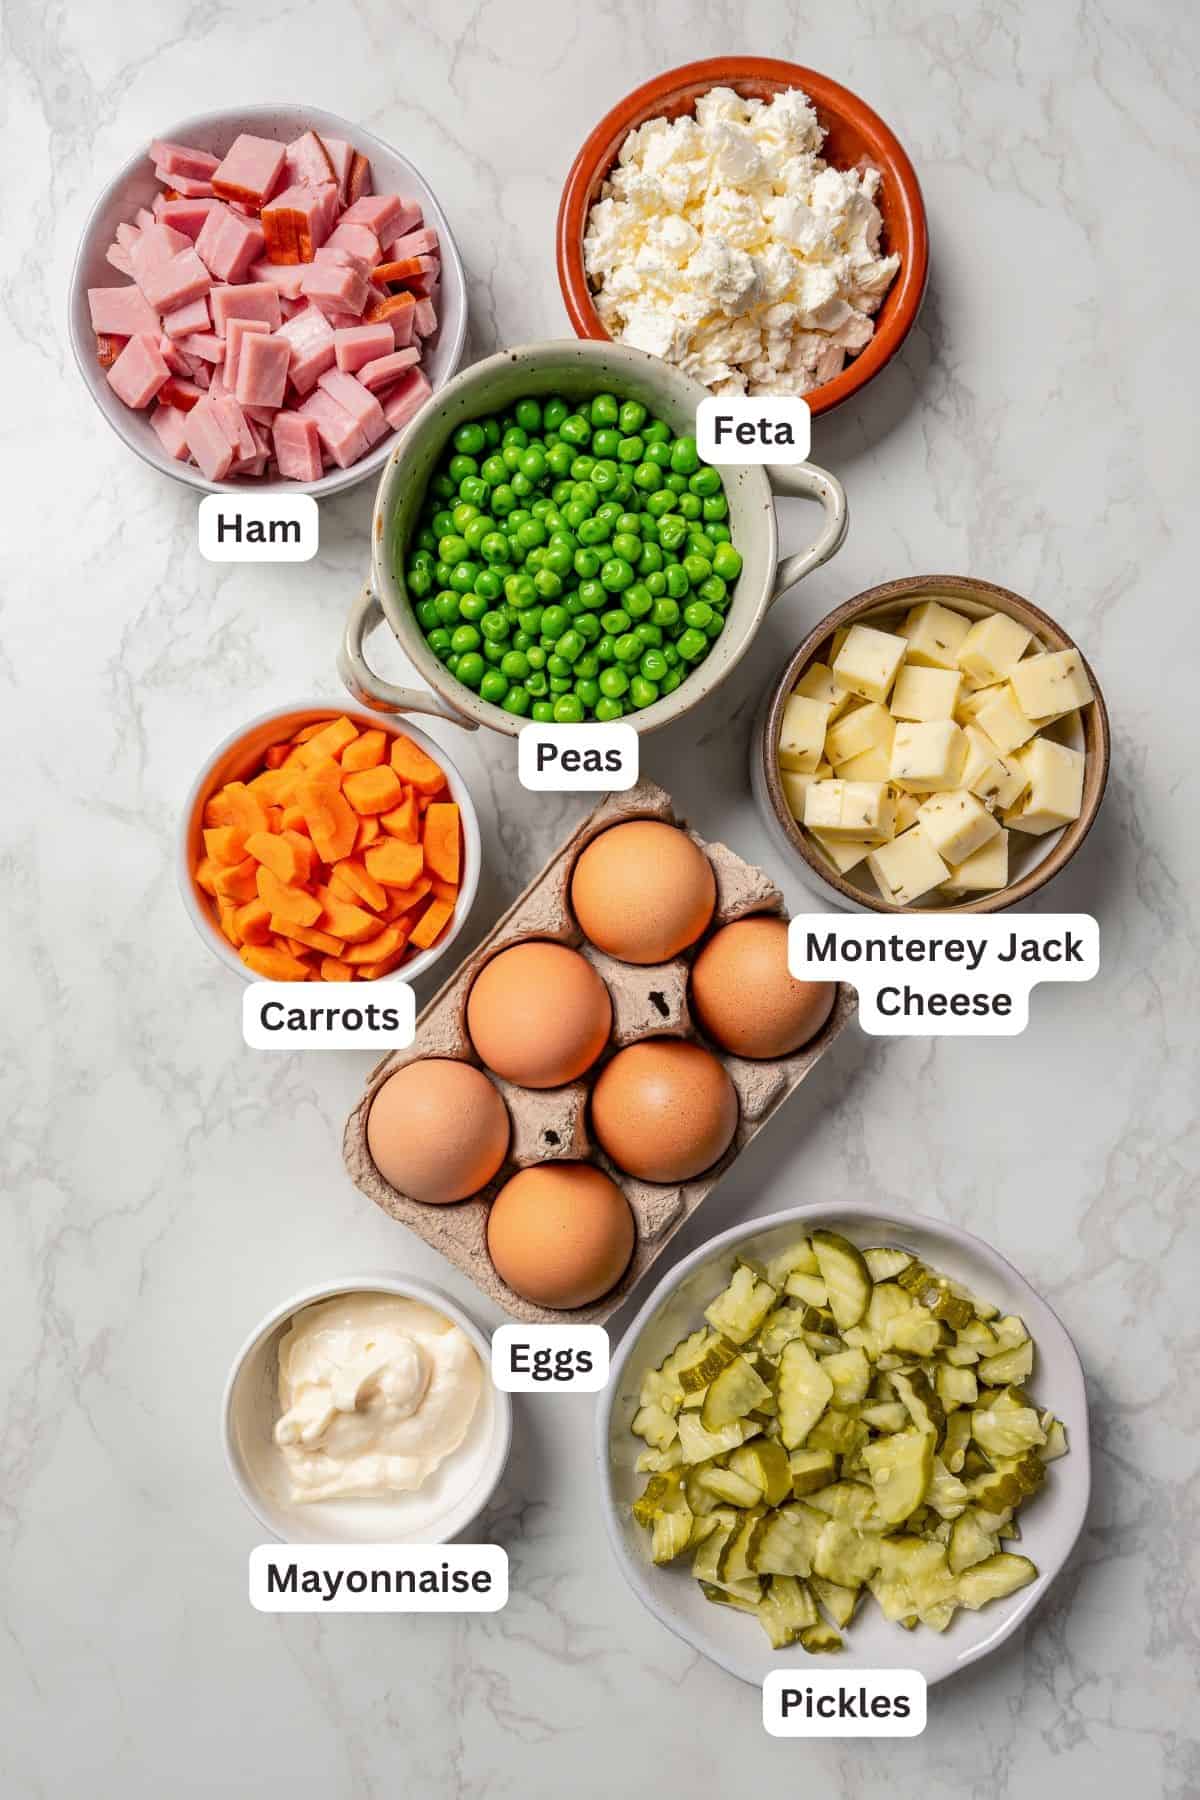
- Sweet Peas – Fresh, frozen, or canned sweet peas all work here. If you’re using canned or frozen, be sure to rinse (or thaw), drain, and dry the peas beforehand.
- Eggs – Hard-boiled, then cooled and diced.
- Carrots – Also cooked and then diced up.
- Ham – Use leftover cooked ham or pick up a ham from the deli section at the store.
- Pickles – These can be dill pickles, Kosher, or sweet pickles, or you can use another pickled veggie, like onions.
- Cheese – I use a combination of crumbled feta and diced Monterey Jack cheese. Feel free to swap in any cheese you’d like. Try cheddar, Pepper Jack, provolone, or even Velveeta cheese.
- Mayonnaise – IMO, Hellmann’s Mayonnaise is the best choice for creamy salad recipes like this Russian salad, potato salad, and pasta salad.
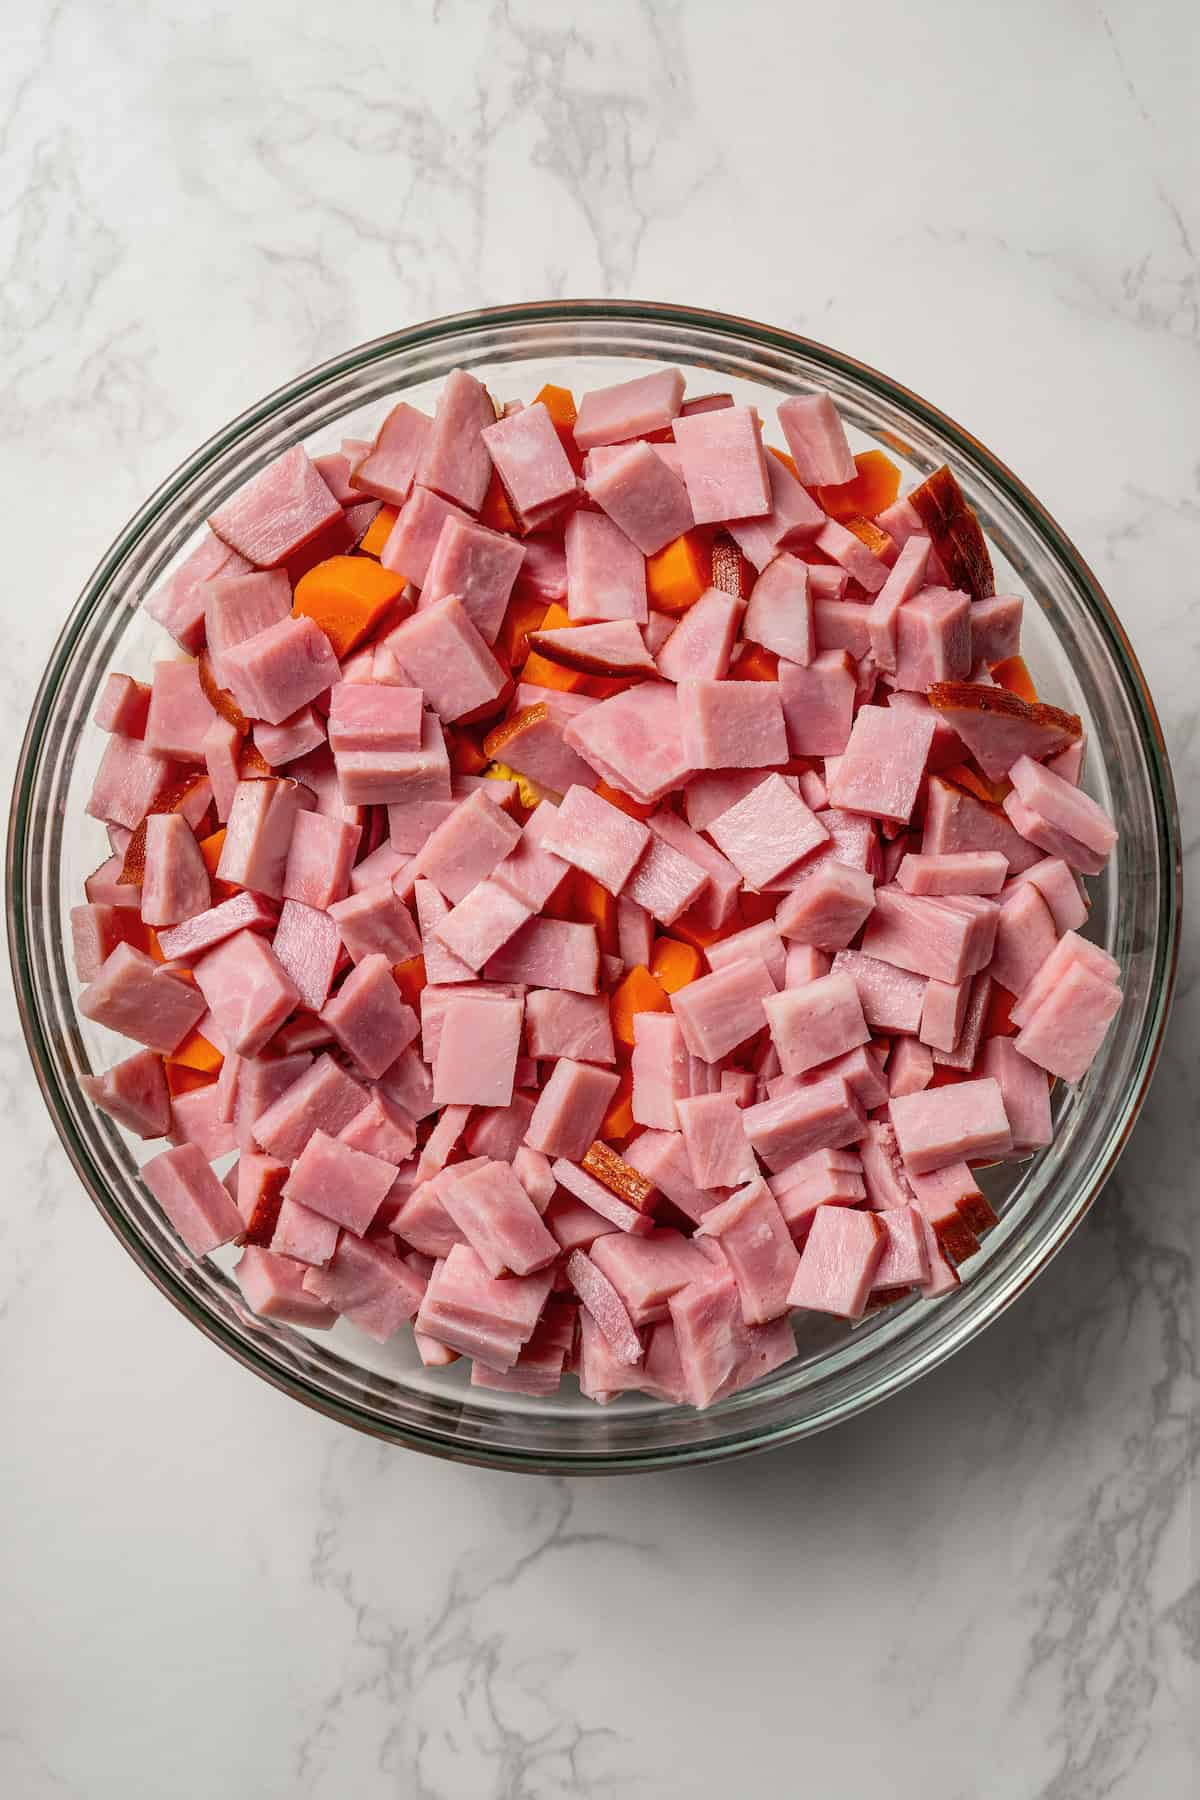
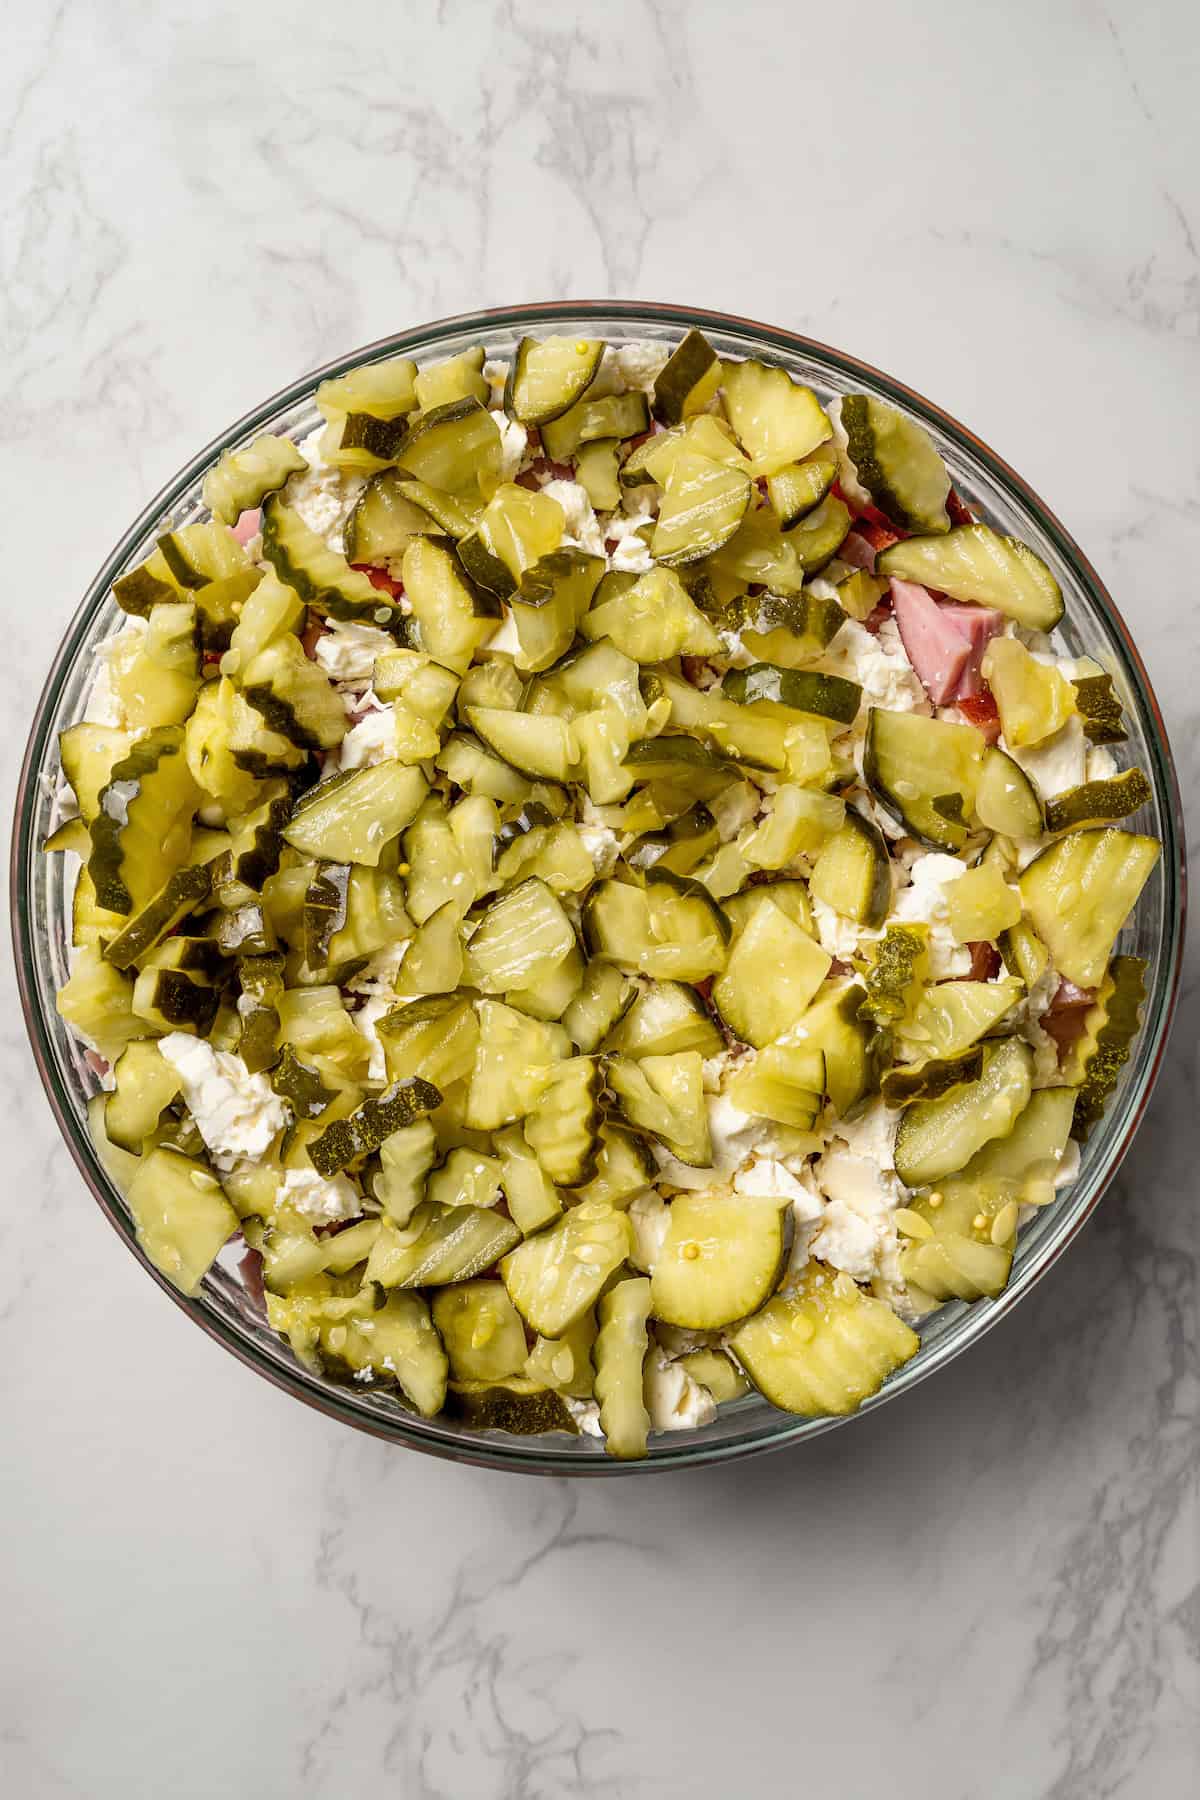
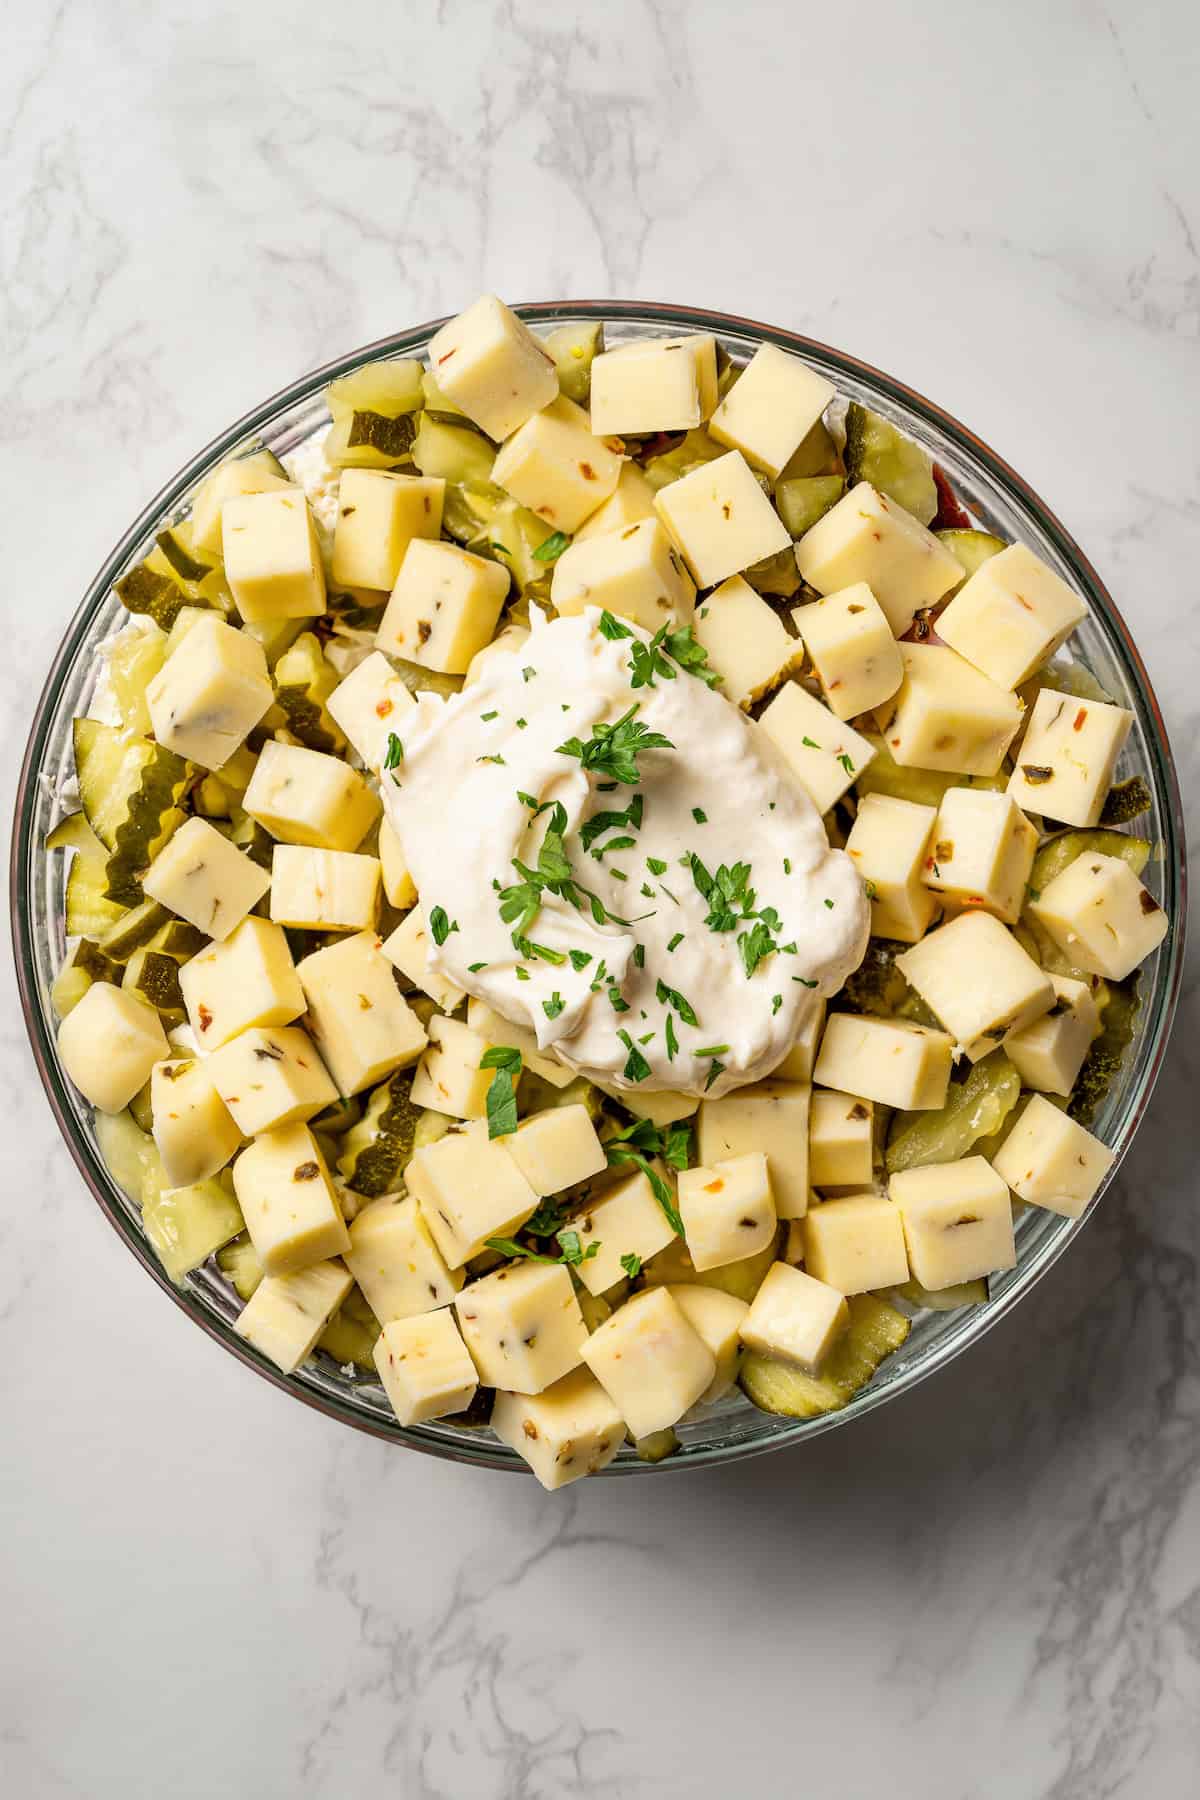
How to Make Russian Salad (Olivier Salad)
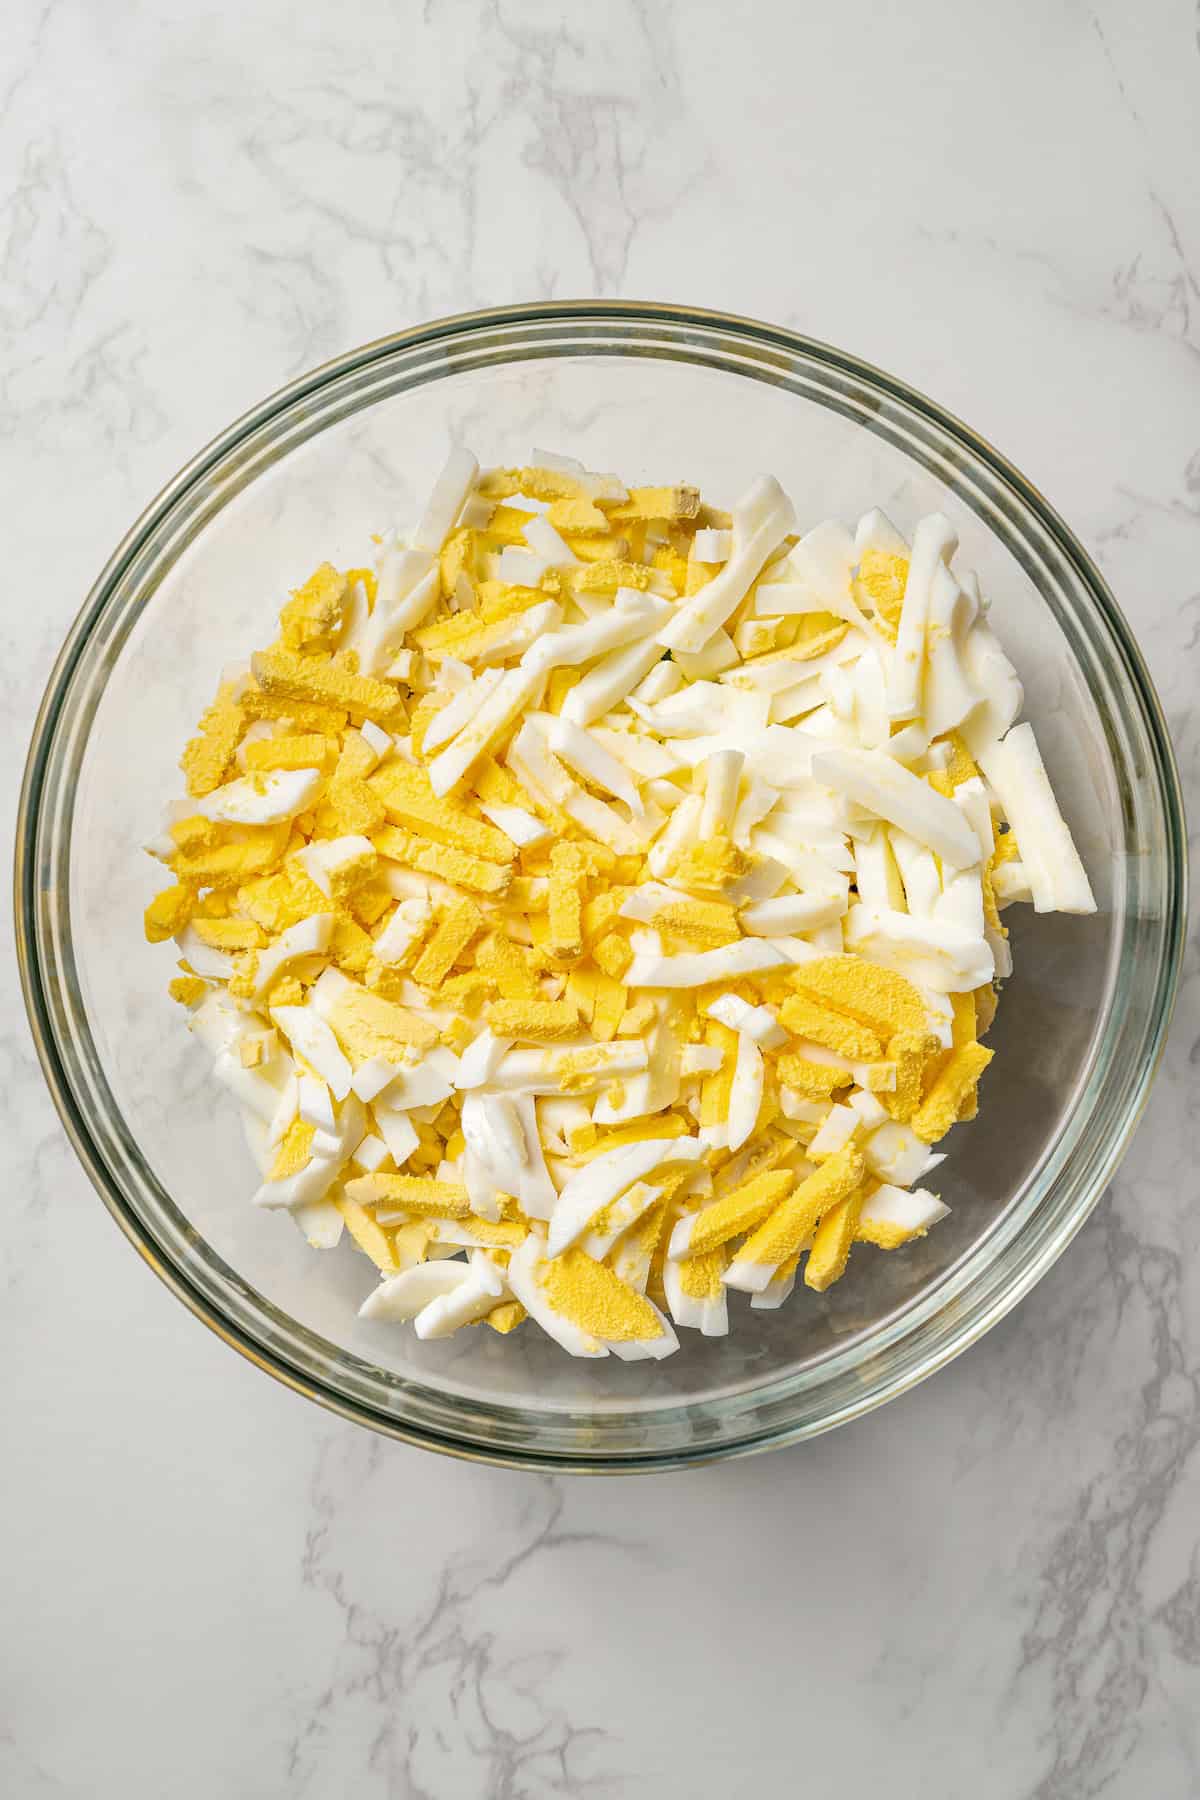
With all the dicing and chopping going on in this Olivier salad recipe, it’s the perfect excuse to whip out the Slap Chop (in case you also made that shopping channel impulse purchase). Otherwise, seize the opportunity to work on those knife skills.
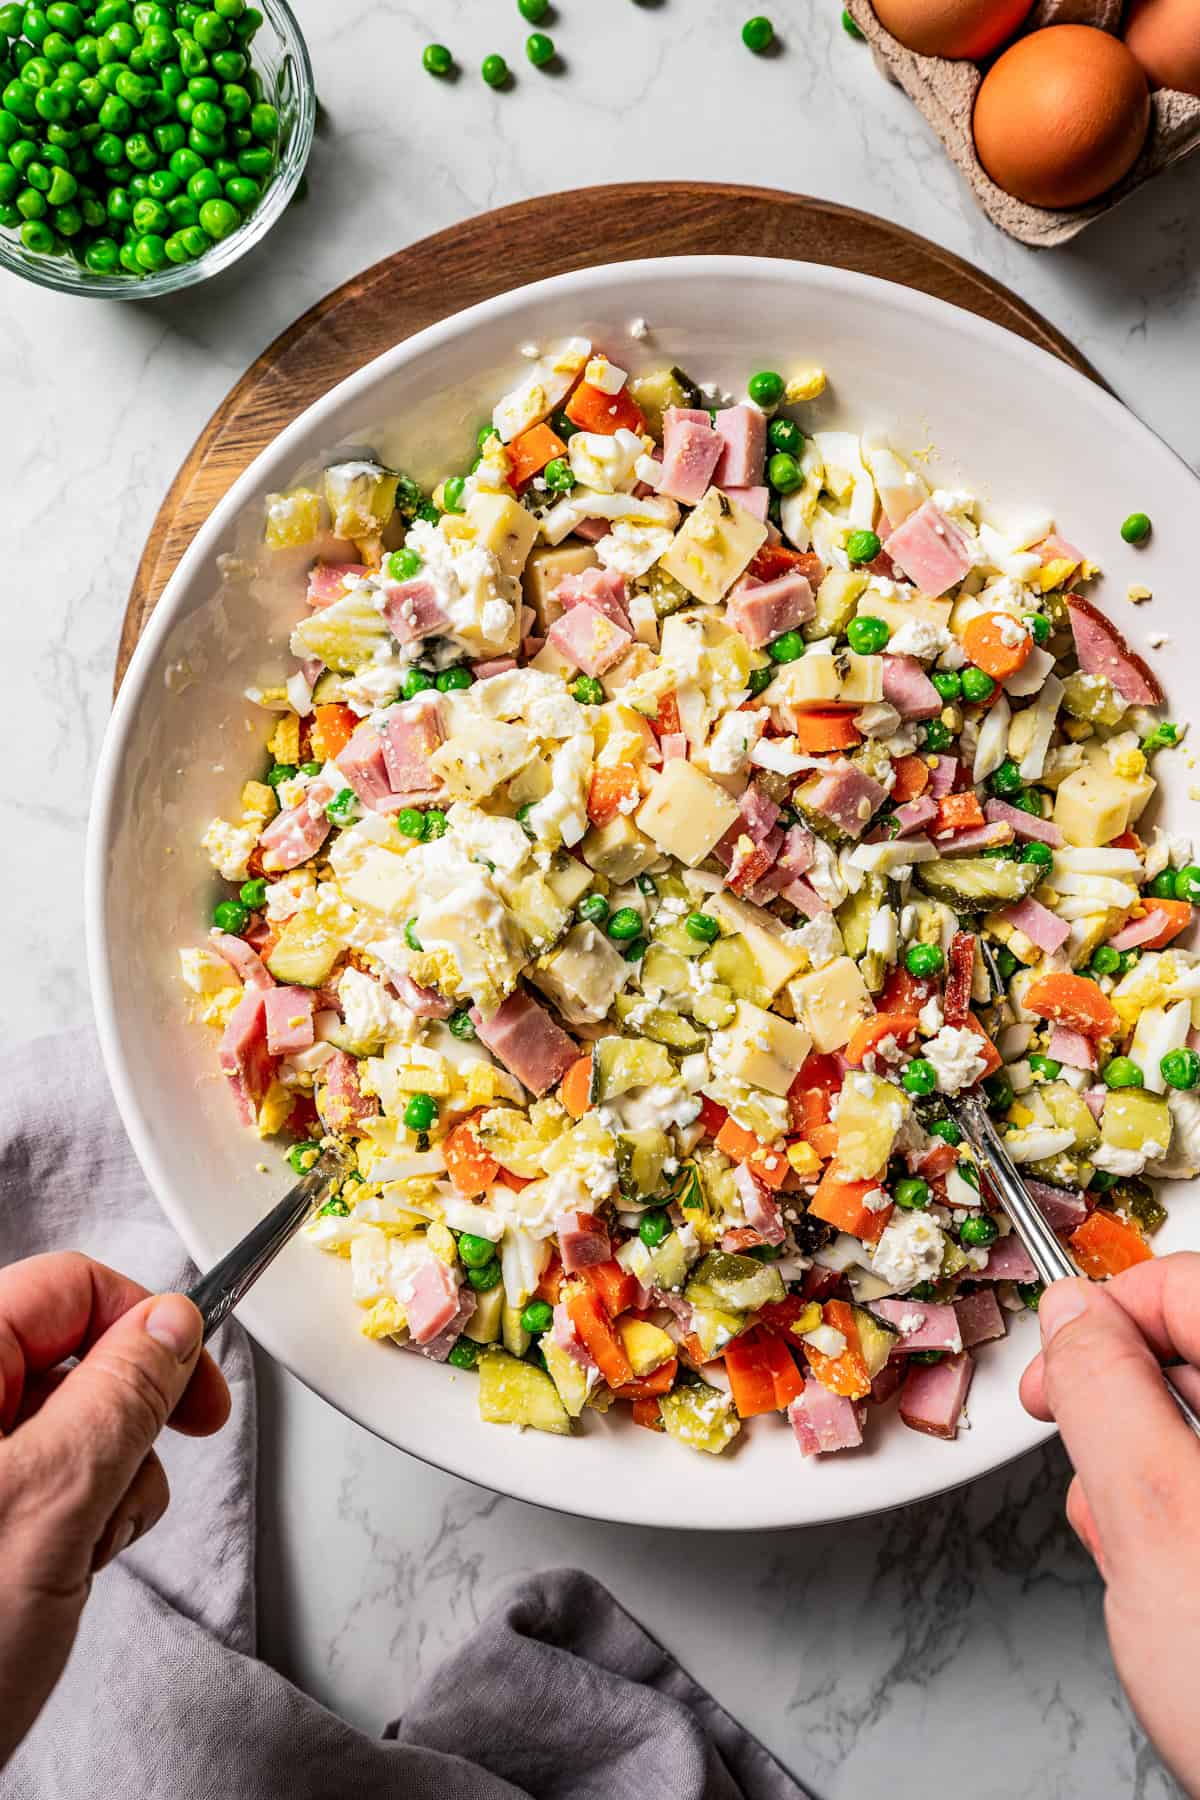
Once the ingredients are prepped to assemble, all you need to do is add them one after another to a big salad bowl. Ideally, use a glass bowl so you can see all those pretty layers! Keep the salad in the fridge so that you can serve it chilled. Right before serving, add the mayo and toss to coat. However, I prefer to add the mayonnaise along with the other ingredients and let it meld with the rest.
Add Potatoes!
Those of you already familiar with “olivye” salad or ensalada rusa might be wondering, “But where are the potatoes?” Don’t worry. I skip them, but that doesn’t mean you have to. Boil and chop red or baby potatoes like you would for a potato salad and layer the chunks in with the rest of the ingredients. Voila! Russian potato salad. Consider adding a little extra mayonnaise to compensate for the extra potatoes.
Meal Prep This Salad
Layered salads like this one are perfect for meal prep, as the ingredients are hardy enough to assemble ahead without getting soggy. My favorite way to make this Russian salad in advance is to layer everything into a mason jar. Dollop the mayo on top, and close the lid tightly. It’s ready to take on the go, just give the jar a shake before lunch the next day!
Storing Leftovers
Since this Russian salad does not contain salad leaves, it stores well in the fridge for 4-5 days. Store it in an airtight container. The mayo dressing may become a little watery with time. I like to stir in a little extra when serving leftovers.
More Eastern European Recipes
Pin this now to find it later
Pin It
Russian Salad
Ingredients
- 15 ounces canned small sweet peas, rinsed, drained, and dried
- 6 eggs, boiled, cooled, diced
- 3 large carrots, cooked and diced
- 1½ cups diced ham
- 1½ cups crumbled feta cheese
- 1½ cups diced pickles
- 1 block (8-ounces) Monterey jack cheese, diced
- ¼ cup mayonnaise, (in my opinion, for this salad, Hellmann's Mayonnaise is the best)
Instructions
- Assemble the salad. Layer all ingredients, except for mayonnaise, in a tall salad bowl.
- Dress the salad. When ready to serve, top with ¼ cup of mayonnaise. Mix well and add more mayonnaise if needed. Serve cold.
Notes
- Make ahead: This salad can be made 2 to 3 days ahead. Refrigerate and leave off the mayonnaise until ready to serve.
- Include the mayonnaise: I prefer this salad after the mayonnaise has had time to blend with the other ingredients, so I will mix it in before refrigerating to allow the flavors to meld.
- Add more: This recipe is just a guide, so you don’t have to follow the ingredient amounts exactly. Whether you’re making a Russian salad for 6 people or 60, feel free to add as much ham, cheese, eggs, and mayonnaise as you like.
Nutrition
Nutritional info is an estimate and provided as courtesy. Values may vary according to the ingredients and tools used. Please use your preferred nutritional calculator for more detailed info.


Looks wonderful! Any advice on what kind of pickle would give it the “right” flavor? Which do you use??
Thank you so Much!
Judy
Hi!
I use Vlasic Kosher Dill Baby Pickles… I think those are the best with the best crunch! 😀