This post may contain affiliate links. Please read our disclosure policy.
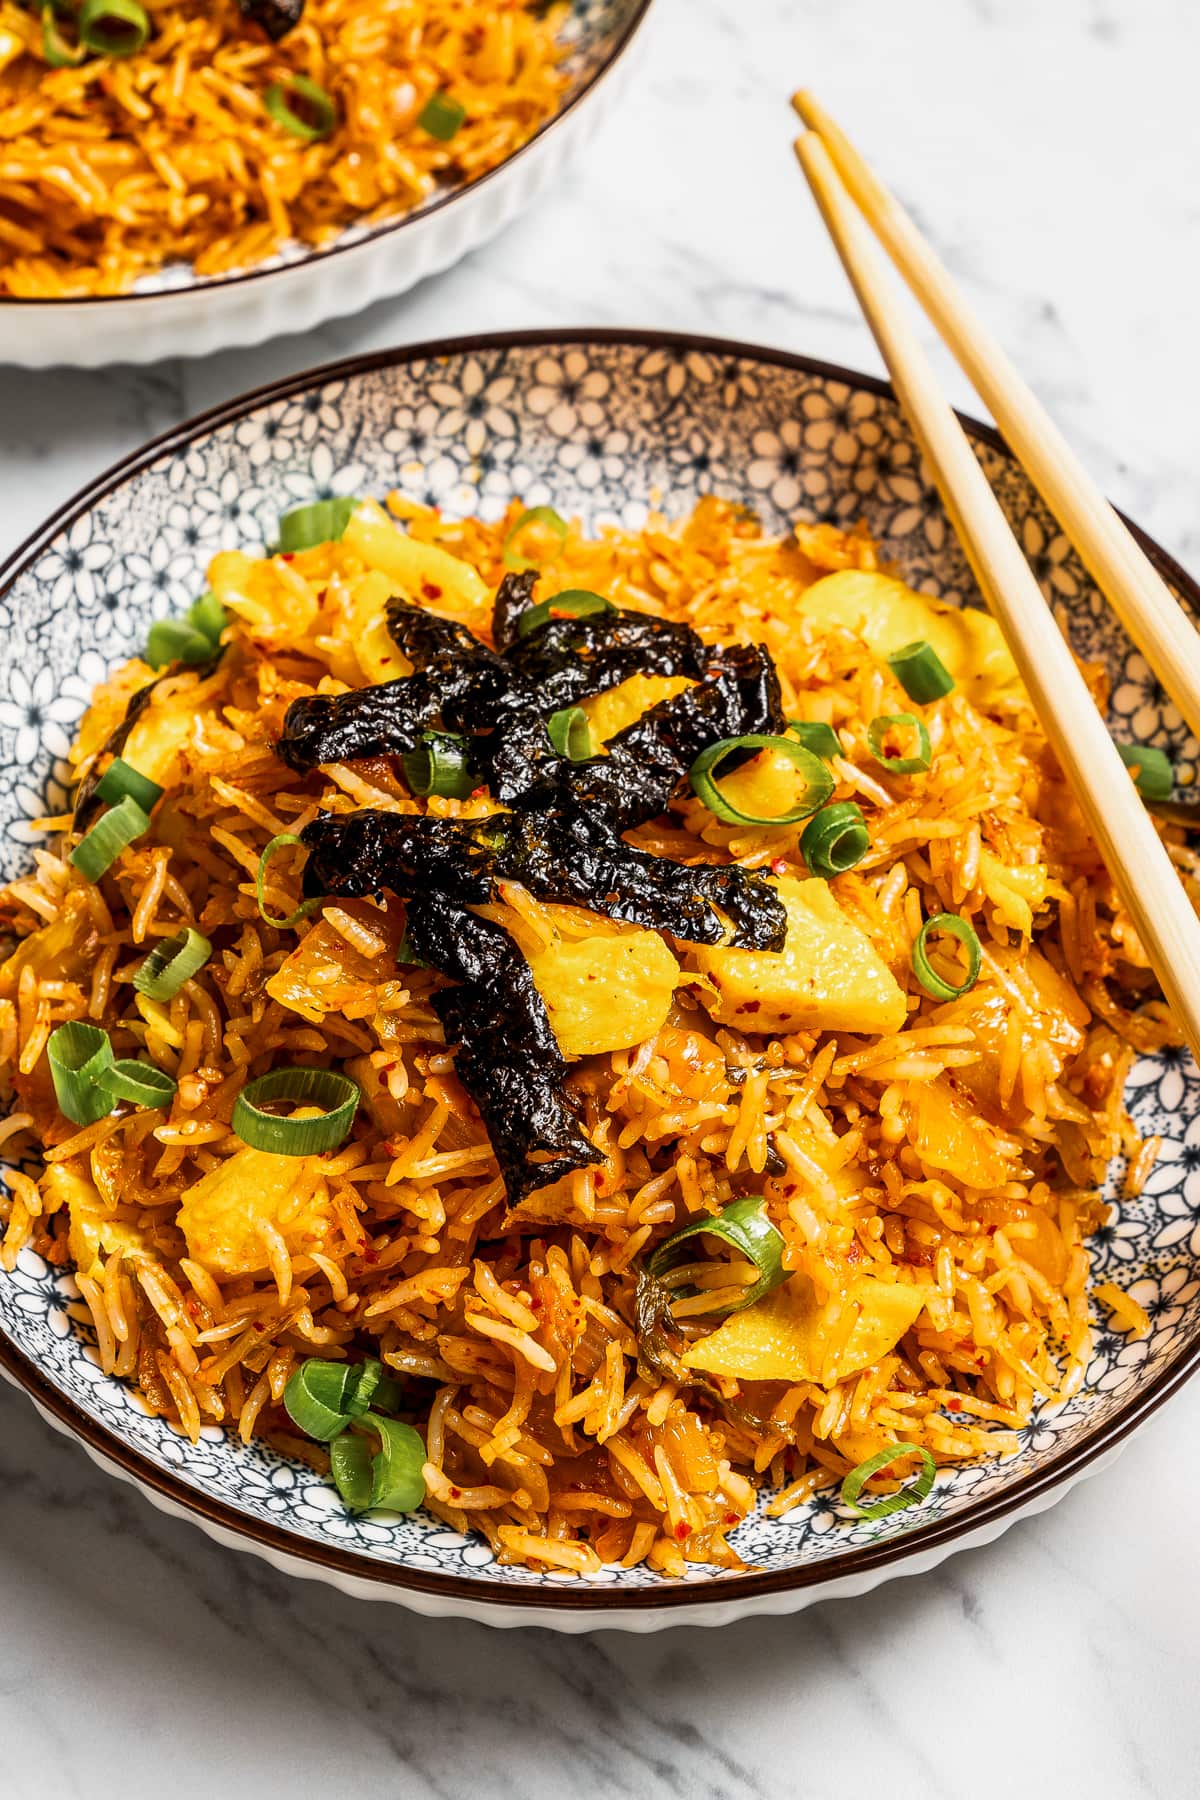
This kimchi fried rice recipe really packs a punch of flavor! Cooked rice is pan fried until crispy with a mix of veggies and eggs in a simple sauce featuring the umami flavors of kimchi.
For a complete meal, serve it as a flavorful side to Kung Pao beef and Japanese kani salad to add an exciting variety of foods to your table!

The Best Kimchi Fried Rice
This popular Kimchi fried rice from South Korea has so many layers of flavor and texture. It starts with sauteed onions and garlic, which are the perfect flavor builders, and a sauce that is sweet, sour, salty, and slightly spicy all at the same time. Crunchy, acidic kimchi is added to the pan, followed by cooked rice. Everything is cooked together until it’s crispy, flavorful, and so, so good! Then, to finish it off, you can add your favorite toppings, like slivers of nori or sliced green onions.
Why You’ll Love This Kimchi Rice Recipe
- Flavorful. The sour acidity inherent in kimchi plays deliciously with the umami, slightly sweet quality of the sauce used in this recipe. Plus, you’ve got hints of onion and garlic. It doesn’t get much better.
- Flexible. I really like how easy it is to customize this recipe. From adding an egg to tossing in some sautéed Hunan beef or chicken to choosing a spicy kimchi over a mild one (the list goes on), this kimchi fried rice can be easily adapted to fit your needs.
What Is Kimchi?
Kimchi is a typical Korean dish consisting of sliced veggies (typically cabbage and/or radish) that have been salted and fermented with a myriad of spices and flavor enhancers (think onion, garlic, gochugaru, and more). Kimchi is packed with sour, salty, acidic, and often spicy flavors and loaded with gut-healthy probiotics. You can find it in stores, but it’s also pretty quick and easy to make at home.
Recipe Ingredients
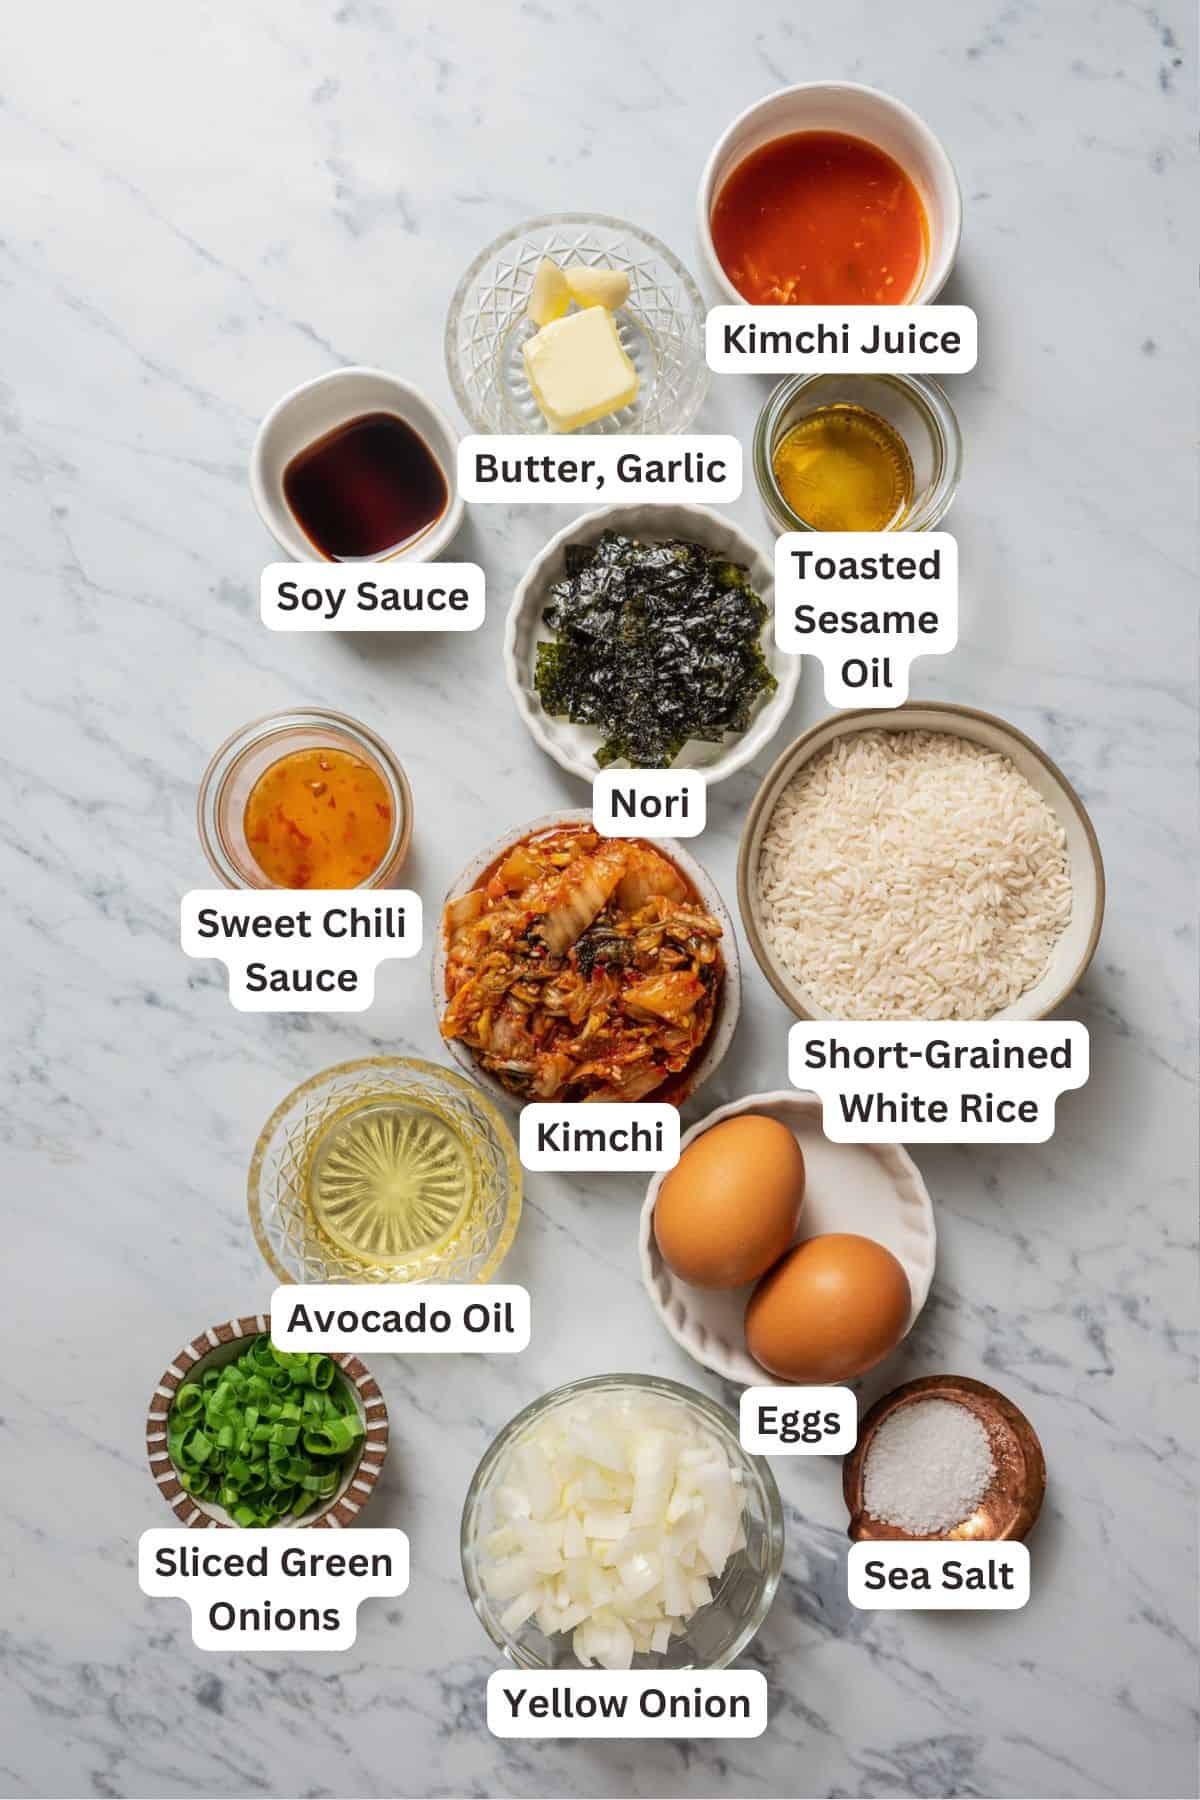
Here’s a list of all the ingredients you will need to make this kimchi fried rice, along with some handy substitutes. Have a look at the recipe card further down for precise measurements and thorough instructions.
- Short-grained white rice – This type of rice offers a sticky texture that’s perfect for absorbing flavors. Medium-grained rice or sushi rice would also do the trick.
- Sea salt – Enhances the flavor of the rice. You can use Kosher salt or table salt, too.
- Butter – Helps cook the eggs without sticking.
- Eggs – Adds protein and a soft, fluffy texture to the fried rice.
- Avocado oil – You can use any neutral cooking oil with a high smoke point. Filtered sesame oil would work beautifully.
- Yellow Onion – White onion or shallots are good substitutes.
- Garlic – Try to use fresh garlic, but garlic powder will also work.
- Kimchi juice – Drain the juice from the kimchi and set it aside. You will use both the kimchi and the juice in this recipe.
- Soy sauce – Coconut aminos would also do the trick.
- Sweet chili sauce – Provides a touch of sweetness and spice.
- Toasted sesame oil – This will add a nutty flavor to the dish. Regular sesame oil is okay to use.
- Kimchi – Drained. Be sure to reserve the juices. You need it for the sauce. If your kimchi comes in large chunks, go ahead and run a knife through it before using it in the recipe.
- Nori – Sliced into strips for garnish. Seaweed snacks are a good alternative.
- Green onions – Adds freshness and a mild onion flavor. Substitute with chives.
Katerina’s Recipe Tips
- Rinse the rice. Unless you want super starchy, stick-together rice (trust me, you don’t), you want to give the rice a thorough rinse before cooking it. Keep rinsing until the water runs clear.
- Let the rice cool. It’s important to let the rice cool off a bit before using it in the dish. Hot or warm rice runs the risk of sticking together and becoming mushy.
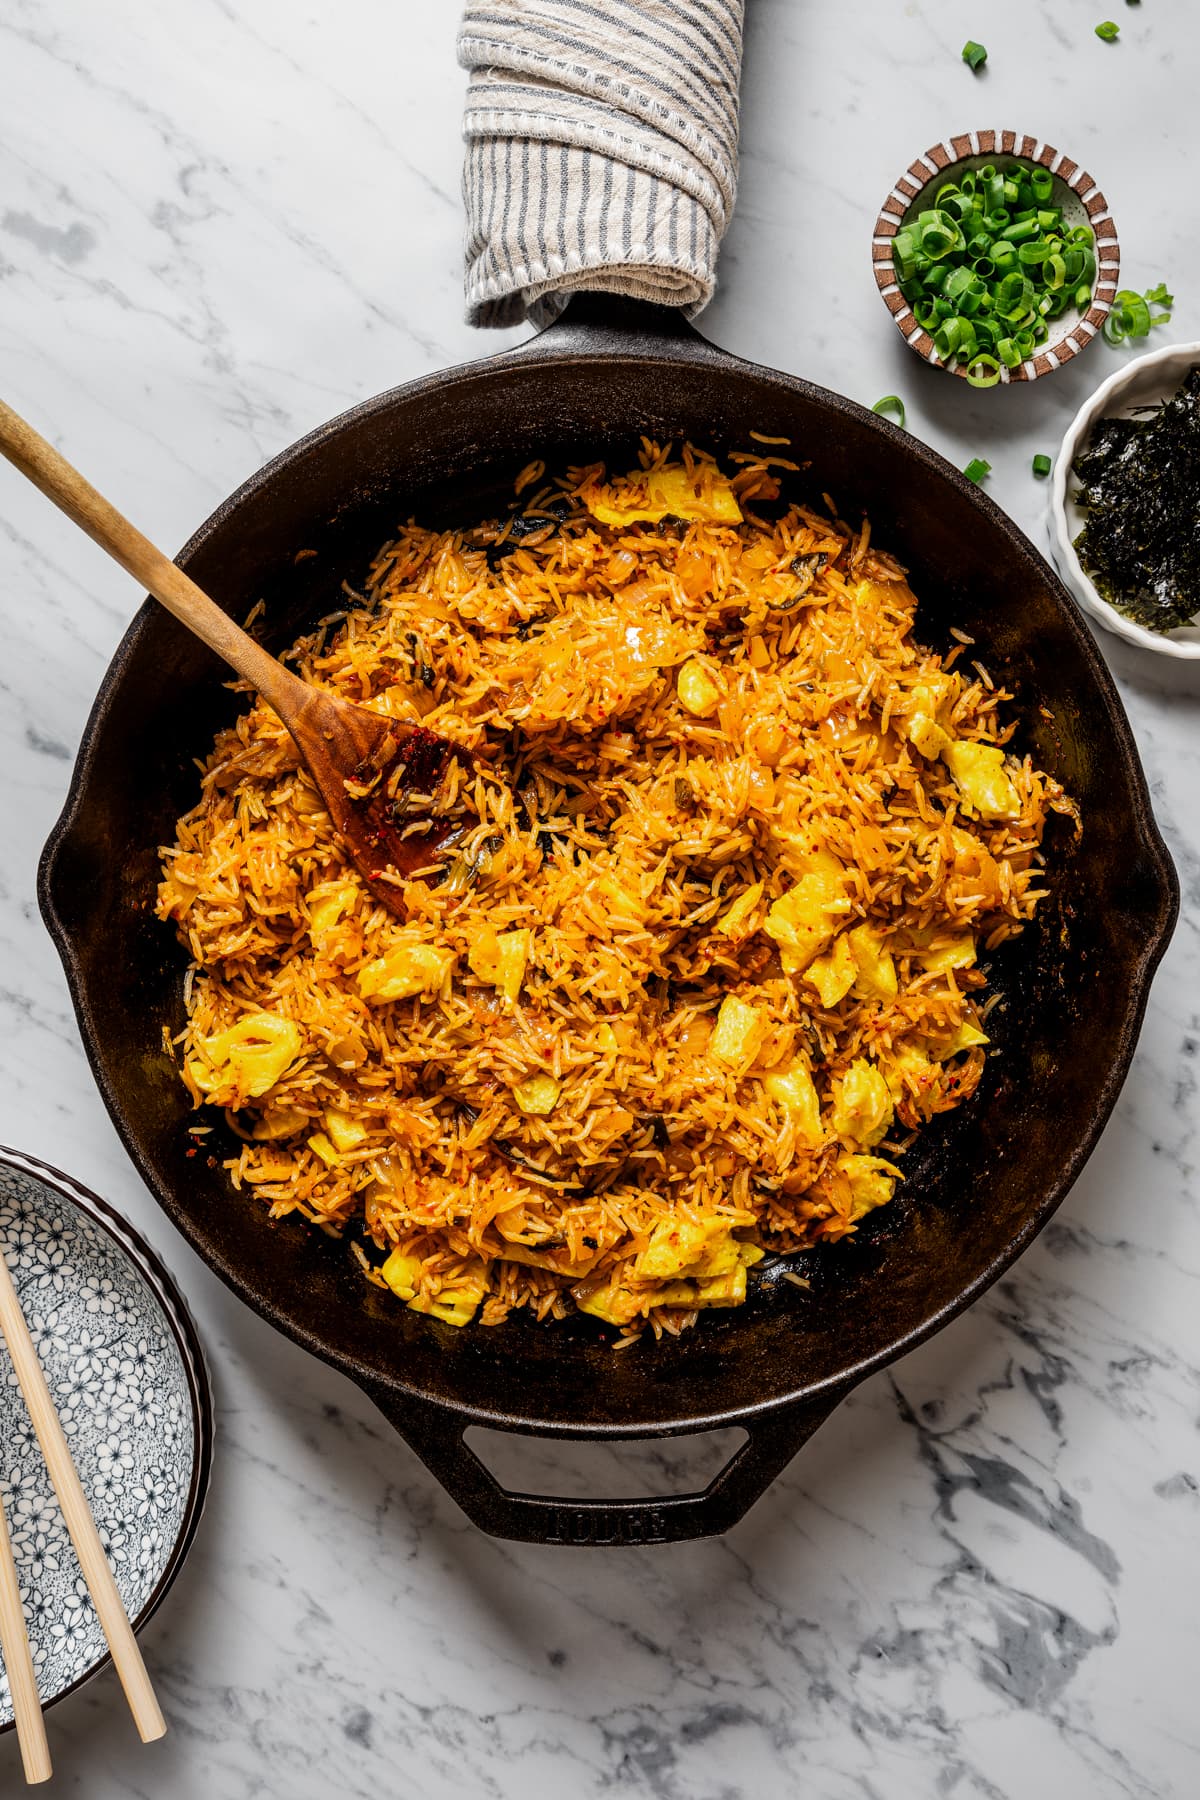
- Heat matters. When sautéing the kimchi and the rice, be sure to do so over medium-high heat. You want enough heat to crisp up the rice but not so much that it burns it.
Easy Variation Ideas
- Top with an egg. I love adding a runny egg (preferably poached or sunny side up) to the top of this fried rice. The way the egg breaks over the rice, becoming a gorgeous, runny sauce, is out of this world.
- Add more protein. Toss thin, sautéed strips of beef, easy bourbon chicken, kung pao tofu, or leftover pork carnitas into the mix for some added protein.
- Stir in extra veggies. Julienned carrots or bell peppers would work well in this recipe. Toss them in when you’re sautéing the onions. Sliced mushrooms would also work.
- Kimchi varieties. Kimchi comes in all sorts of versions. Some are mild, some spicy, and some heavier on garlic and/or onion. Some are made with radishes, while others are made with cabbage. Still, others are made with both. Try the recipe a couple of times and experiment with different kinds of kimchi to find your favorite.
Serving Suggestions
Serve kimchi rice as a side or a main, and tie the meal with a steaming miso soup or my delicious soba noodle soup. Munch on some sesame snap peas or steamed edamame between bites of fried rice. Try this spicy Asian cucumber salad or my baby bok choy as a lighter side dish to the rice.
You could also serve kimchi fried rice as a complement to my Korean beef bulgogi, chicken bulgogi, or even my sweet Korean BBQ beef tacos.
Pin this now to find it later
Pin It
Kimchi Fried Rice
Ingredients
For the rice
- 1 cup short-grained white rice
- 2 cups water
- ½ teaspoon sea salt
For the eggs
- 1 tablespoon butter
- 2 eggs
- ½ teaspoon sea salt
For the kimchi fried rice
- 3 tablespoons avocado oil
- 1 small yellow onion, diced
- 2 cloves garlic, minced
- ¼ cup kimchi juice
- 1 teaspoon soy sauce
- 1 teaspoon sweet chili sauce
- 2 teaspoons toasted sesame oil
- 1¼ cup kimchi, drained and sliced (if the pieces of fermented vegetables are on the larger side)
- Nori, sliced into strips, for garnish
- sliced green onions, green parts only, for garnish
Instructions
- Cook the rice. Rinse the rice in a fine sieve until the water runs clear. Add the rice and 2 cups water to a small pot and bring to a boil over medium-high heat. Add the salt. Reduce the heat to low. Cover the pot and cook for 20 minutes. Remove from the heat, fluff with a fork, transfer to a bowl and allow the rice to cool.
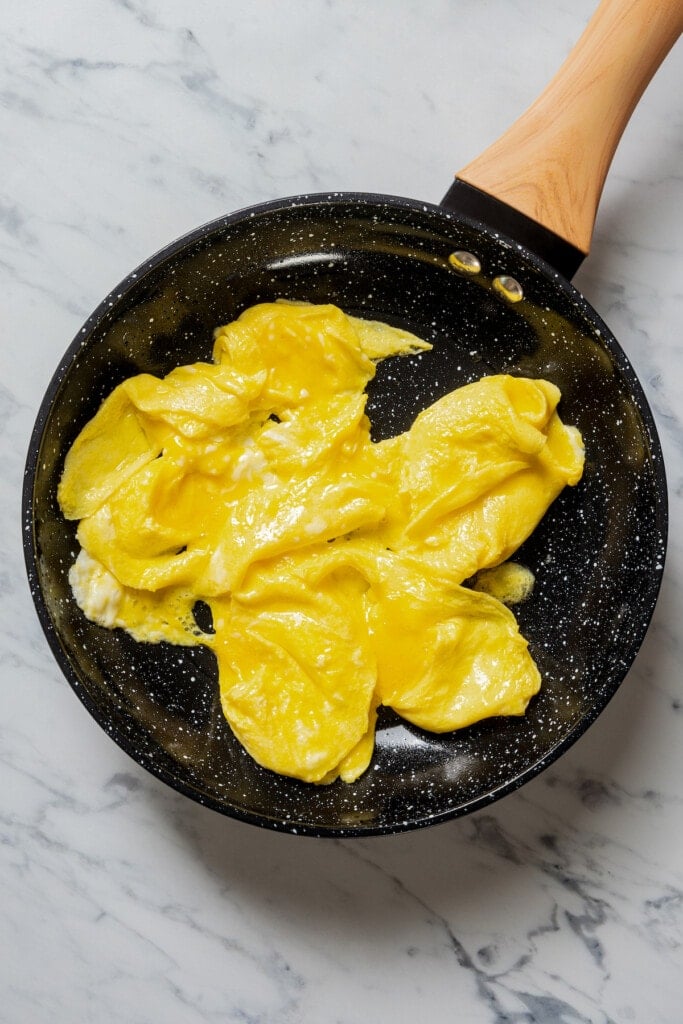
- Cook the eggs. In a bowl, beat the eggs with the salt until the yolks and whites are combined. In a small pan, heat the butter over medium heat. Add the eggs. Let them cook for 30 seconds before drawing the edges of the egg toward the center and tilting the pan to allow the uncooked egg to fill the empty space. Repeat until the eggs are no longer runny. Transfer to a cutting board and chop. Set aside.
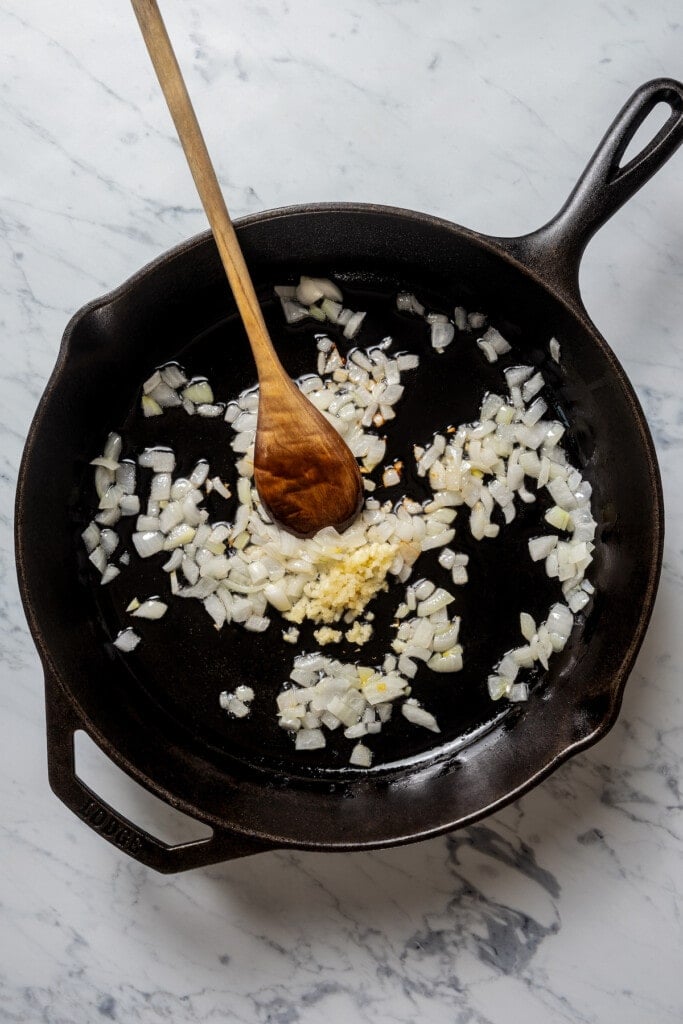
- Sauté the veggies. Heat the avocado oil in a heavy-bottomed skillet over medium-high heat. Add the onions and sauté until translucent, about 2 to 3 minutes. Add the garlic and sauté for 15 seconds or until fragrant.
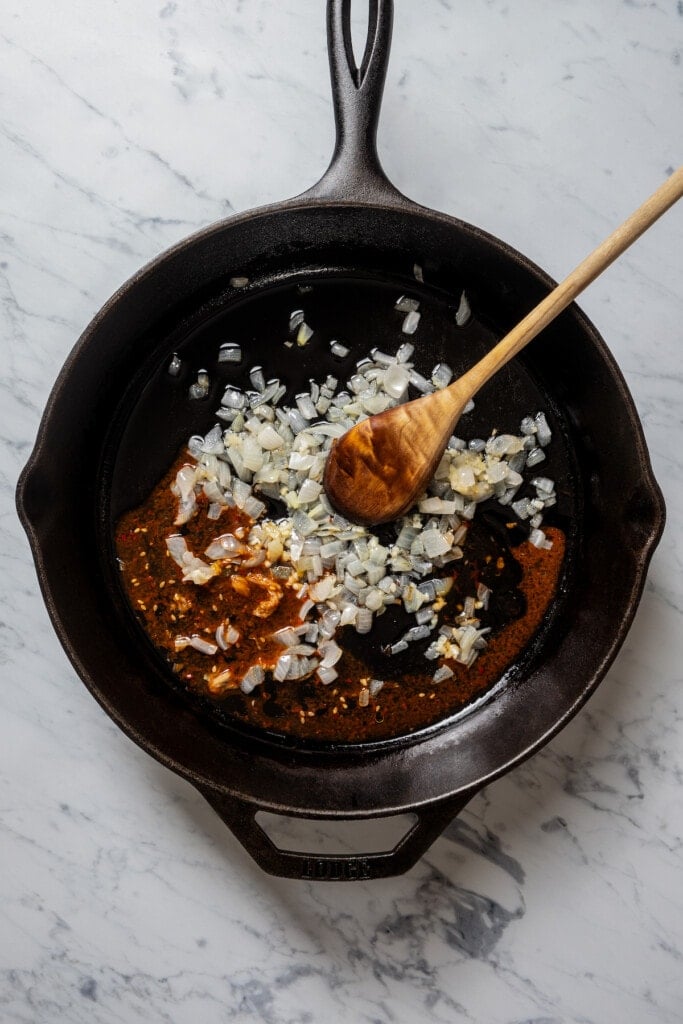
- Make the sauce. Whisk together the kimchi juice, soy sauce, sweet chili sauce, and sesame oil. Add it to the pan and sauté until most of the moisture has evaporated.
- Add the kimchi and sauté for 2 minutes.
- Add the rice and sauté for 5 minutes, breaking it apart as you go. Remove from the heat.
- Add the eggs. Stir the eggs into the rice mixture.
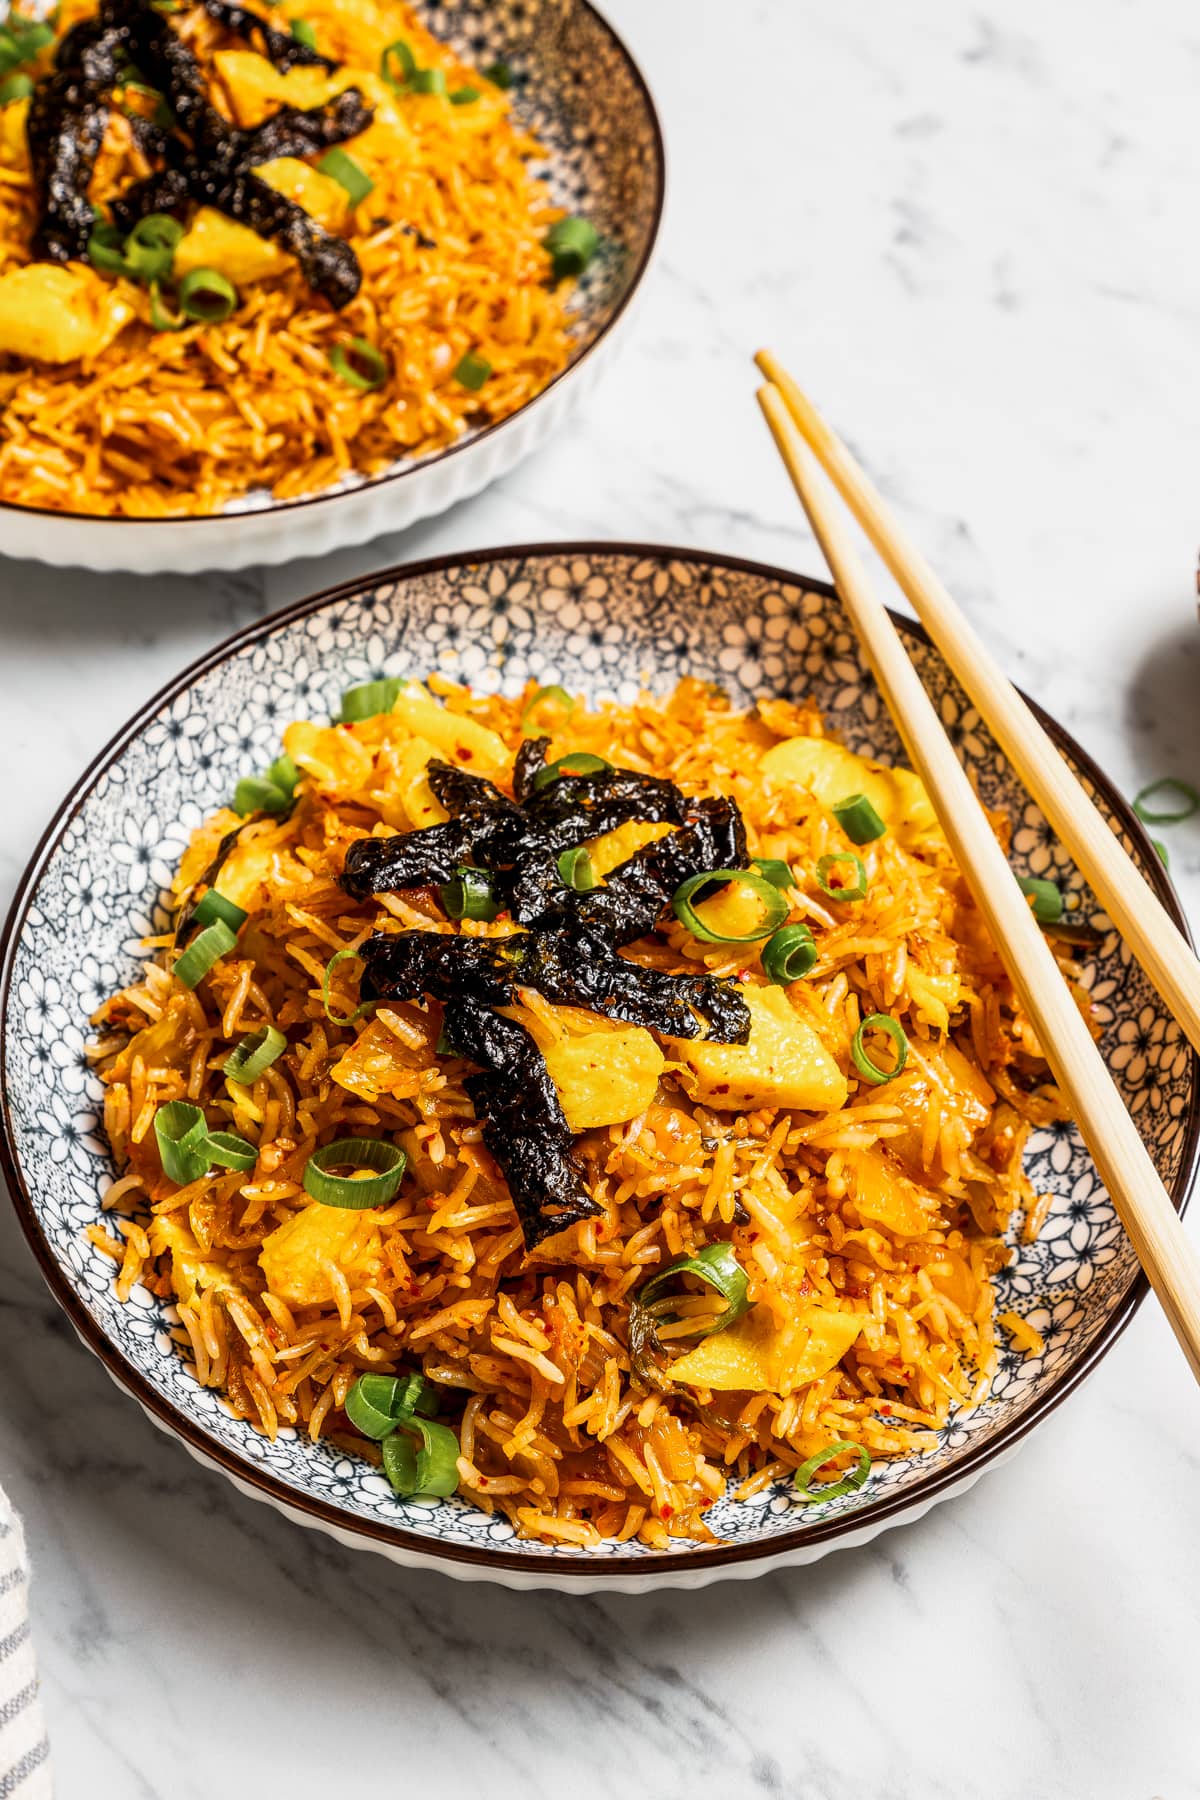
- Serve the kimchi fried rice in bowls garnished with nori and green onions.
Equipment
Notes
- For non-sticky rice, before cooking, rinse the rice until the water runs clear.
- Cool the cooked rice before frying it to prevent mushiness.
- Sauté kimchi and rice on medium-high heat for optimal crispness.
- Top and serve the rice with a runny egg for extra richness.
- Add sautéed strips of beef, chicken, or tofu for protein.
- Include extra vegetables like carrots, bell peppers, or mushrooms while sautéeing the onions.
- Experiment with various kimchi types to adjust to your taste preference.
- To store leftovers, cool the fried rice to room temperature before sealing it in an airtight container. Store it in the fridge for up to 3 days.
Nutrition
Nutritional info is an estimate and provided as courtesy. Values may vary according to the ingredients and tools used. Please use your preferred nutritional calculator for more detailed info.
How to Make Kimchi Fried Rice
Here’s a quick step-by-step look at how to make this rice dish from start to finish.
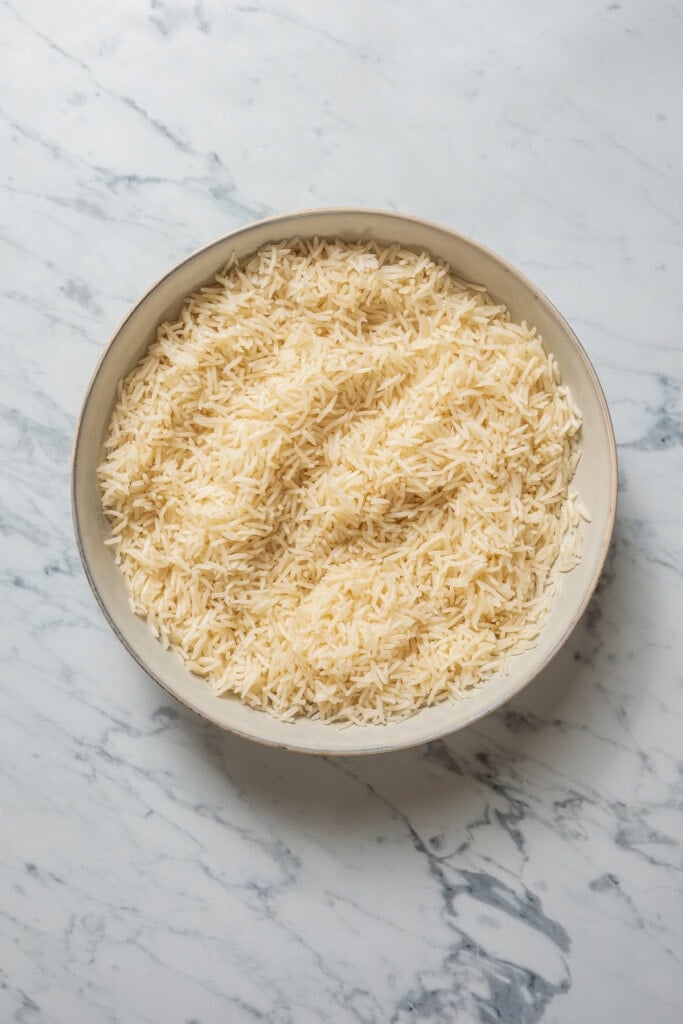


- Cook the rice. Rinse and cook the rice according to the package instructions. Fluff with a fork and let it cool for at least 20 minutes.
- Cook the eggs. Beat, season, and lightly scramble the eggs in butter over medium heat. Chop into slices and set aside.
- Sauté the veggies. Sauté the onions in avocado oil over medium-high heat until translucent. Add the garlic and sauté until fragrant.
- Make the sauce. Whisk together the kimchi juice, soy sauce, sweet chili sauce, and toasted sesame oil. Sauté until most of the moisture has evaporated.
- Put it all together. Add the kimchi and sauté for a couple of minutes before adding the rice. Continue to sauté until the rice gets a nice crisp to it. Stir in the chopped eggs and serve and garnished with nori and green onions.
How to Store & Reheat Leftovers
Kimchi rice is a dream leftover food. Allow the freshly fried rice to cool to room temperature before sealing it in an airtight container. Store it in the fridge for up to 3 days. When you are ready to reheat, heat some avocado oil in a skillet over medium-high heat and add the leftovers. Sauté until heated through and serve.
To freeze, allow the rice to cool completely. Seal it in an airtight container and store it in the freezer for up to 3 months. Thaw the rice in the refrigerator before sautéing in a bit of cooking oil over medium-high heat.


