This post may contain affiliate links. Please read our disclosure policy.
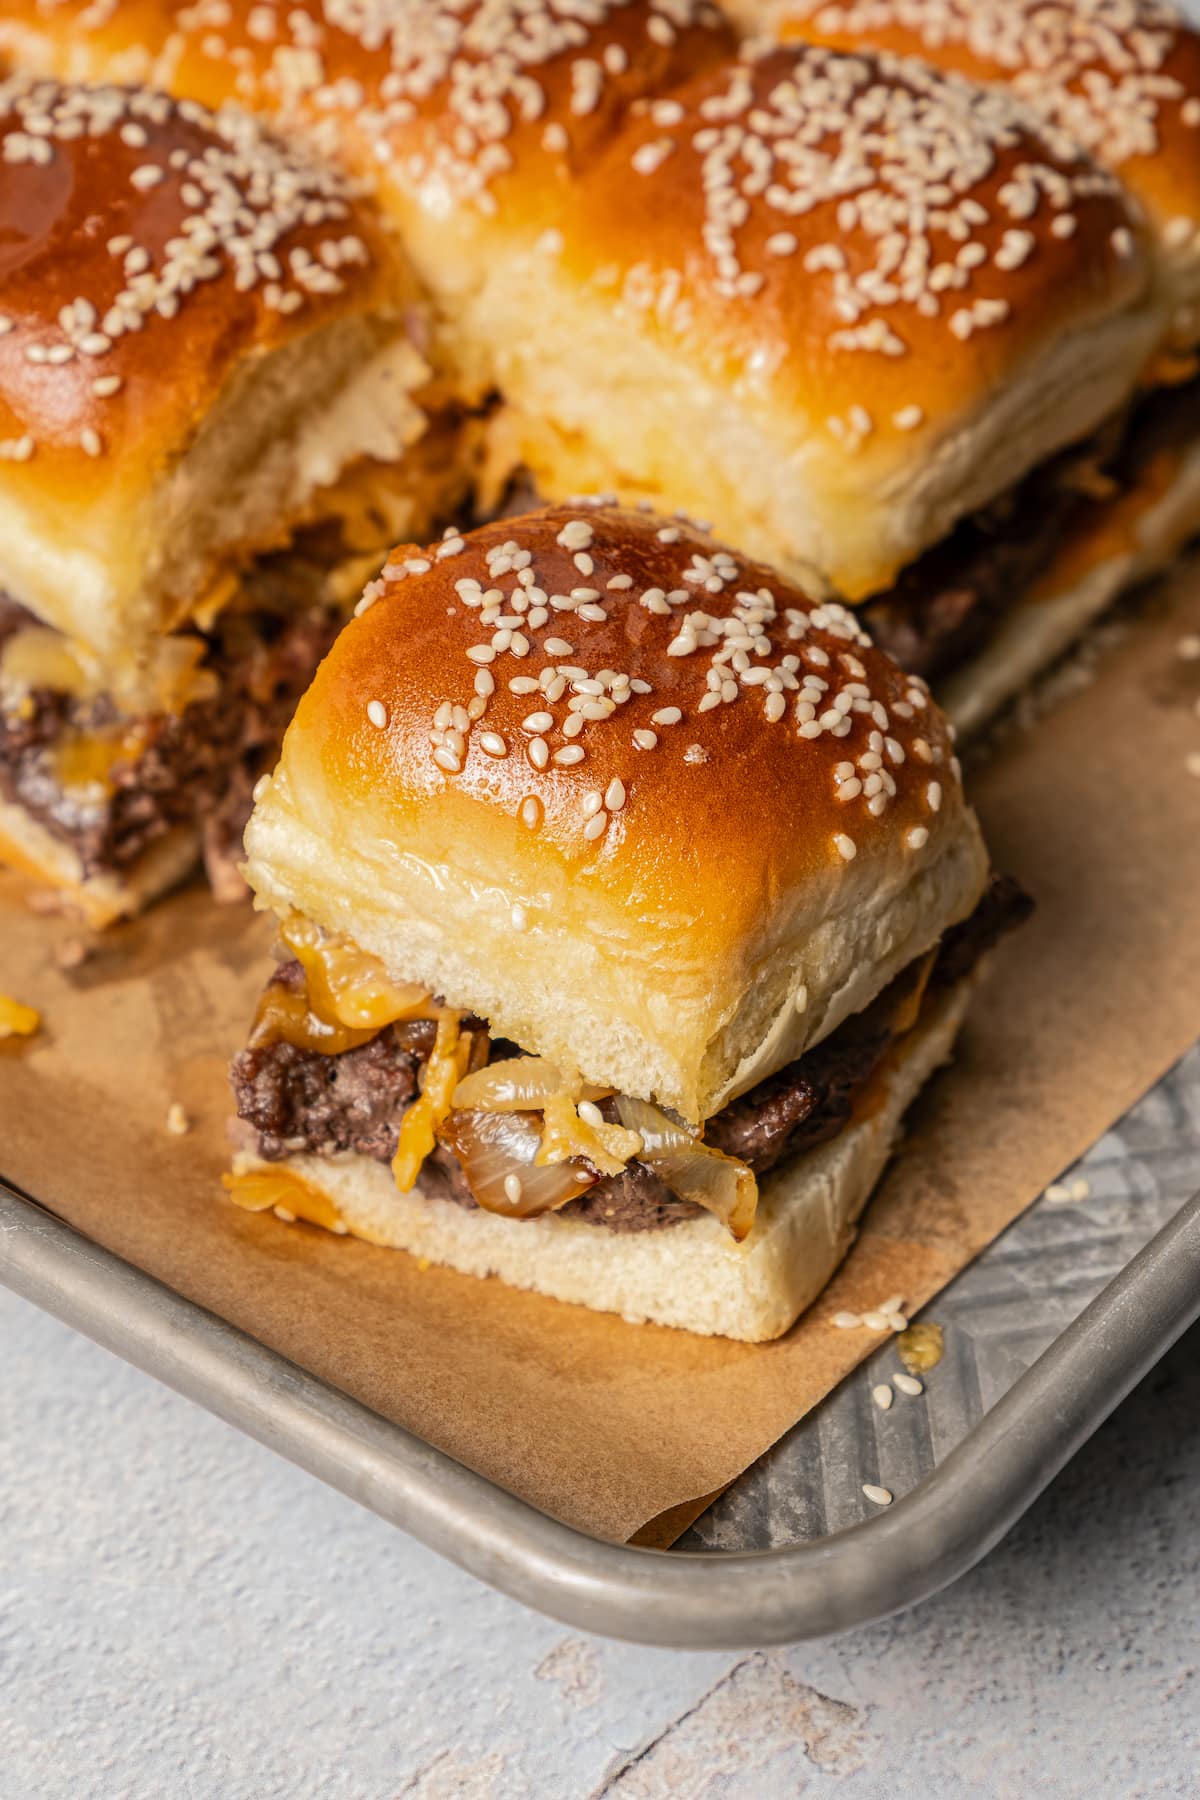
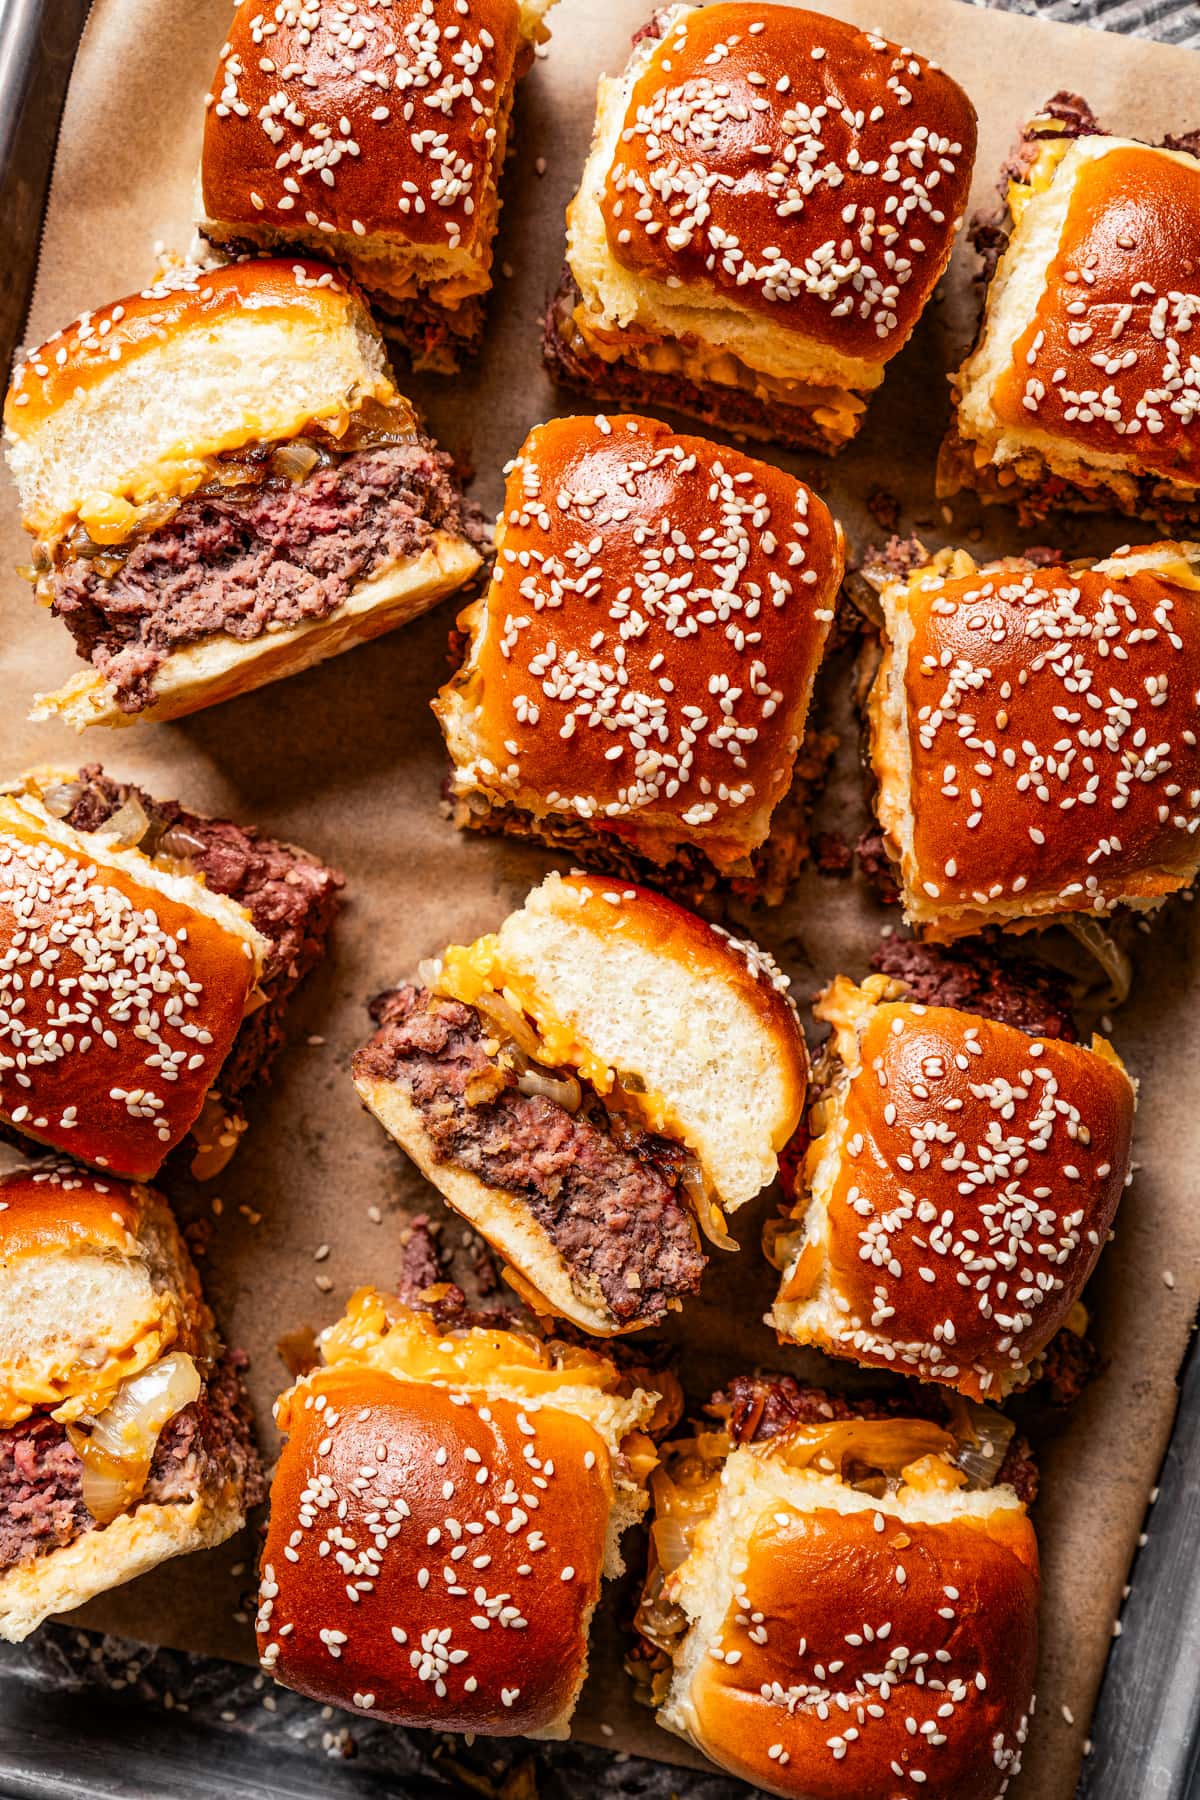
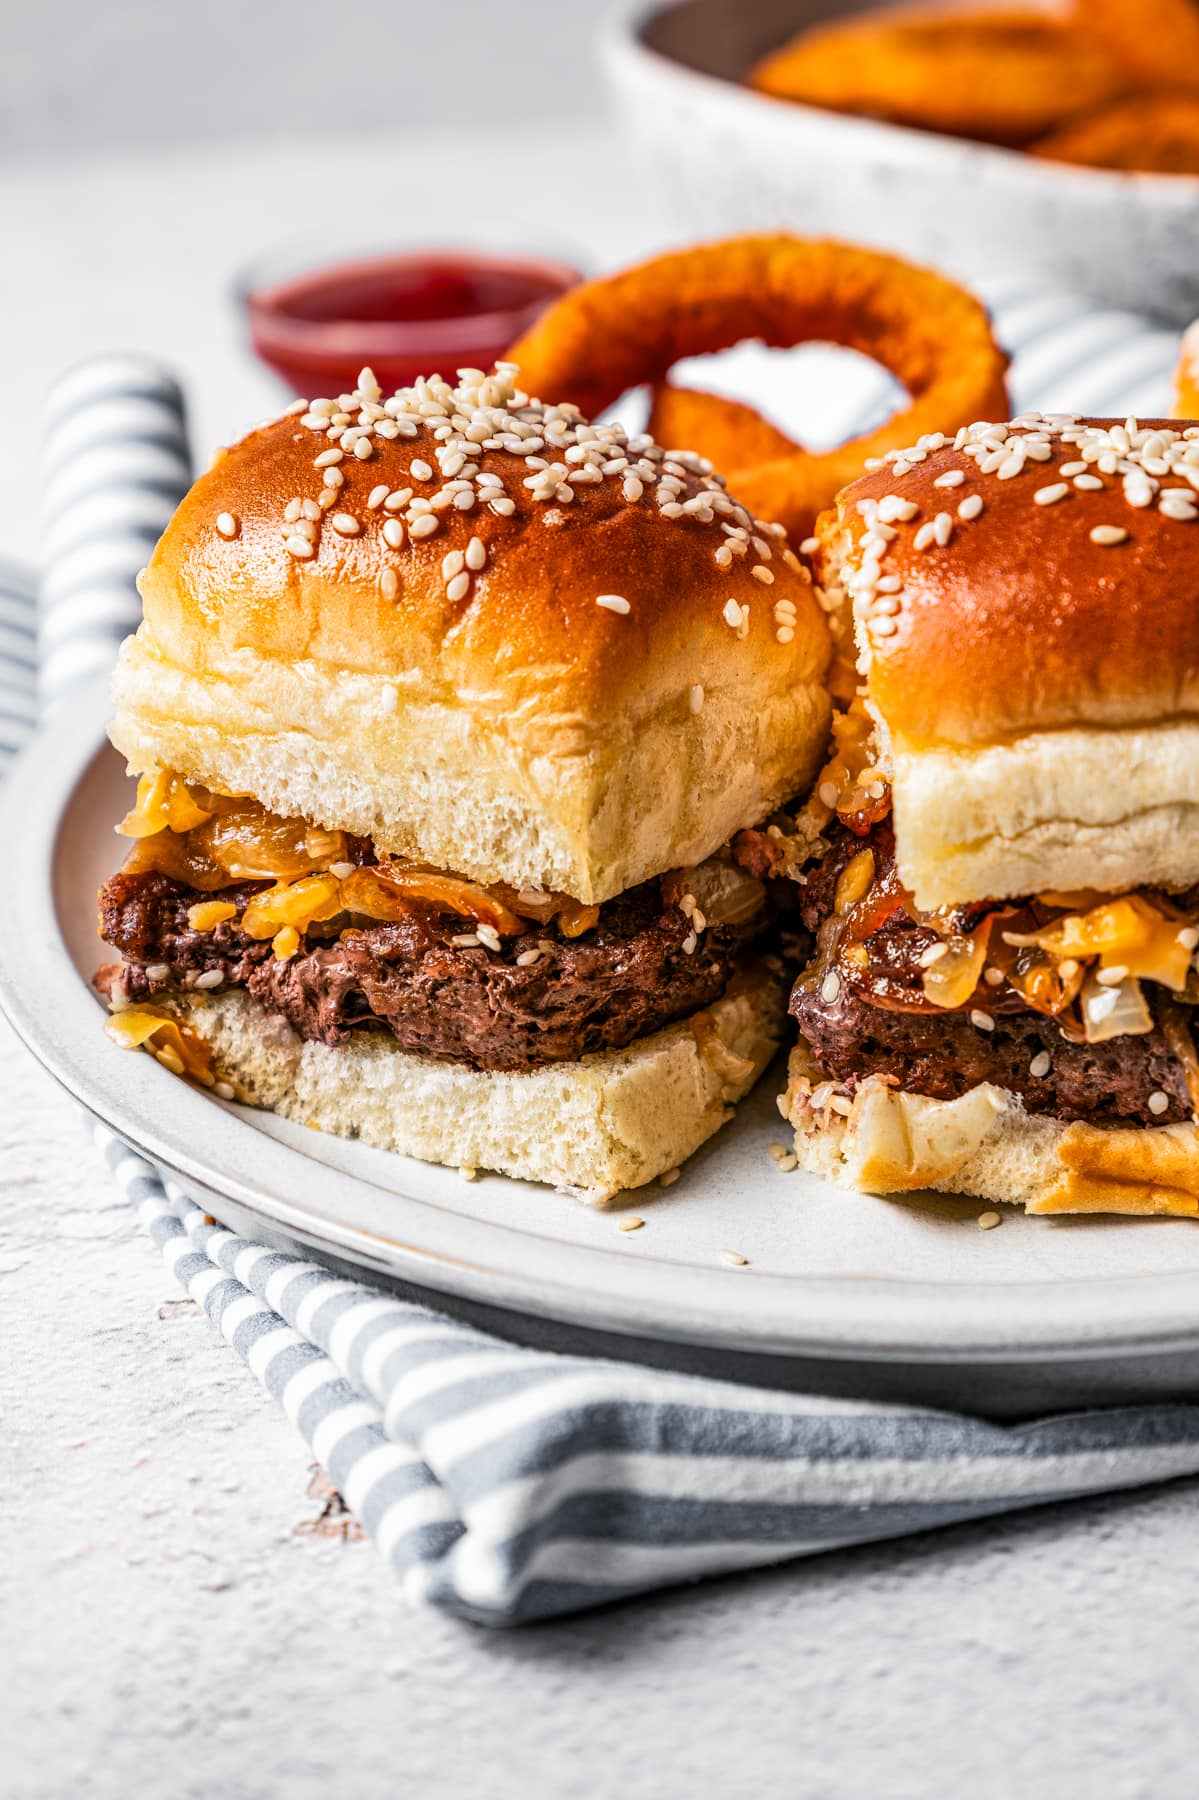
These cheeseburger sliders are an easy-to-make party appetizer that your guests won’t be able to resist. Cooked ground beef, cheddar cheese, and caramelized onions are loaded into Hawaiian rolls, brushed with butter, and baked until the cheese is melty.
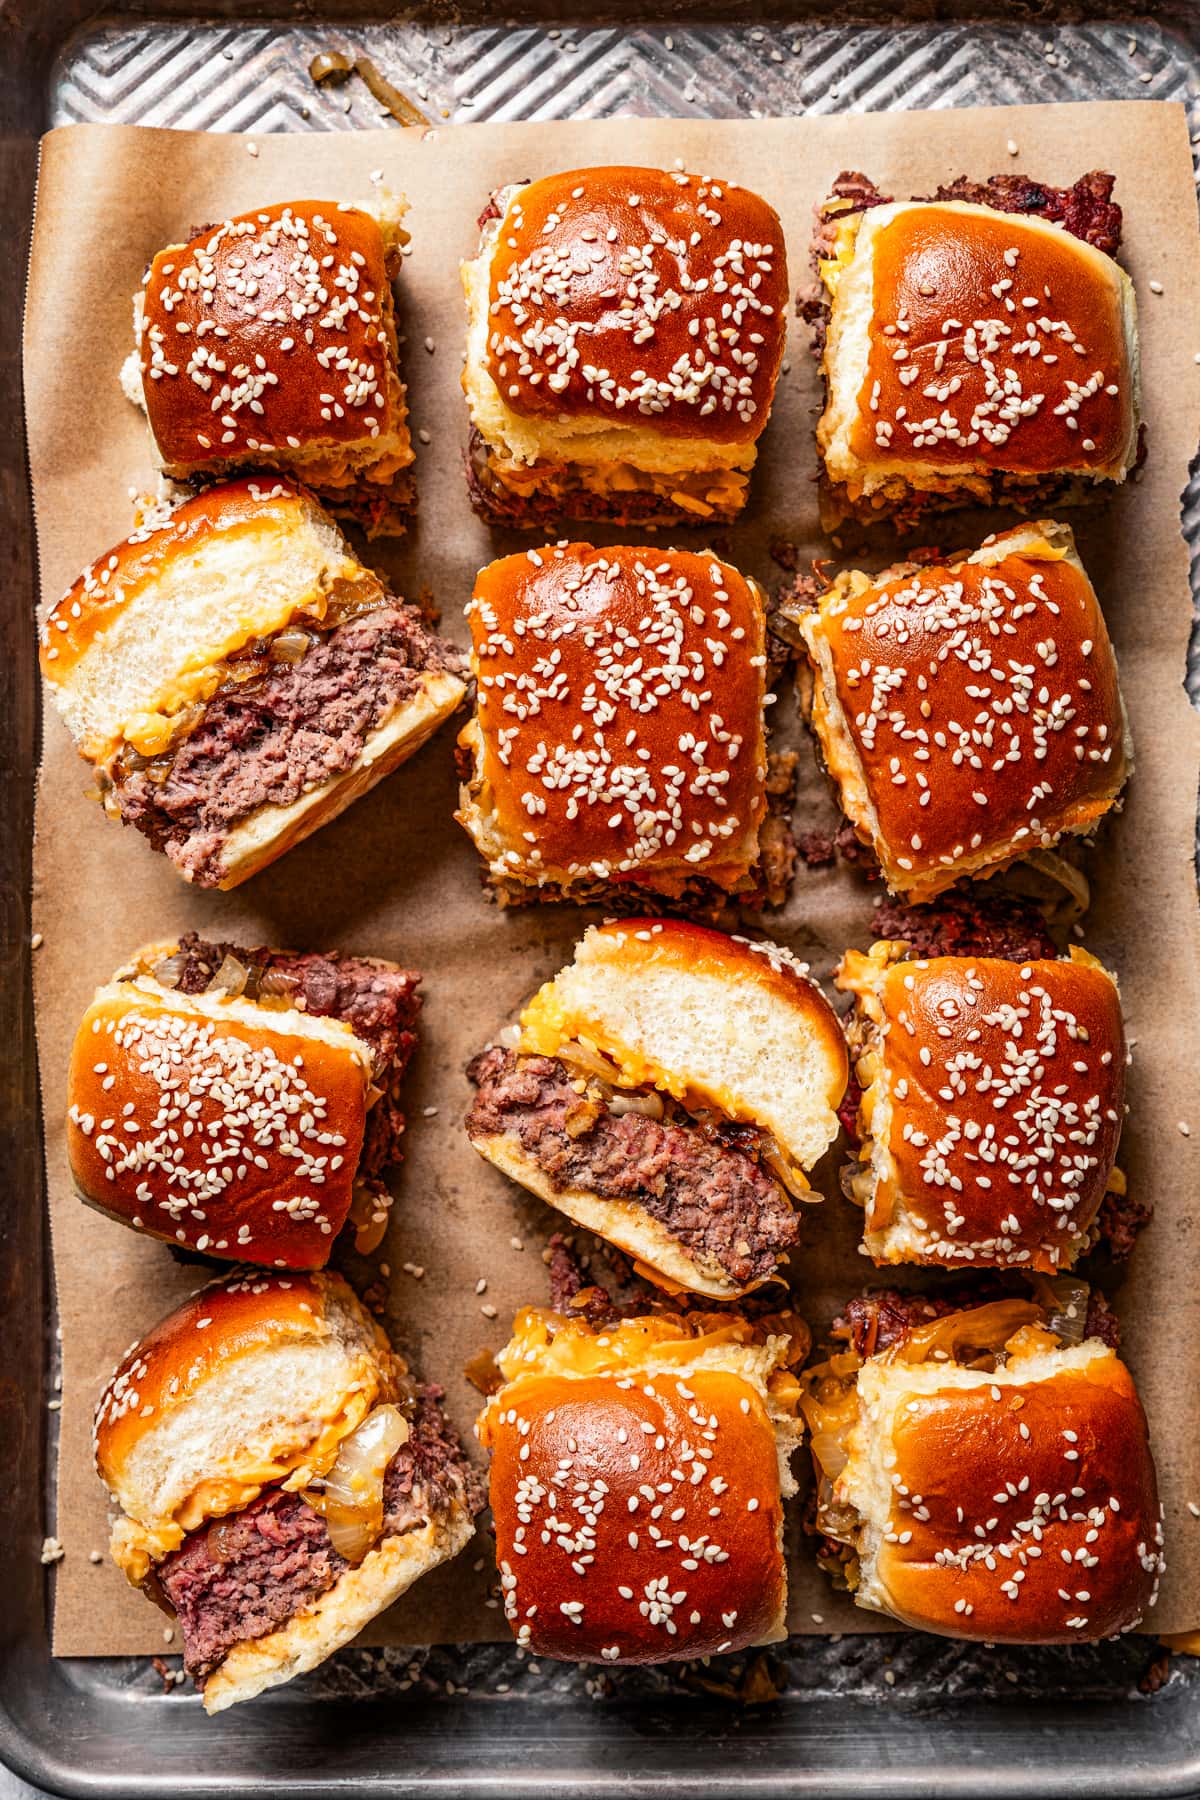
There’s no arguing the point that cheeseburgers are fantastic. That being said, a whole cheeseburger is a lot to commit to, and, let’s be honest, they aren’t exactly the most graceful things to eat. These cheeseburger sliders solve both of these problems by taking all of the flavors of a classic cheeseburger and turning them into the perfect 2 to 3 bite appetizers!
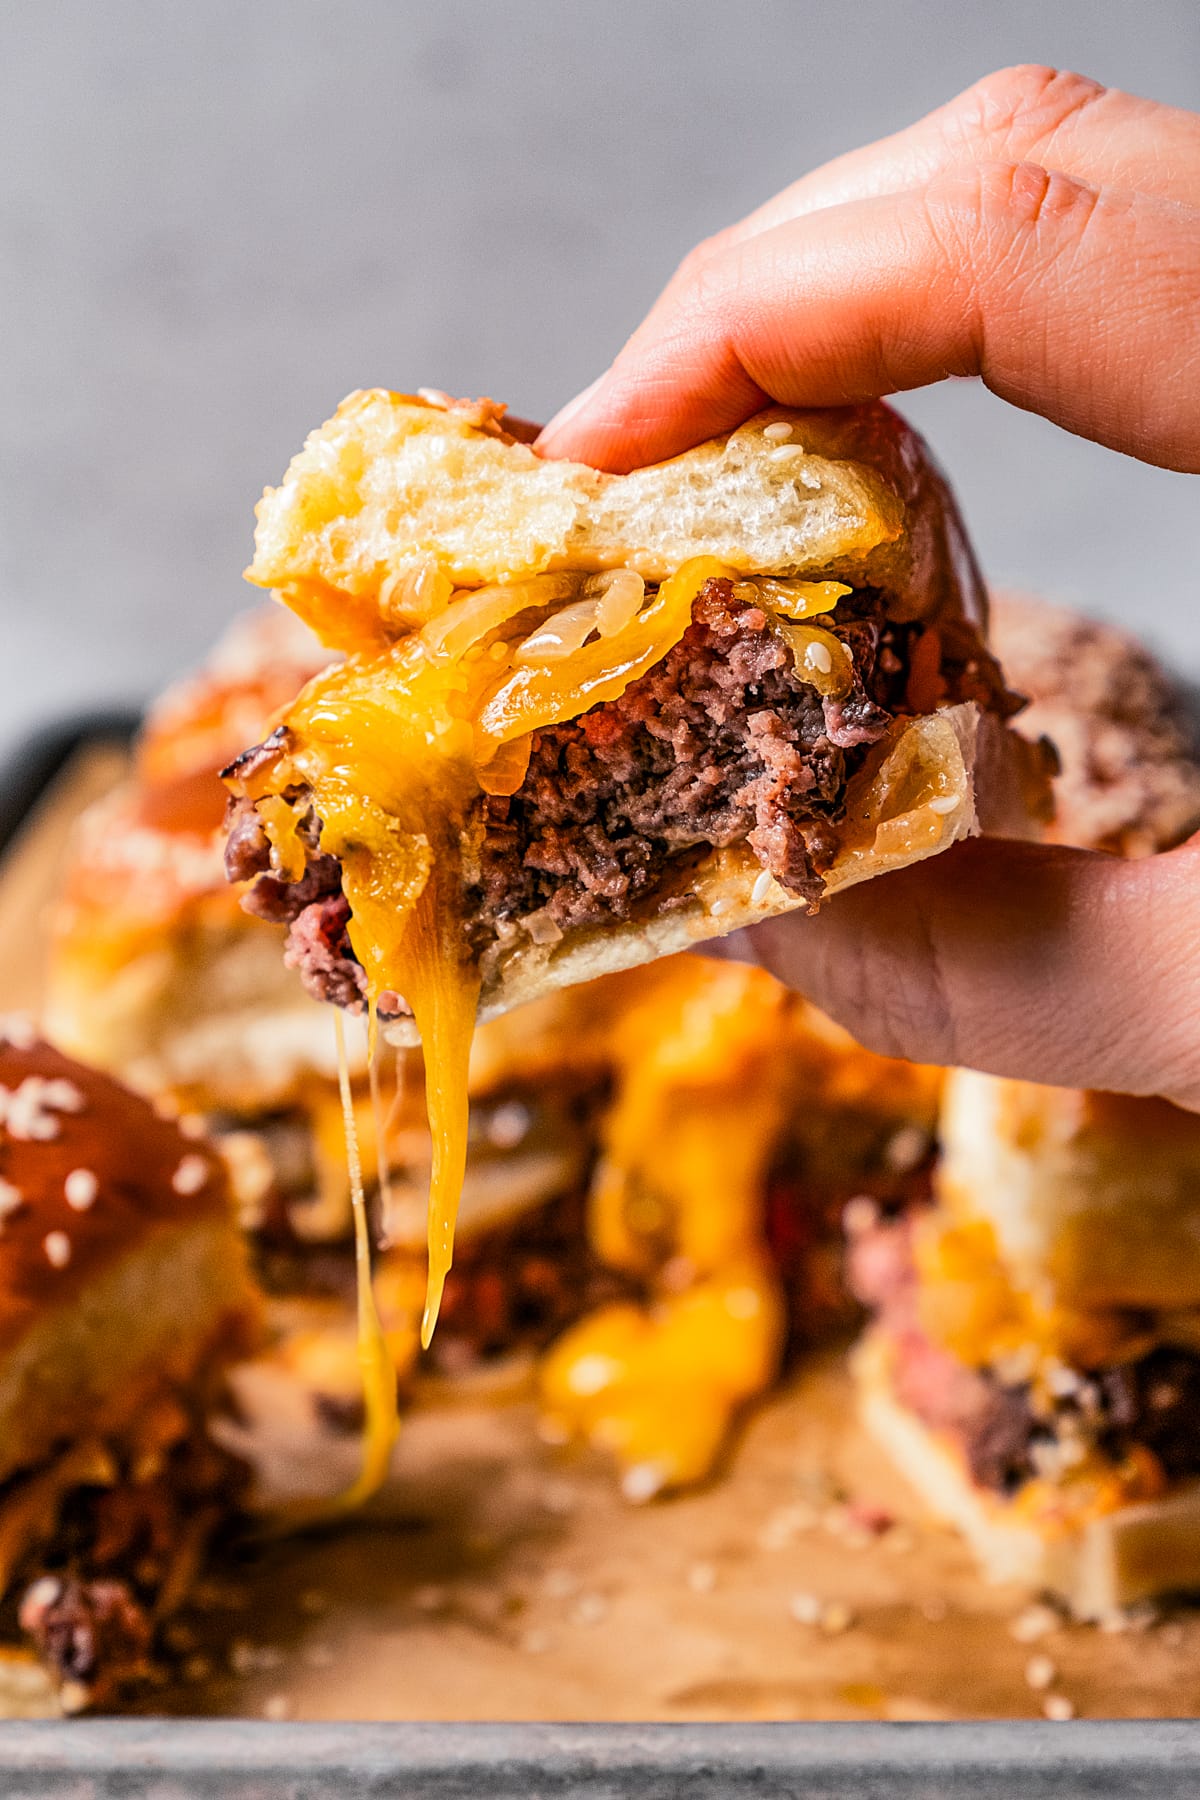
Seasoned, cooked ground beef, caramelized onions, and cheddar cheese are all sandwiched between a halved sheet of Hawaiian rolls and baked until the cheese is gloriously melty. Slice these bad boys up and watch as your guests flock back for seconds and thirds.
Why I Love My Cheeseburger Sliders Recipe
Looking for a good reason to hop in the kitchen and make these enticing burgers? How about several? Here’s why I think you’ll fall in love with this recipe.
- Nostalgic flavors. Who doesn’t love a classic cheeseburger? The savory beef, the creamy Thousand Island dressing, the gooey cheese? It all just screams backyard BBQ to me. These sliders wrap all of the flavors of that American classic into deliciously manageable sandwiches.
- Caramelized onion magic. I love the addition of caramelized onions to these sliders. Their savory sweetness adds extra depth to the flavor profile and makes them feel just a tiny bit fancy.
- Perfect for a crowd. Forget making a bunch of individual sliders. That’ll take you forever! This recipe gives you the keys to making 12 sliders all in one go.
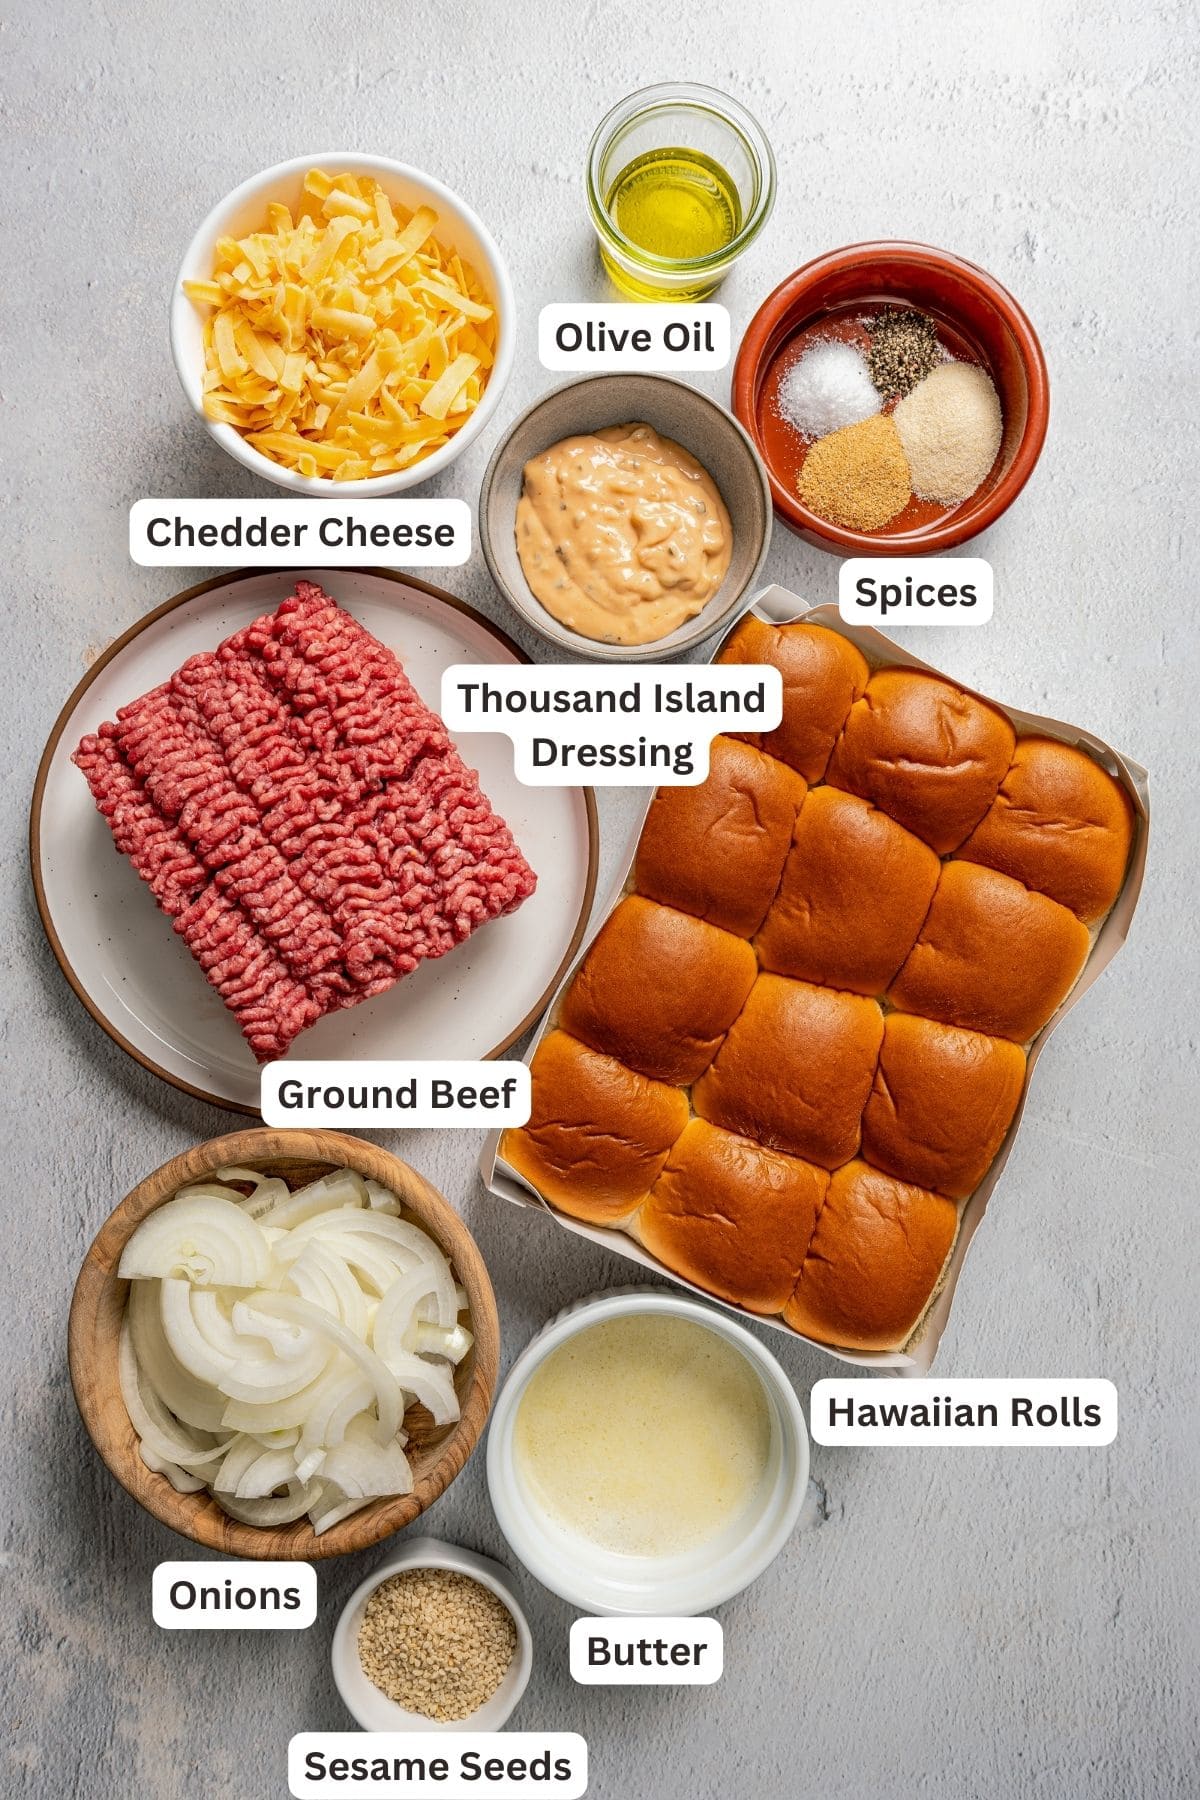
What You’ll Need
Gather your ingredients! Here’s all you’ll need to make this cheeseburger sliders recipe. Scroll down to the recipe card for detailed instructions.
- Olive oil – Used for sauteing and brushing the rolls. You could also use a combination of olive oil and butter if you prefer.
- Yellow onions – Red or white onions would work as well.
- Salt – To soften the onions and to enhance all the flavors.
- Ground beef – I used 80/20 beef but you could use something with a lower fat percentage. Ground turkey or chicken (or even Impossible Meat) would work here as well.
- Seasoning – I used onion powder, garlic powder, salt, and ground black pepper. Feel free to add your own favorites.
- Hawaiian rolls – Any slider bun will do but I love how soft and sweet Hawaiian rolls are.
- Thousand Island dressing – Not a Thousand Islands person? Try Ranch, garlic aioli, or classic ketchup and mustard instead.
- Shredded cheddar cheese – You could use a different shredded cheese here. Swiss or pepper jack would be fun.
- Butter – I used salted butter for added flavor but you could use unsalted butter instead.
- Sesame seeds – These are optional but they add a nice visual appeal to the sliders.
How to Make Cheeseburger Sliders
Here’s a quick overview of how to make these crowd-friendly sliders with Hawaiian rolls.
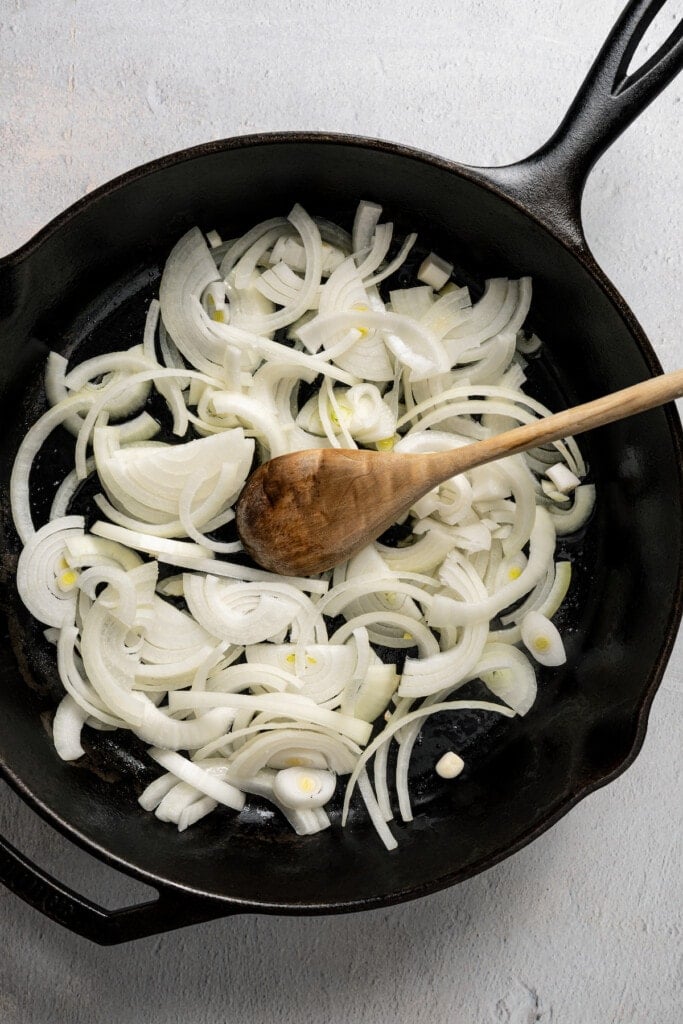
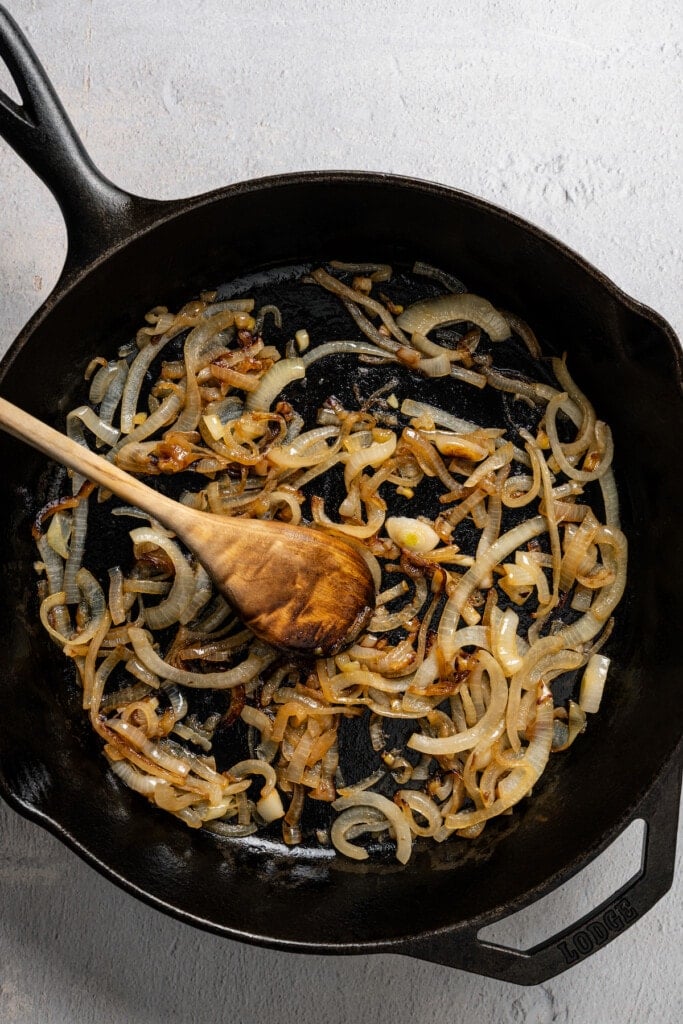
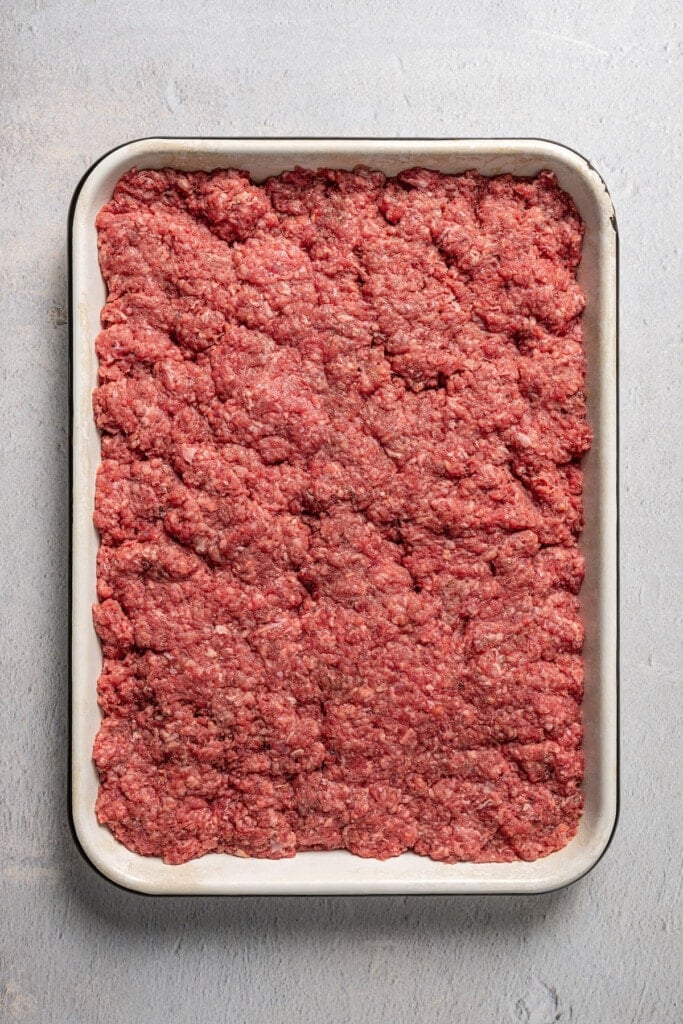
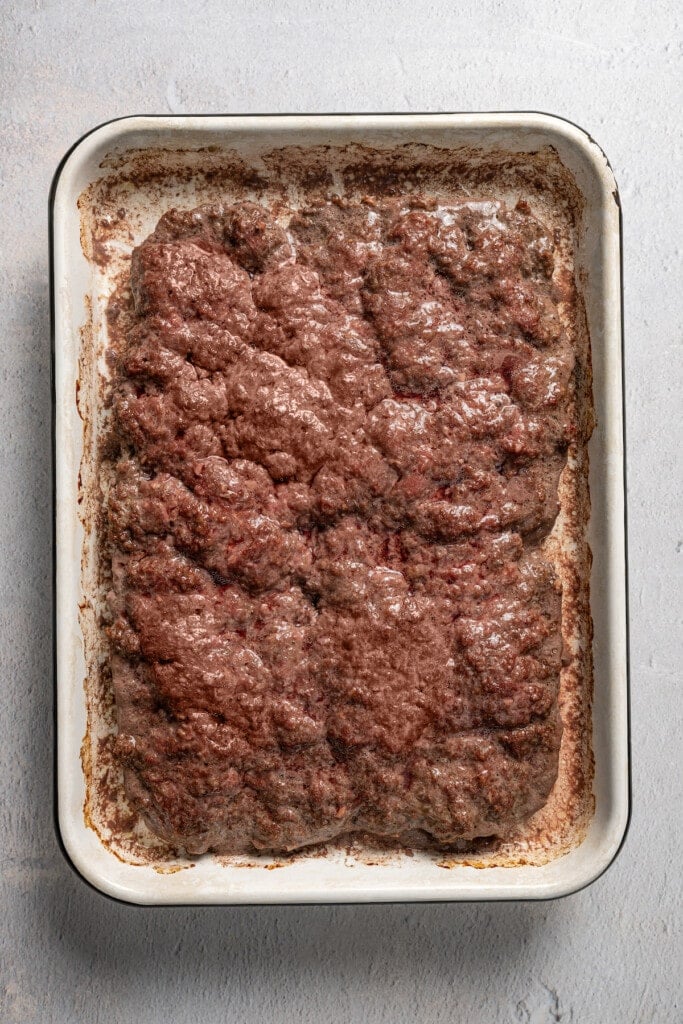
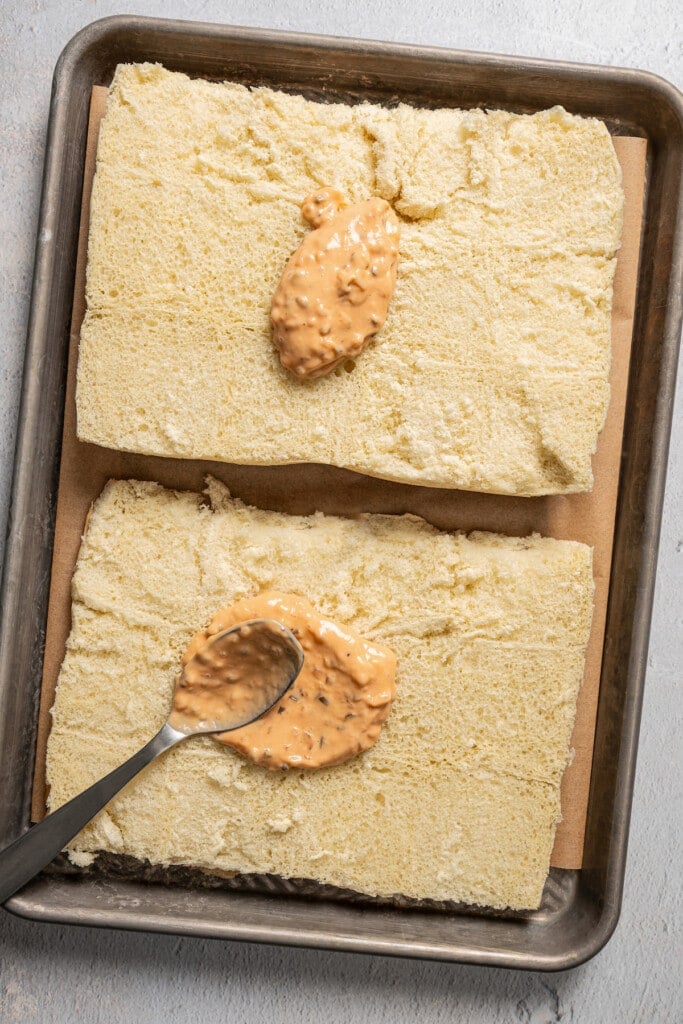
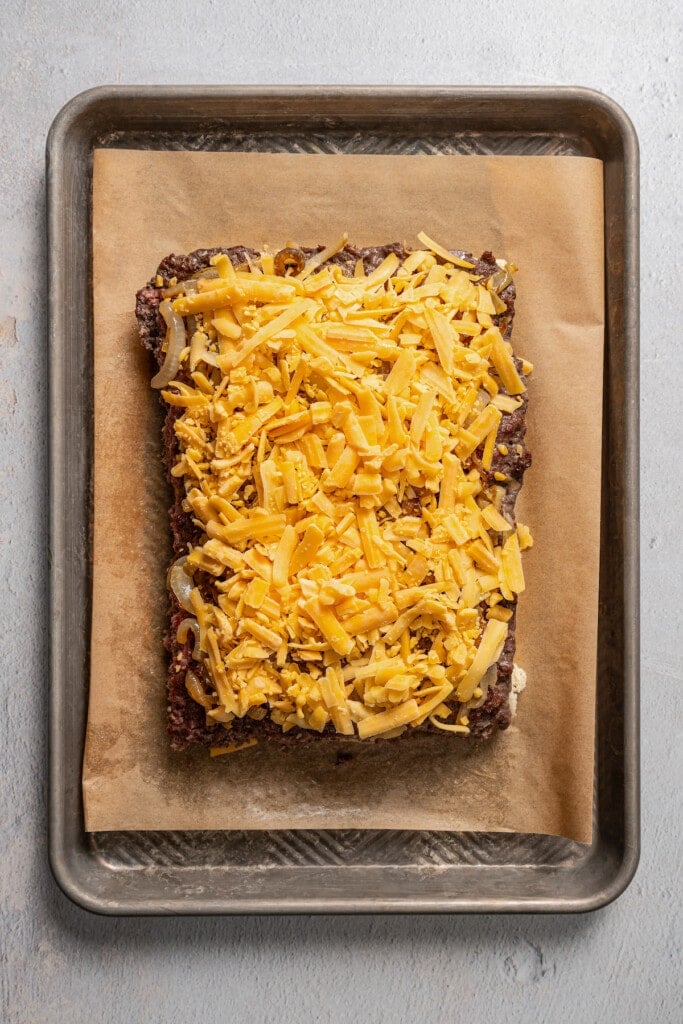
- Caramelize the onions. Season the onions and saute them in olive oil over medium heat until they begin to soften. Turn the heat to medium-low and continue to cook for 45 minutes or so.
- Prep. Preheat the oven to 350°F, grease a 9X13 baking dish with olive oil, and line a baking sheet with parchment paper.
- Season the beef. Mix together the beef, onion powder, garlic powder, salt, and pepper.
- Bake the beef. Press the beef mixture into the bottom of the prepared baking dish and bake for 17 minutes. Drain the grease.
- Prepare the rolls. Cut the whole sheet of Hawaiian rolls in half and arrange the two sides (cut side up) on the prepared baking sheet. Brush both sides with Thousand Island dressing.
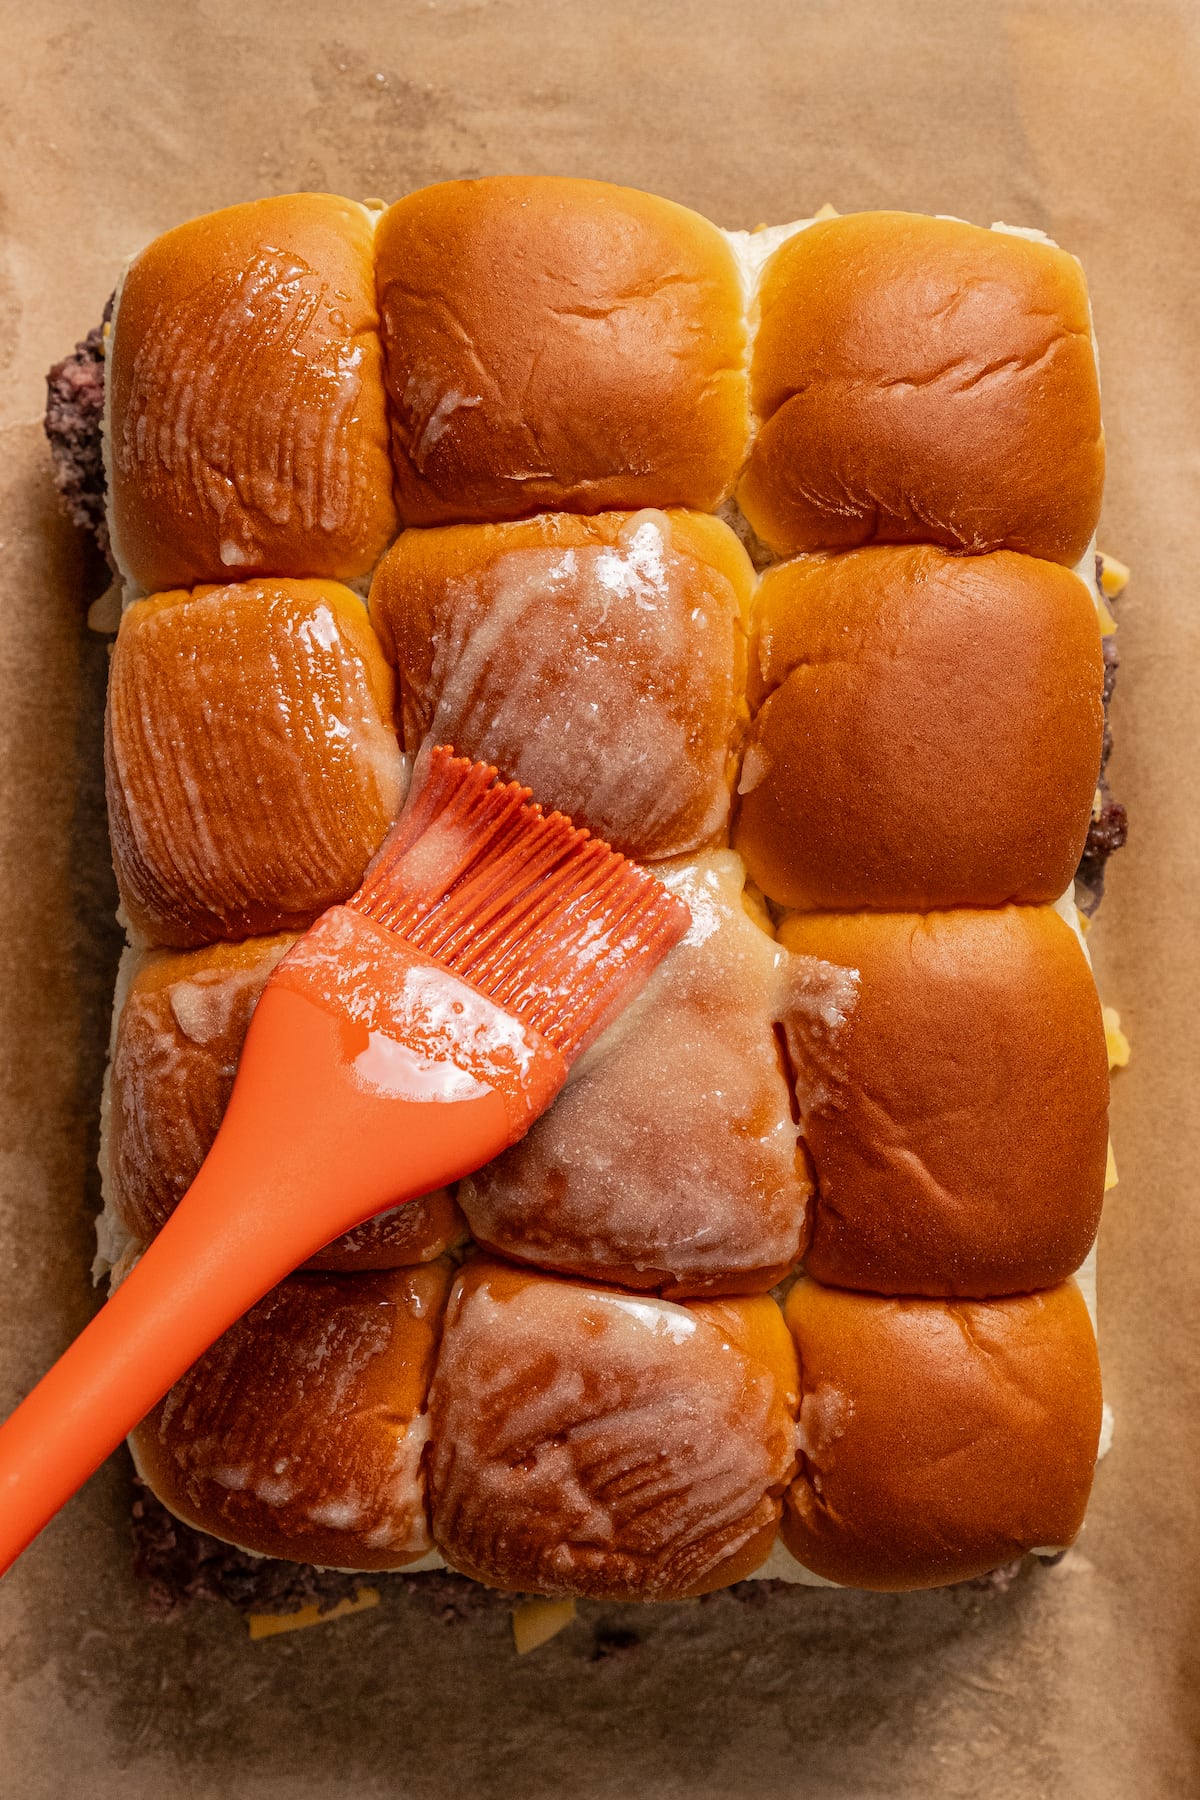
- Assemble. Place the cooked beef over the bottom half of the rolls, spread the caramelized onions over the top, and sprinkle with cheese. Close the sliders, brush the tops with melted butter, and sprinkle with sesame seeds.
- Bake. Bake the cheeseburger sliders for 5-10 minutes to melt the cheese.
Recipe Tips
- Keep water handy. When caramelizing the onions, it is a good idea to keep a little broth or water close by. If the onions start to burn, stir in a bit of water as needed.
- Keep the rolls together. Slice the Hawaiian rolls apart as a sheet, leaving all of the tops and bottoms together. This will make it easy to assemble, bake, and slice the sliders.
- Cutting the rolls. Use a sharp serrated knife. Slowly and carefully cut through the center of the entire sheet of rolls horizontally. Apply gentle pressure to avoid crushing the rolls.
- Drain the grease. Be sure to drain as much grease from the cooked beef as possible to prevent the rolls from getting soggy.
- Don’t forget the butter. Brush the rolls with butter and immediately top them with sesame seeds. Without the melty butter, the sesame seeds won’t stick.
Serving Suggestions
My favorite thing to share these cheeseburger sliders with is fries. My air fryer frozen french fries are a classic go-to, but you could also up your game a bit with these parmesan truffle fries or even my spicy Cajun fries. To add a little veg, whip up a batch of coleslaw and serve it alongside the sliders. This refreshing tomato and cucumber salad or my easy fruit salad would also pair nicely.
I often serve these two-bite burgers as finger food at gatherings. As such, they go great with other bite-sized snacks and potluck favorites, such as these grape jelly meatballs, my garlic breadsticks, these pretzel bites, or my famous potluck pasta salad.
How to Store & Reheat Leftovers
- To store. Once the sliders have cooled, seal them in an airtight container. You can store them in the fridge for up to 3 days or in the freezer for up to 3 months. Note that the buns will get soggy the longer they sit in the fridge, so it’s best to enjoy them sooner rather than later.
- To reheat. Allow the sliders to thaw in the fridge, if applicable, before attempting to reheat. Arrange the thawed leftovers on a baking sheet, cover them with foil, and bake at 350°F for 10 minutes or until heated through. Alternatively, microwave a slider or two in 30-second intervals until warm.
More Burger Recipes To Try
There are so many fun ways to take the concept of a burger and make it your own. Here are some of my other favorite spins on that all-American classic.
- Salmon Burgers
- Juicy Grilled Turkey Burgers
- Juicy Turkey Burgers
- Easy Black Bean Burgers
- Classic American Cheeseburger
- Cheeseburger Soup
Pin this now to find it later
Pin It
Cheeseburger Sliders
Ingredients
For the Onions
- 2 tablespoons olive oil
- 2 yellow onions, thinly sliced
- ½ teaspoon salt
For the Beef
- 2 pounds ground beef, I used 80/20
- 1 teaspoon onion powder
- 1 teaspoon garlic powder
- 2 teaspoons salt
- 1 teaspoon freshly ground black pepper
For the Sliders
- 12 Hawaiian rolls
- ½ cup Thousand Island dressing
- 2 cups shredded cheddar cheese
- ⅓ cup melted salted butter
- 3 tablespoons sesame seeds
Instructions
For the Onions
- Caramelize the onions. Heat the olive oil in a large, heavy-bottomed skillet over medium heat, add the onions, and season with salt. Saute until they start to soften a bit. Turn the heat to medium-low and let the onions cook until they are very soft and golden brown, stirring occasionally. This process should take about 45 minutes.
For the Beef
- Prep. While the onions are caramelizing, preheat the oven to 350°F and grease a 9X13 baking dish with olive oil.
- Season the beef. In a medium-sized mixing bowl, combine the beef, onion powder, garlic powder, salt, and pepper. Use your hands to mix everything together until well combined.
- Bake the beef. Press the beef mixture into a thin, even layer on the bottom of the prepared baking dish. Bake for 15 to 17 minutes or until cooked through. Drain the grease from the dish and set aside.
For the Sliders
- Prepare the rolls. Cut the whole sheet of Hawaiian rolls in half, horizontally through the center, without breaking the individual rolls apart. Arrange them cut side up on a baking sheet lined with parchment paper and brush both sides of the rolls with Thousand Island dressing.
- Assemble the sliders. Arrange the cooked beef over the bottom half of the rolls, spread the caramelized onions over the top in an even layer, and then sprinkle the cheese evenly over the onions. Top the sliders with the other half of the rolls. Brush the tops of the rolls with the melted butter and sprinkle with sesame seeds.
- Bake. Bake the sliders for 6 to 10 minutes or until the cheese is melted.
Notes
- Keep water or broth nearby while caramelizing the onions. Add a splash if the onions begin to stick or burn.
- Use a sharp, serrated knife to slice the Hawaiian rolls in one piece, keeping tops and bottoms connected for easier assembly and serving.
- Brush the rolls with melted butter before sprinkling sesame seeds on top.
Nutrition
Nutritional info is an estimate and provided as courtesy. Values may vary according to the ingredients and tools used. Please use your preferred nutritional calculator for more detailed info.


These were so easy and so good! Thank you!