Raspberry Jam Puff Pastries Recipe
Dec 02, 2020, Updated Nov 30, 2023
This post may contain affiliate links. Please read our disclosure policy.
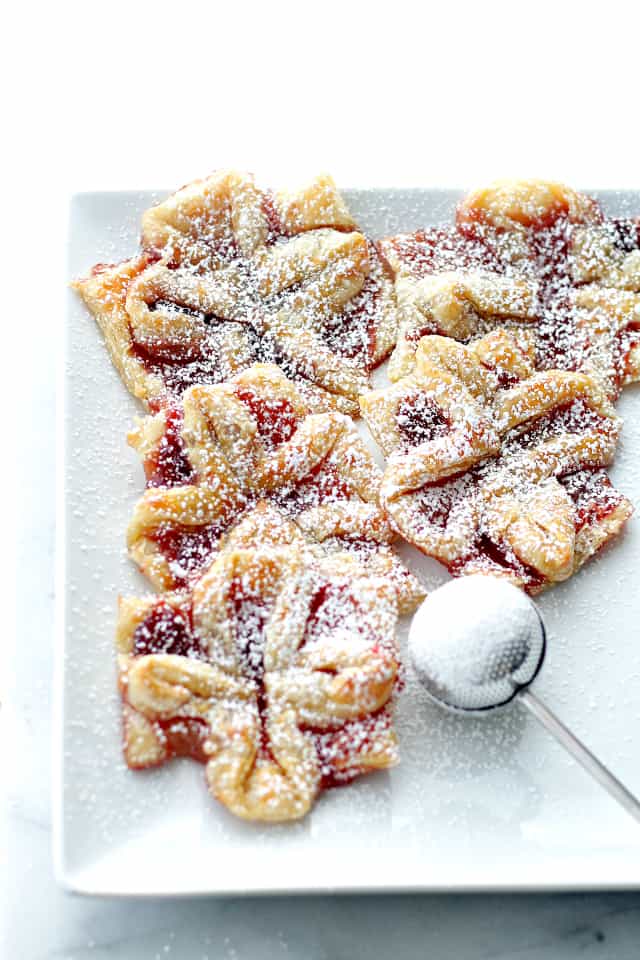
These Raspberry Jam Puff Pastries are deliciously warm, made with just four ingredients, and baked until golden, sweet, and flaky. They’re perfect for a holiday party or as a quick, delightful breakfast treat.
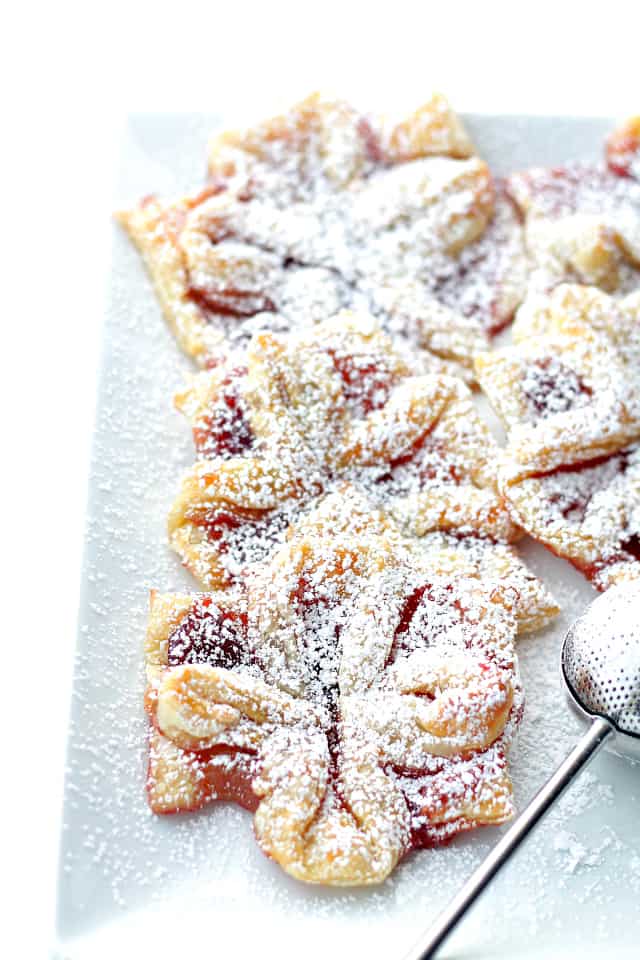
I just love the simplicity of these puff pastry jam tarts, a sweet treat that’s so super easy to make. With their flaky texture and raspberry center, these pastries are not just desserts but little parcels of joy. Whether you’re celebrating the holidays or just craving something warm and sweet, these pastries are all that, and everyone always loves them.
Why You Should Make These Puff Pastry Jam Tarts
- Easy Yet Elegant: With minimal ingredients and steps, these pastries bring a touch of sophistication with very little effort.
- Versatile: Jam tarts can be a festive treat or a cozy snack to accompany your coffee.
- Customizable: Easily tweak the recipe – change the jam flavor or add a dusting of your favorite spices.
Ingredients
- Puff Pastry Sheets: Use store-bought puff pastry for convenience and thaw it before use.
- Fruit Jam: Choose any jam that you like! I’m partial to raspberry jam, but you can use whatever you prefer.
- Egg: A single egg, whisked with water, is used for the egg wash, which is applied to the puff pastry edges for a perfectly golden-brown finish.
- Powdered Sugar: Just a sprinkle of sugar on top of the pastries adds a decorative touch.
How To Make Raspberry Jam Puff Pastries
So long as you follow my very simple step-by-step process, these puff pastry jam tarts will come together in no time. Follow the photo instructions, and you should be on your merry way to a merry treat!
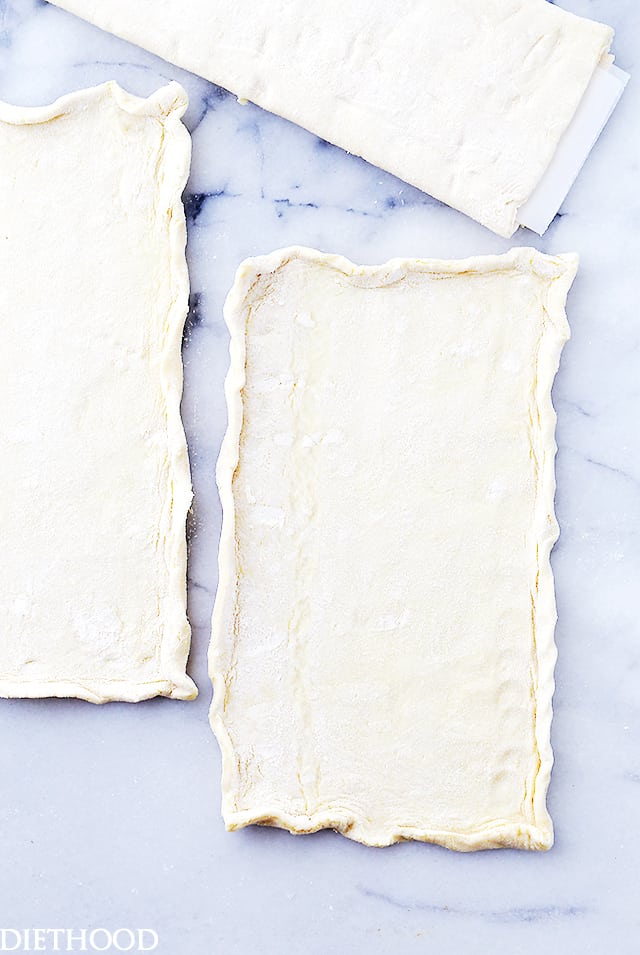

- Prep: Preheat your oven to 400˚F and prepare a baking sheet with parchment paper.
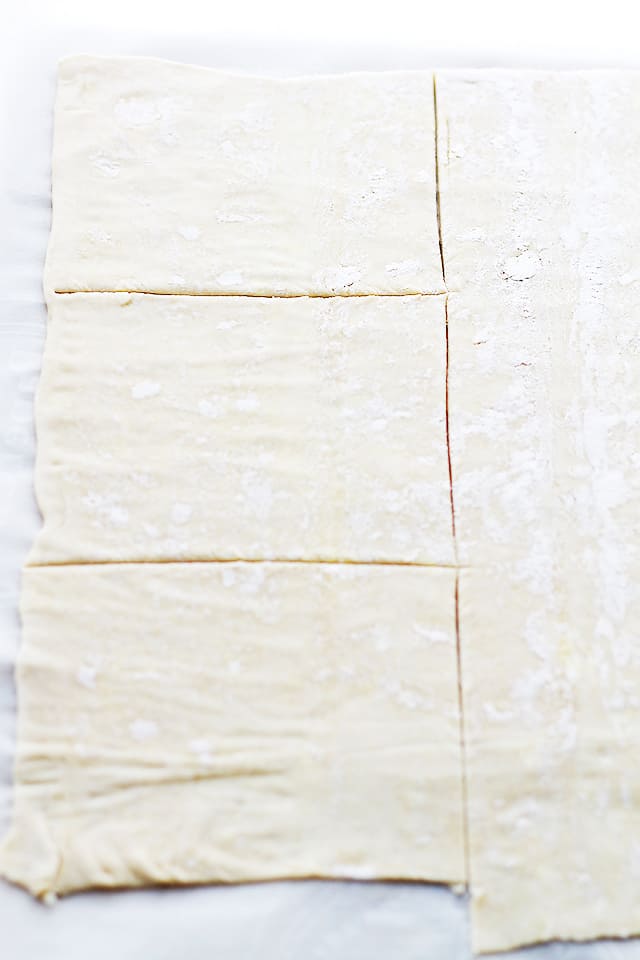
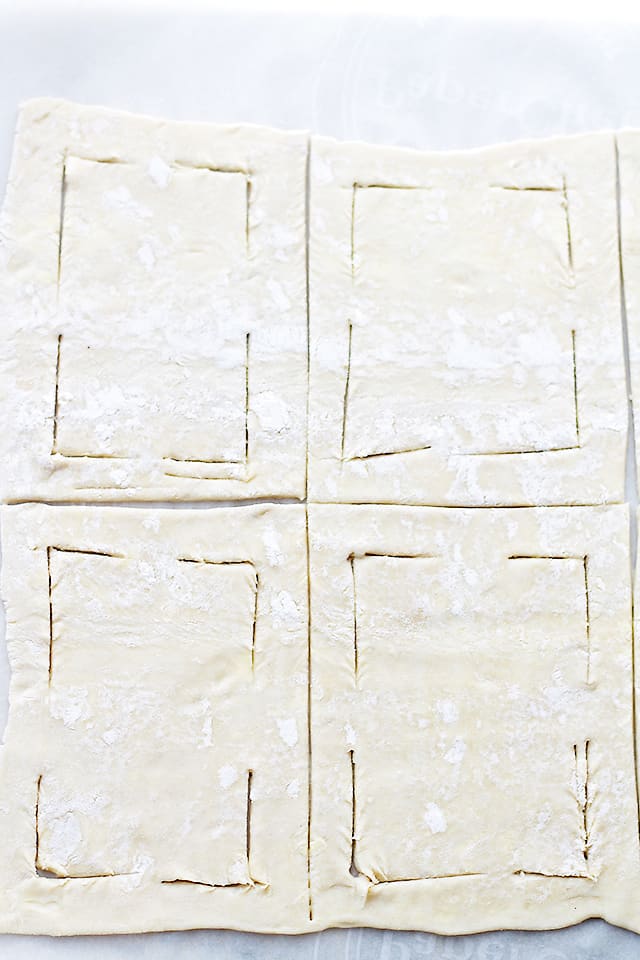
- Roll Out & Cut: Thaw the puff pastry sheet, unfold it, and cut it into squares.
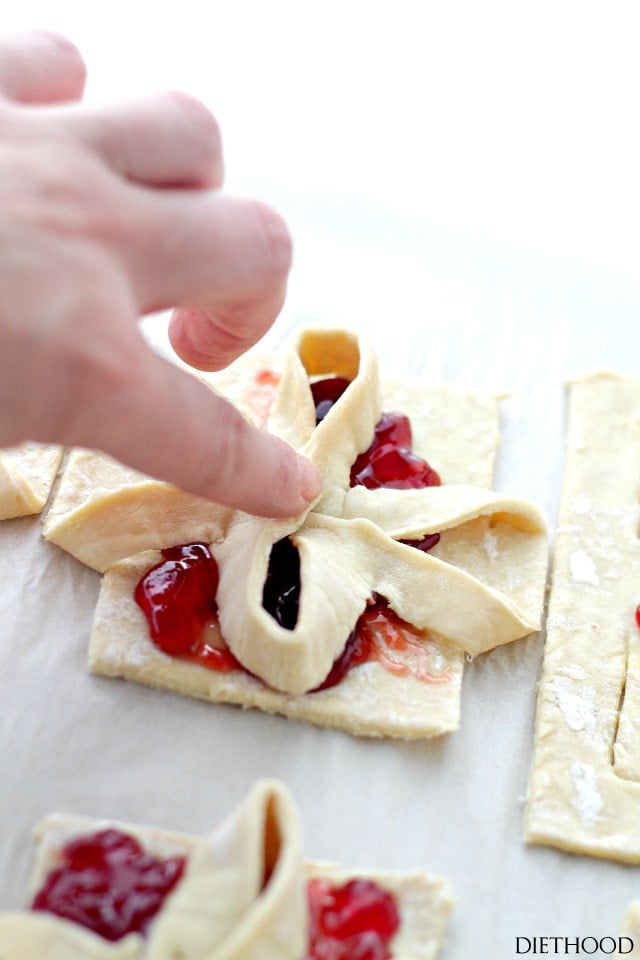
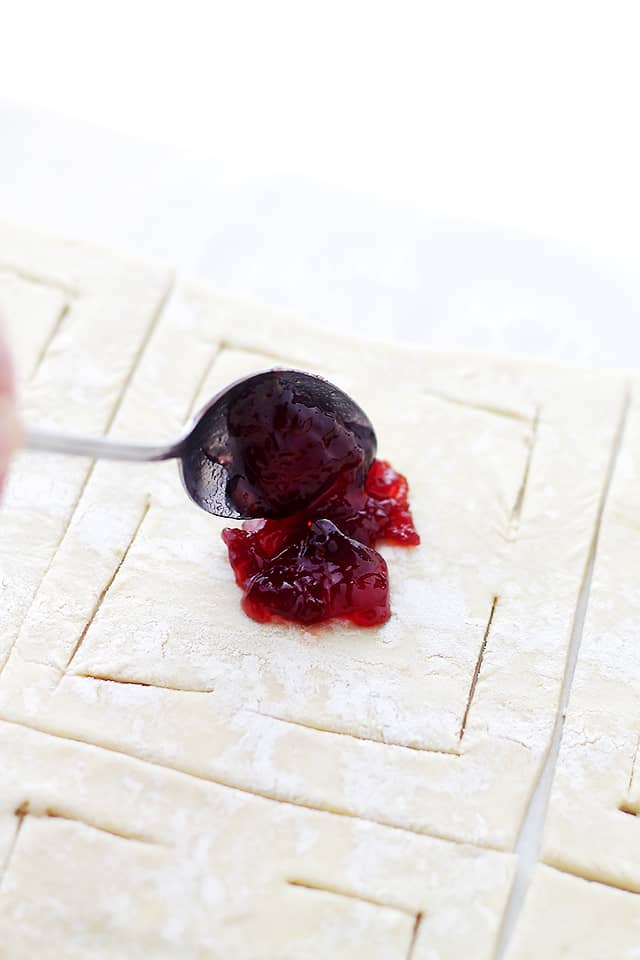
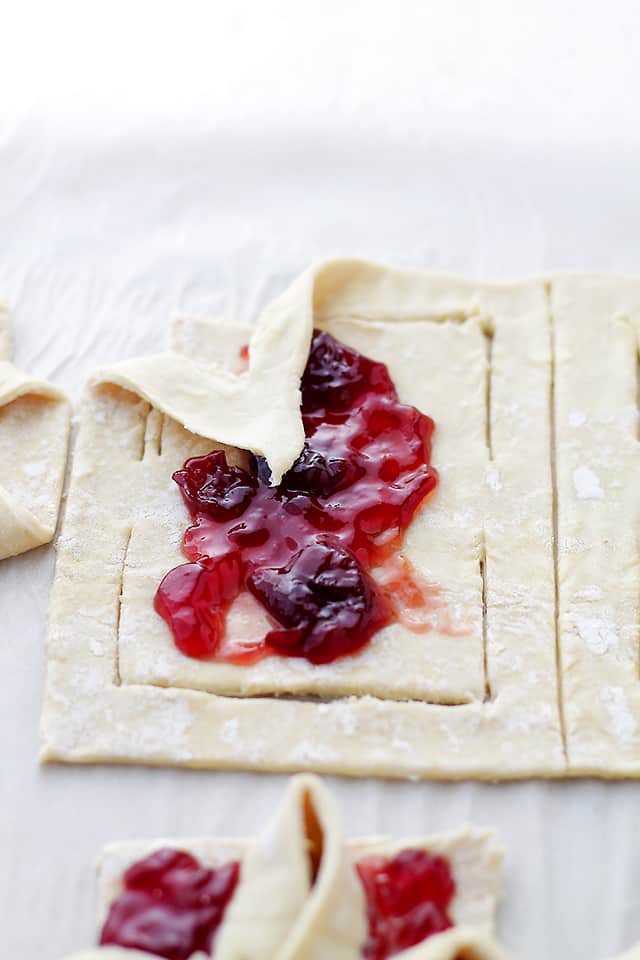
- Shape: Score L-shaped cuts at the corners of each square and place a teaspoon of jam in the center. Fold the corners to the center, creating a bow shape.
- Bake: Brush with an egg wash and bake for 14 minutes or until golden.
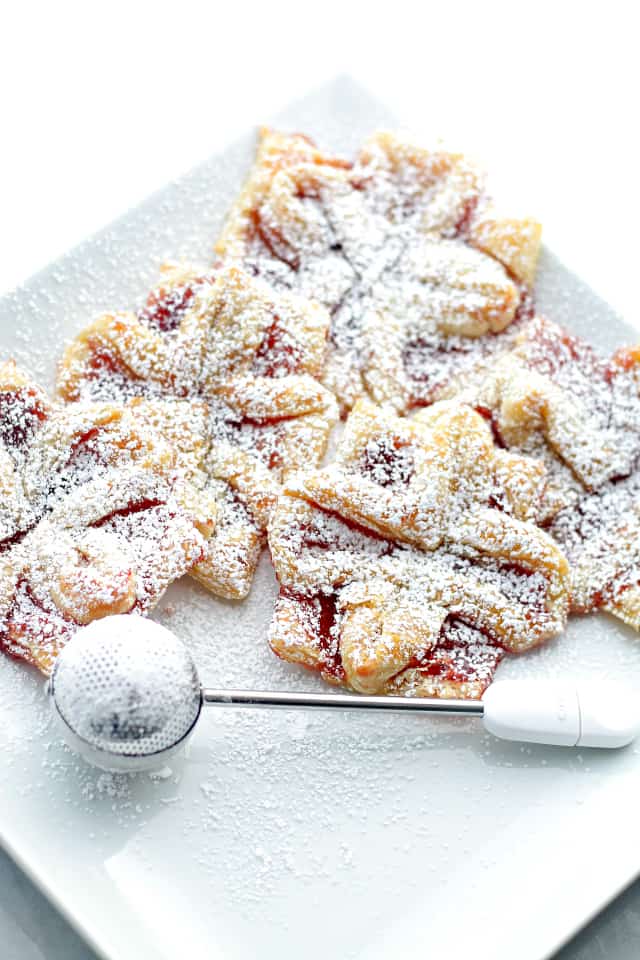
- Finish: Cool and dust with powdered sugar before serving.
Recipe Tips And Variations
- Thawing Puff Pastry: You can thaw puff pastry by placing it in the refrigerator overnight or by leaving it out at room temperature for 10 to 20 minutes.
- Handling Puff Pastry: Be careful not to let the puff pastry sit out for too long, affecting its ability to puff up properly.
- Jam Quantity: Limit the amount of jam to no more than a teaspoon per pastry to prevent it from overflowing during baking.
- Flavors: Try different jam flavors like blueberry, strawberry, or apricot for variety.
- Shaping the Pastry: Feel free to cut the pastry into any shape of your choosing.
Serving Suggestions
Serve these jam puff pastries alongside a hot cup of coffee, a London fog, or hot chocolate. Include them in a larger brunch menu with sheet pan eggs, fresh fruit, and protein oatmeal. Create a dessert platter by arranging the puff pastry jam tarts with other bite-sized treats like mini eclairs, macaroons, or chocolate truffles.
Storing The Pastries
Keep these jam puff pastries fresh by storing them in an airtight container at room temperature. They’re best enjoyed within 3 to 4 days. For longer storage, you can freeze them for 3 months and reheat them in the oven before serving.
More Christmas Recipes
- Chai Spiced Snowdrop Cookies
- Salted Caramel Thumbprint Cookies
- Low Carb Pistachio Biscotti
- Strawberry Cream Cheese Pastries,
- Roasted Berries Tart
- Phyllo Raspberry Pop Tarts
Pin this now to find it later
Pin It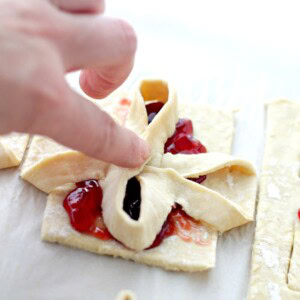
Raspberry Jam Puff Pastries Recipe
Ingredients
- 1 puff pastry sheet,, found in your grocer's frozen section
- 4 tablespoons raspberry jam,, or strawberry jam
- 1 whole egg
- 1 tablespoon water
- powdered sugar,, for dusting
Instructions
- Preheat the oven to 400˚F and line a baking sheet with parchment paper or Silpat.
- Place the frozen puff pastry sheet on a clean work surface and allow it to thaw for 10 to 20 minutes. Do not unfold the dough until it's thawed out, but make sure it is still cold when you do.
- Unfold the puff pastry and cut it into nine equal squares.
- With a sharp knife, score L-shaped cuts at the corners of each pastry square.
- Place about 1 teaspoon of jam onto the center of each puff pastry.
- Take the outer corner of each puff pastry and fold over into the middle. Do this with all four corners, shaping the folds into a bow.
- In a small bowl, beat the egg with 1 tablespoon of water and brush the edges of the pastries with a pastry brush.
- Bake for 13 to 15 minutes or until they puff up and the edges are golden.
- Remove from the oven and transfer to a cooling rack to cool a bit.
- Dust with powdered sugar and serve.
Notes
- Puff Pastry Sheets: Utilize store-bought puff pastry for convenience and great results. Remember to thaw it before use.
- Thawing the Puff Pastry: You can thaw it on the counter for about 10 to 20 minutes or until thawed but still cold. The time will largely depend on the room temperature.
- Fruit Jam: Choose any jam flavor you prefer, but don’t use more than a teaspoon per pastry because it will ooze out when baking.
- Powdered Sugar: A sprinkle of powdered sugar on the pastries adds a festive touch. You could also sprinkle them with turbinado sugar before baking to achieve that golden crunch.
- Storage: Keep the pastries in an airtight container and on the counter for 3 to 4 days. Freeze them for up to 3 months.
Nutrition
Nutritional info is an estimate and provided as courtesy. Values may vary according to the ingredients and tools used. Please use your preferred nutritional calculator for more detailed info.


can you make these a day in advance? if so, how do you store them?
This was wonderful. Just made some to take as a hostess gift. I was looking for something to make that would use some fresh strawberry jam that I had recently made.
Only one hint for others making this. Go out and buy fresh puff pastry. If you have some that has been in your freezer for a while, some of the edges might be a little dried out. In this case, if you still decide to use what you have, consider trimming the dry parts, as you want the edges nice and soft for making the pretty top.
Thanks for sharing this!
So pretty. and it seems fairly easy to make. Great for around the holidays. Very festive!
The for the tutorial, I wasn’t sure of the folding.
These are BEAUTIFUL! I love the pattern you created. I basically want to be you! Have a very Merry Christmas friend!
These are seriously lovely. Like, need to be made ASAP lovely. On my to-make list now!!
These are so pretty! Don’t you just love that OXO duster!
um… gorgeous and these are genius! so making them for new years eve!
Beautiful! Such a perfect Christmas goodie – gorgeous pics, too!
What a festive shaping idea. I knew what they were even before reading the post and I’m usually pretty dense about those things. Adorable icing sugar dispenser.
May you and your family
Have a Merry Christmas and a Happy New Year.