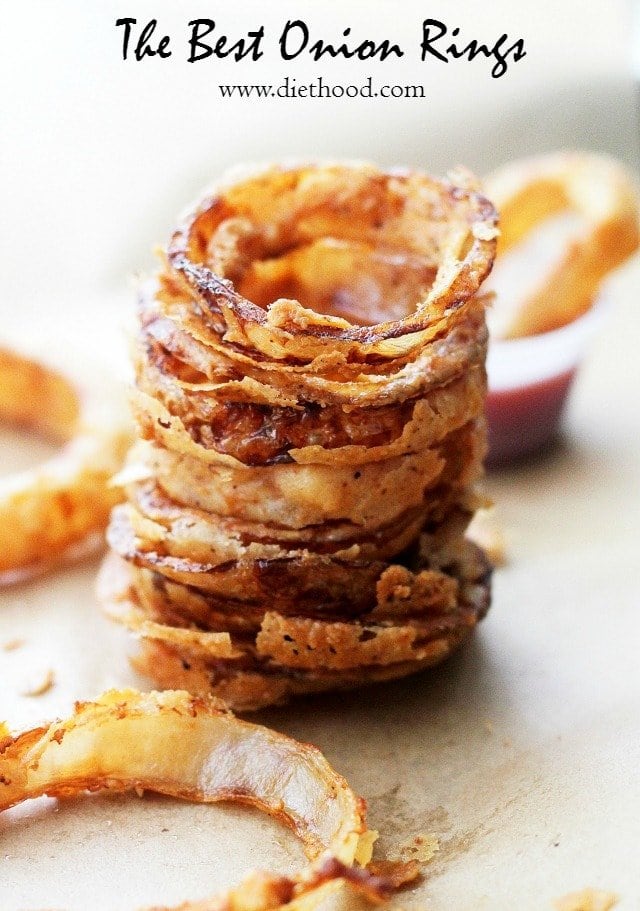
Homemade French “Fried” Onions Topping
Nov 11, 2015, Updated Apr 18, 2020
This post may contain affiliate links. Please read our disclosure policy.
Homemade French “Fried” Onions Topping is a delicious homemade AND baked alternative to those store-bought french fried onions. These are so good and easy to make you’ll be wondering why you ever got the store bought version in the first place!
These fried onions go great on top of salads like this Steak Salad with Dijon Balsamic Dressing, potatoes like these Loaded Baked Potato Bites, or any kind of casserole like this easy Green Bean Casserole Recipe.

I Am Loving These Crispy Fried Onions On Just About Everything
HI-HEY! Me, again. TWICE in one day! Lucky youuuuuu! ♥
So. I gotsta be straight up with you right now. These French “Fried” Onions will not be as crunchy as those store-bought guys. True story.
Nor as crunchy as if you were to stick them inside a really hot oil-bath.
BUT! but, but, but… I DO love YOUR heart and that is why we’re going to bake these babes and love ’em as much as we should, m’kay? Coo’.
That’s like my disclaimer right there.

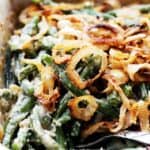
I made these onions to go with our Lightened-Up Creamy Green Bean Casserole, but I have used them in other casseroles, too. Salads, as well. Sandwiches. Sometimes we just drown them in ketchup and mustard and just eat ’em up.
This is so simple, it’s almost silly. But I like it! And I love simple!
How To Make This Homemade Crispy Onion Topping
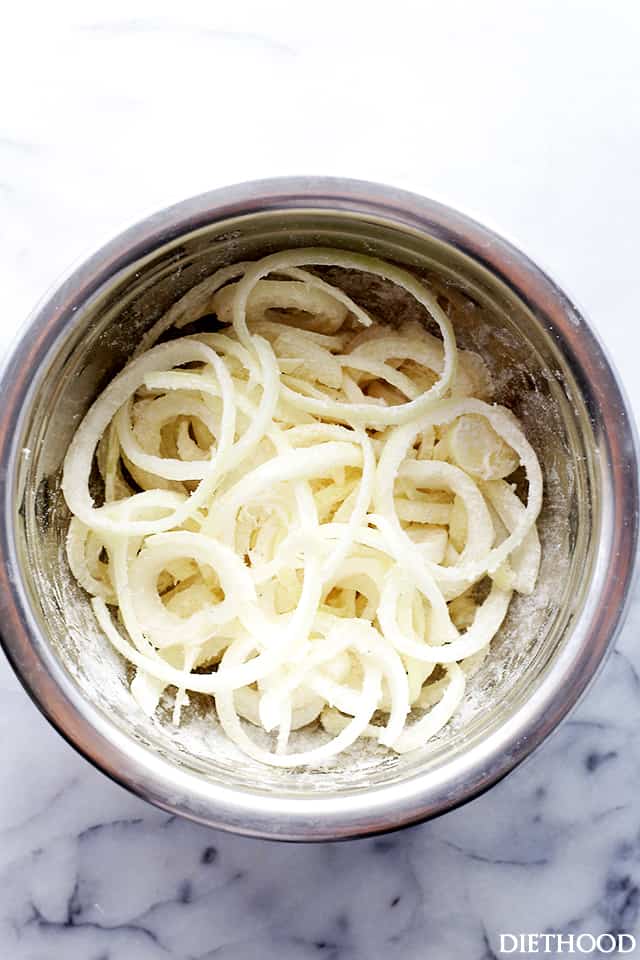
All we’re doing here is slicing up an onion into thin rings, dipping said onions in a flour-panko mixture, spraying them down with nonstick cooking spray and sending them off to the oven for about 20 minutes. Maybe less. Maybe more. You decide. So long as they are golden brown, they are done.

Wasn’t that a great story? 😉
But wait! It can’t be that easy, now can it? Well. I am just going to ask you (beg you!) to stir them around every few minutes until they are done. The onions burn easily, especially at 450F, so you have to be on top of things, k? And we’re baking them at 450F because we want a nice crunch, but without the fryer.

What was I saying?
Oh yeah.
Hit print and crunch crunch crunch AWAAAAAY!
ENJOY!
CRAVING MORE? SIGN UP FOR THE DIETHOOD NEWSLETTER FOR FRESH NEW RECIPES DELIVERED TO YOUR INBOX! FOLLOW DIETHOOD ON FACEBOOK, TWITTER, PINTEREST AND INSTAGRAM FOR ALL OF THE LATEST CONTENT, RECIPES AND UPDATES.
Pin this now to find it later
Pin It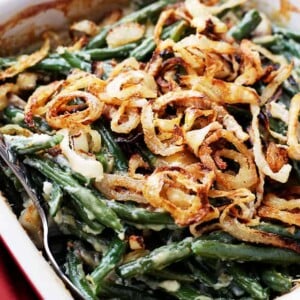
Homemade French "Fried" Onions Topping
Ingredients
- 2 large yellow onions, , thinly sliced into rings (about 1/4-inch thick)
- 1/4 cup all-purpose flour
- 1/4 cup panko bread crumbs
- 1 teaspoon seasoned salt, , or to taste
- olive oil cooking spray
Instructions
- Preheat oven to 450F.
- Line a baking sheet with aluminum foil and grease with cooking spray. Set aside.
- Combine onion rings (make sure they are separated), flour, panko crumbs and seasoned salt in a large mixing bowl; toss to combine and coat evenly.
- Transfer the onion rings to previously prepared baking sheet.
- Generously spray the onions with olive oil cooking spray.
- Bake for 20 minutes, or until golden brown, stirring frequently.
- Remove from oven and let stand 2 to 3 minutes, or until ready to use.
Nutrition
Nutritional info is an estimate and provided as courtesy. Values may vary according to the ingredients and tools used. Please use your preferred nutritional calculator for more detailed info.
More Easy Onion Recipes:


The flavor is terrific, but I also had difficulty with the coating sticking to the onions. For my second batch, I tossed them in olive oil first, then added the coating, then spritzed a tiny bit of oil on top. That worked a bit better. A friend told me to soak them in buttermilk before adding the coating mix. I don’t have any at the moment, but I may try that next.
Do you just store them in the refrigerator?
The flour and panko crumbs do not stick to the onions, no matter how much oil is sprayed. Would have been faster to carmelize them in a frying pan. They should also be cut up more. They were impossible to cut with a fork in the pie.
Flavors were good, but I had added thyme, as there was no seasoning. I think a topping of bread crumbs or panko, mayonaise and Kraft-style parmesan cheese would have been as flavorful as the panko/flour crumbs.
onions come in a can … love you Americans 🙂
Appreciate your post.
However i just tried it, turned them at 8mins, they still needed time, left it for another 10mins and they are completely burnt. Definitely a waste of an onion.
You should change the 20min cooking time to prob 12 to 15mins so no one else wastes food.
The breadcrumbs and flour was a good idea, i added onion powder and reg salt to enhance the onion flavor.
excellent ideas all around. but 450 degrees? for 20 minutes? if thinly sliced, onion ash will be the result. a lower temperature for less time, my second go after the above settings, worked very well – a temp of 400F for 14min seemed to work well.
Instead of panko, burned up in the first batch, i also tried an herb mixture as a substitute and it was just fine.
These came out so good! Thanks for the recipe!
You are my hero~! I used to eat those onions right out of the can !